I mentioned the other day that I made a no sew window treatment for my daughter’s bathroom. A very simple, very easy treatment anybody can make. And I do mean anybody! So don’t feel too intimidated to try it. You’ll be surprised at how simple this is and how great it looks.
Check out these step by step instructions and give it a try:
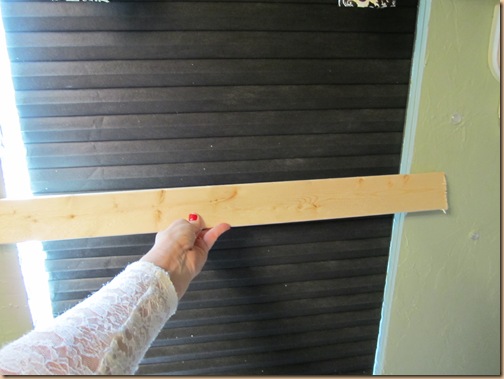
First get a strip of wood like this 1×3 from Lowes. If you want a deeper return on the sides you can certainly do that, too. I chose this size, because it’s all I needed for her bathroom. Cut it (or have it cut at Lowe’s for free) somewhere between 3 and 6 inches longer than the window itself to allow room for the brackets and good coverage over the window.
For the correct measurements:
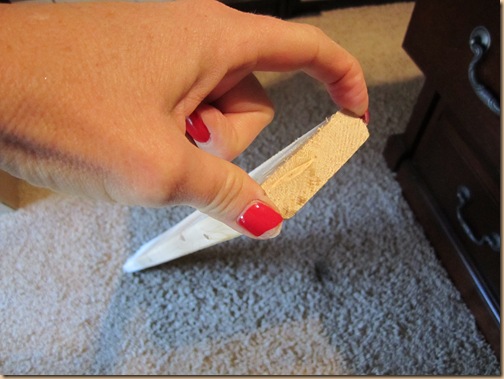
Measure the width of the board and add the returns for each side to the total measurements. (Excuse my broken thumbnail – I broke it doing this project!) If your window is 30 inches wide and your returns are 3 inches you will add 6 inches for a total width of 36 inches so the sides of the board will be covered up. It’s not complicated at all: the width of the board, plus the depth of the board. That’s it. To figure the length a good rule of thumb is 1/4 to 1/3 of the length of the window for the finished length. (For this treatment you will want to allow enough fabric to give you almost double that length so that when you create the swag you have enough fabric for the correct finished length.) In my case the length of the window is 72 inches and my treatment’s finished length is 22 inches.
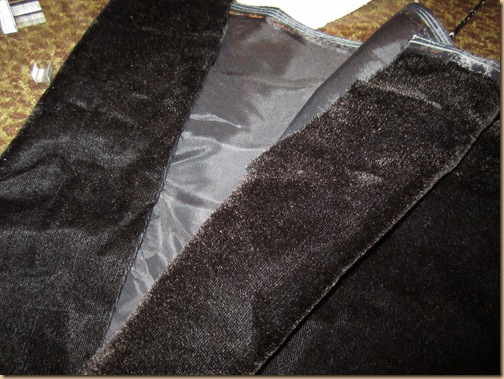
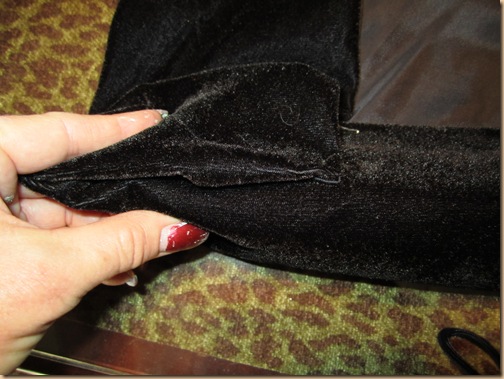
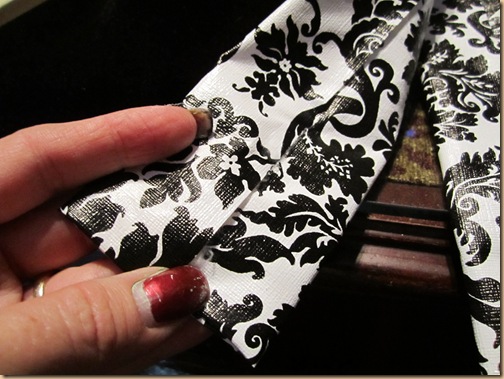
Fold the fabric in half with the face fabric (the pretty side) on the outside. Fold in the sides like the picture above.
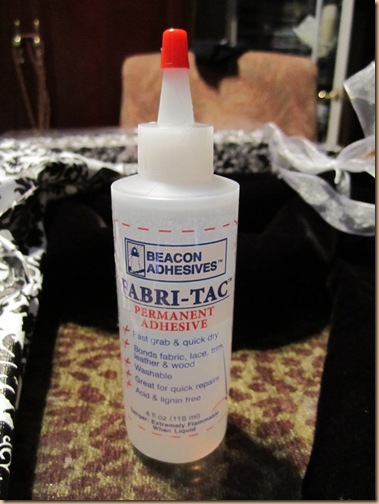
Use fabric glue like this Fabri-tac to secure the edges you turned inside. Just dot the glue inside the edges and press together to give it a finished look.
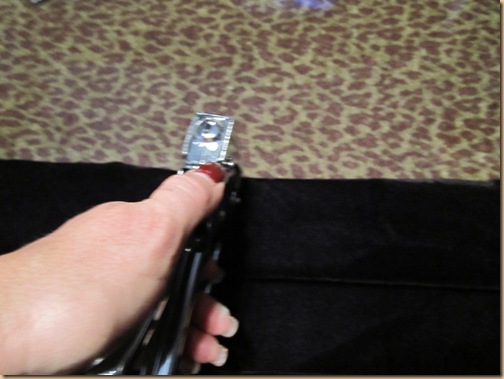
Wrap the top unfinished edge around the board so that both sides of the board are covered and staple into place.
Tuck the fabric around the return edges (kind of like you would the edges of a flat sheet on a mattress) to form a neat fold. Staple into place.
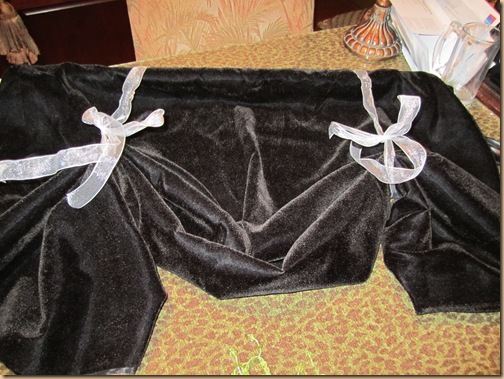
Now you have a long piece of fabric hanging from the board. In my case since I needed the finished length to be 22 inches (or so) so I started with a length of 44 inches (or so) of fabric. It hung straight down in a rectangle after it was adhered to the board: Basically a valance that hasn’t yet taken shape.
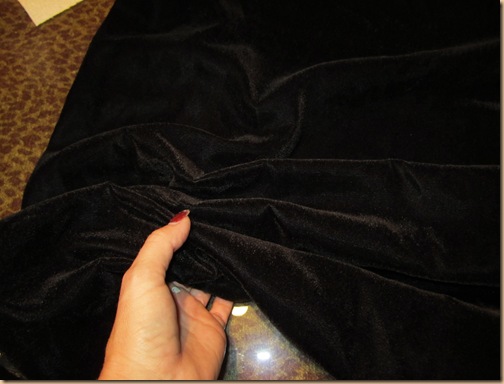
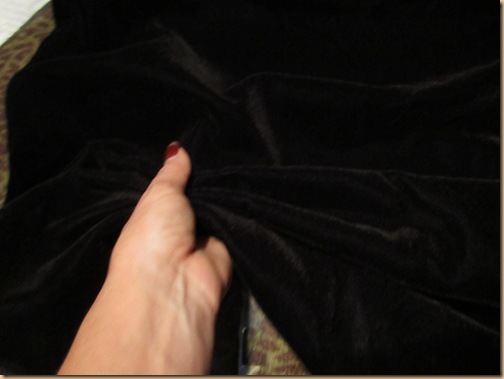
To create the swag look you are going to take your fingers (both hands) and place them just a few inches in on each side of the valance. Now start to scrunch upwards like you’re creating a fan or an accordion. Do this till you get the length you prefer on the outside swag points. (Remember 1/4 to 1/3 of the length of the window is a good rule of thumb.)
Once your length is in place tie off the swag with ribbon. (You can even use ribbon for your tie’s if you want to.)
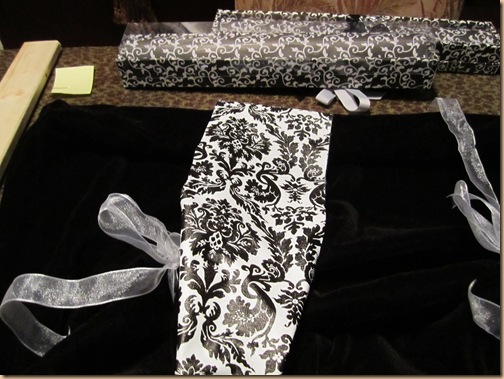
To create the bands or ribbons select the width you’d like. You can make them skinny or wide, whichever you prefer. I wanted these a little on the wide side, but I’ve done these before with a skinny band and even rope tassels. (Rope tassels work really well, too, and using them makes one less step for you to do.)
I wanted mine to match the shower curtains I had custom made so I purchased a similar fabric, but in a smaller print, and folded them to the width I wanted – seam in the middle as shown above – careful to turn under the bottom edge for a finished look. I tacked them down by using the Fabri-tac glue shown above. I tied them off to the right length with a small black ribbon, but you could tie a knot or a bow, too. If you prefer you can just do a clean band by looping the band edge up to the board and stapling it into place.
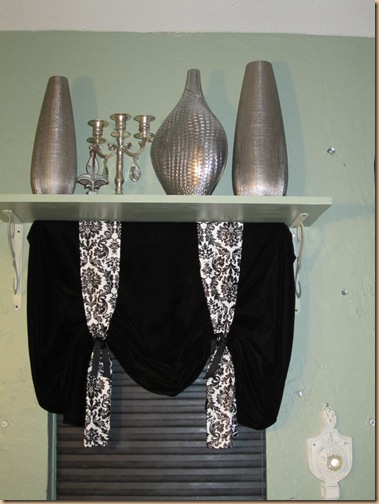
When you are finished you should have something that looks like this. Ta-da!!! Not hard at all! This took me around 30 minutes start to finish. You can do this – I promise!
I will say, though, that this treatment is better if it’s not a window facing the street or facing the backyard. Otherwise, you probably want to match the liner fabric to your other windows – usually in a neutral color such as white, cream or beige. This would result in having to sew on a liner (probably with a band of the face fabric at the bottom so that the liner doesn’t show from the front). And, this is where custom drapes become necessary for those that don’t have an understanding of this sort of thing and sew really well.
So remember this treatment is more for a side window, rather than the front or back where the liner can clearly be seen from the outside.
Now for the candle. Pretty basic, but here’s how to do it for those of you who might not know:
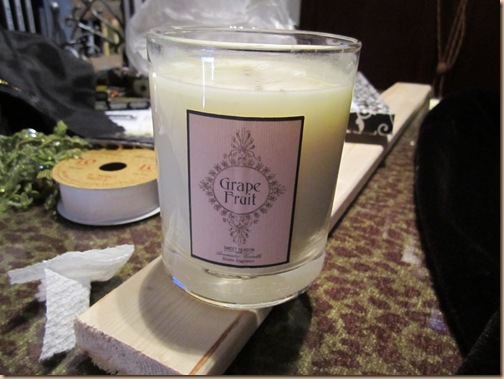
Take a basic candle votive such as this.
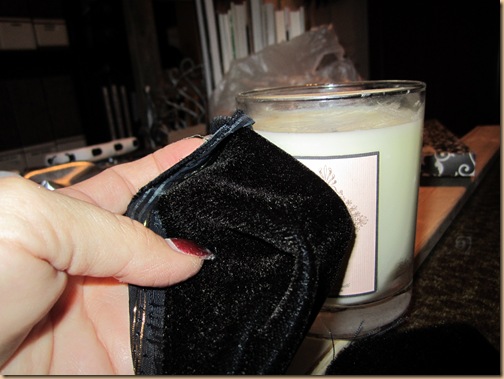
Cut fabric to fit with enough to turn under the edges.
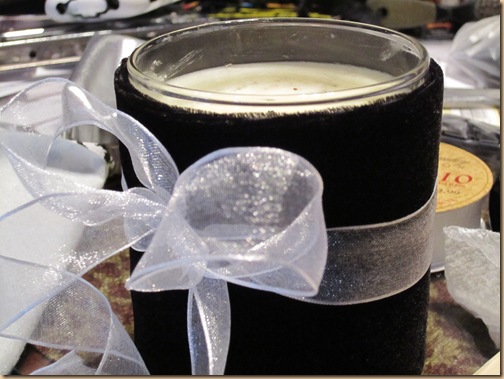
Turn in the raw edges in the back and glue together with Fabri-tac. Finish off with a ribbon of your choice. The ones with the wire on the edges work best so you can shape them.
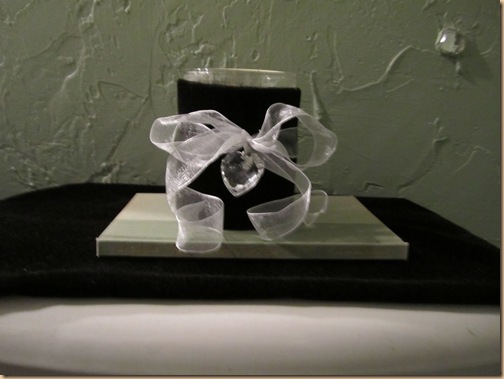
Add a little bling or embellishment if you’d like for fun.
And that’s it! There you go. Now you can make a window treatment and a candle cover to snazz up your own space.
Good luck with your own project and Happy Decorating!!!
There is a vast selection of kitchen window treatments out there for you to choose from and all you have to do is pick one. Easier said than done though, no? It is the huge selection that makes it so hard to pick only one! If only we had more than one kitchen! The trick to choosing the best kitchen window treatments is to think outside the box. There is no reason to stick yourself with the conventional and plain window treatments, go wild and try something new, you might just like it…
My blog site
<'http://www.prettygoddess.com/