It’s that time again…..our next installment of Designing Women Tell All. And with the holidays upon us we are excited to share some more holiday inspiration with you.
Christmas is around the corner and with it all the joy filled entertaining we do with family and friends. Right?! And as moms, wives, grandmothers…..women in general….the pressure and responsibility generally falls on us. And I think I can say unequivocally that most of us want our homes, our decorating, out tree(s), our overall ambiance….pretty much everything…..to be perfect! It’s just how we roll.
Tablescapes Set The Stage
Our dining tables, kitchen islands and kitchen nooks are front and center of course for obvious reasons. It’s where we gather together for appetizers, a glass of wine, to break bread, to share our holiday meals and to simply enjoy each other’s company. So today our focus is on various welcoming tablescape ideas for holiday entertaining.
Since I’ve become a retired interior designer with more time on my hands I’ve found that I, like my dad before me, have a passion for woodworking. Yes, this little Mimi loves crafting things out of wood! And, with that, my particular focus for today’s post is on my dining table centerpiece.
DIY Christmas Table Centerpiece
My dining table is the first thing people see when they arrive at my house so it’s always important that my table make a statement. (Whether we are going to actually use it or not.) This year I decided to make a DIY centerpiece out of some wood I had on hand, some Christmas greenery and some plastic Dollar Tree bells. It’s a piece that is fun, unique and versatile and probably my favorite centerpiece ever. So I wanted to share with you how to make a unique Christmas centerpiece like this on a budget.

I saw something similar on a friend’s Instagram page which was my inspiration and impetus for creating my own. I had admired hers for years and finally decided to bite the bullet and recreate one for myself. And, the best part is it didn’t cost me hardly a thing. Love that!
Creating The Centerpiece
I had the wood on hand from a previous board and batten project in one of my guest rooms and I had the stain on hand as well so it was just a matter cutting out the wood and putting it all together.
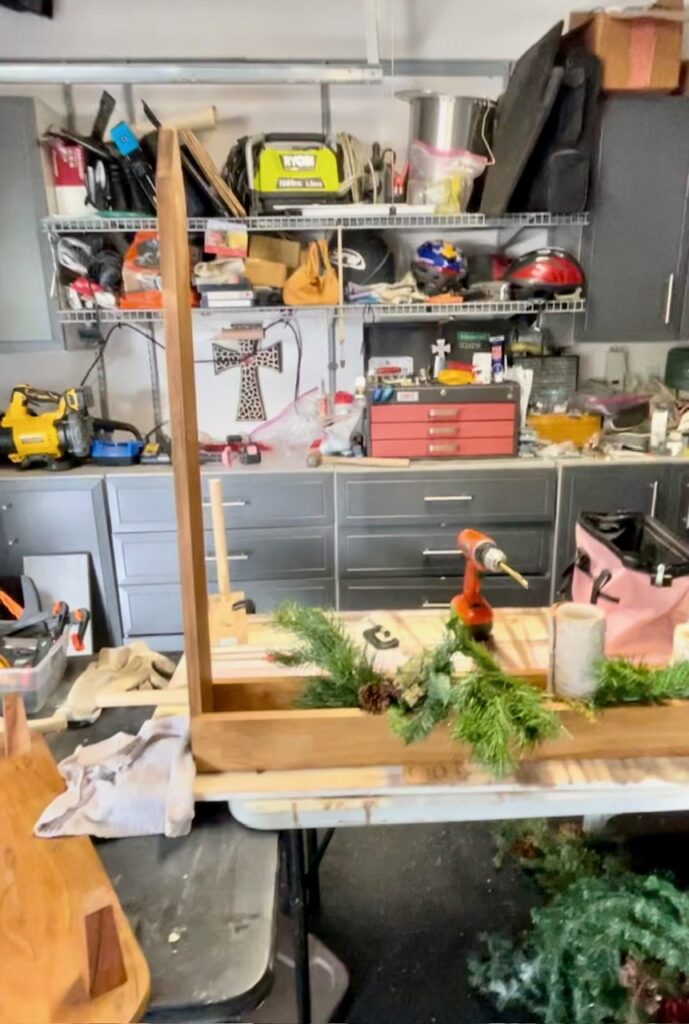
In order to recreate the piece the first thing I needed to do was make was a long, narrow box as my base. I wanted it to be very long to make more of a statement on my dining table so I carefully measured to come up with the correct length. Once the length was determined I cut the boards and glued the pieces together. I braced them with my anchors until the glue was dry and then reinforced them with my nail gun.
Next I cut the side rails to fit at each end. Again I wanted it to make a statement so I intentionally gave it some height. I angled the tops to come to a point for added interest. This is where I drilled the holes for my pole to go.
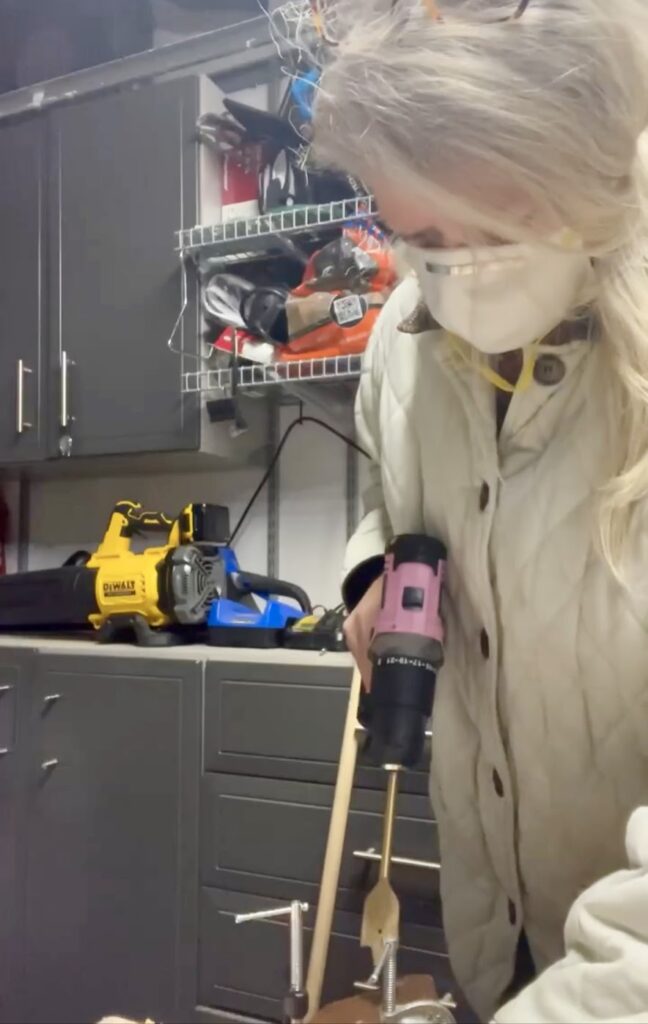
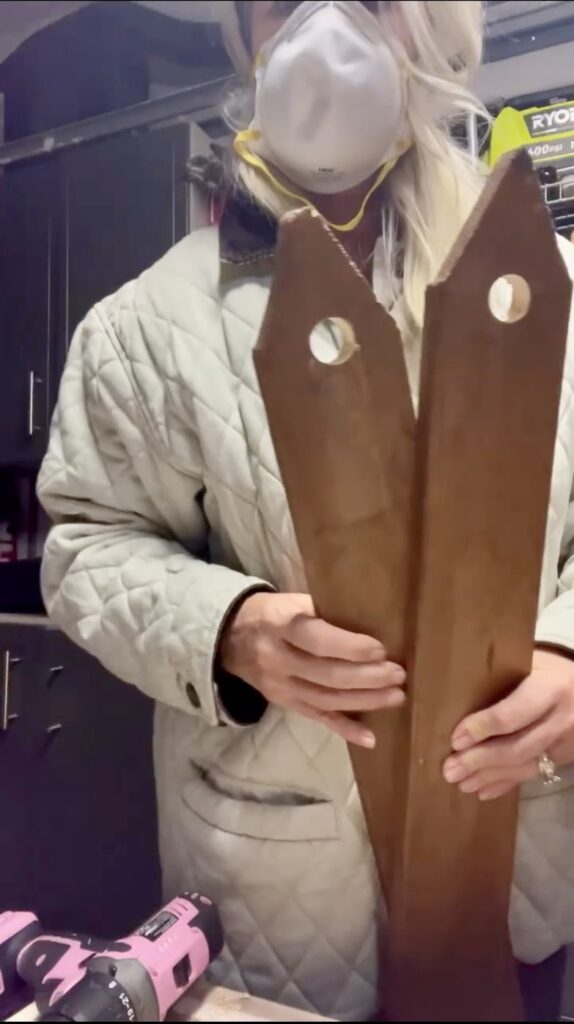
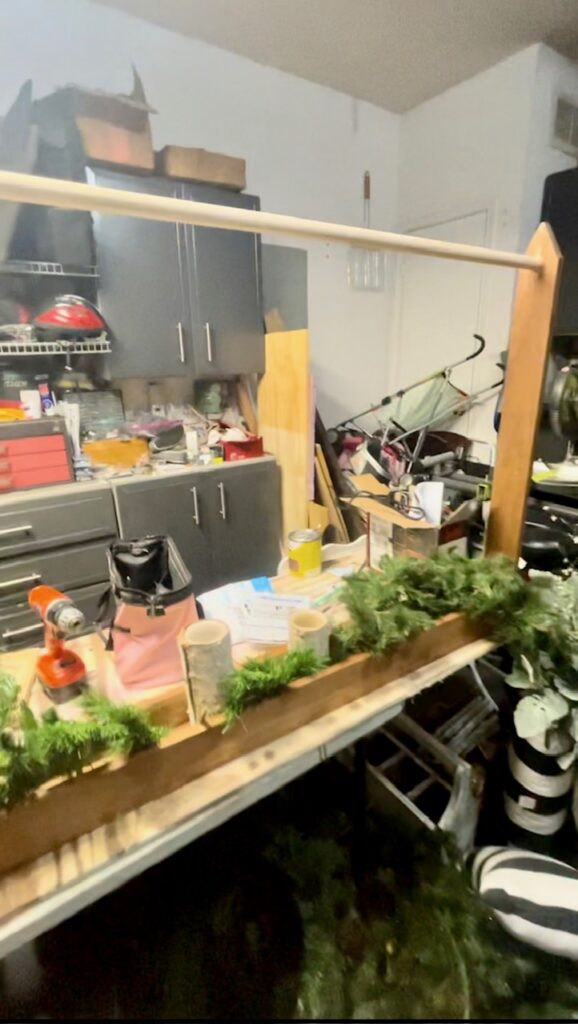
I purchased this dal rod at Home Depot for just a few dollars. Using my 1” spade drill bit I drilled a hole at the top of each side rail and inserted the pole. I stained the entire thing using Verathane English Chestnut, rod and all.
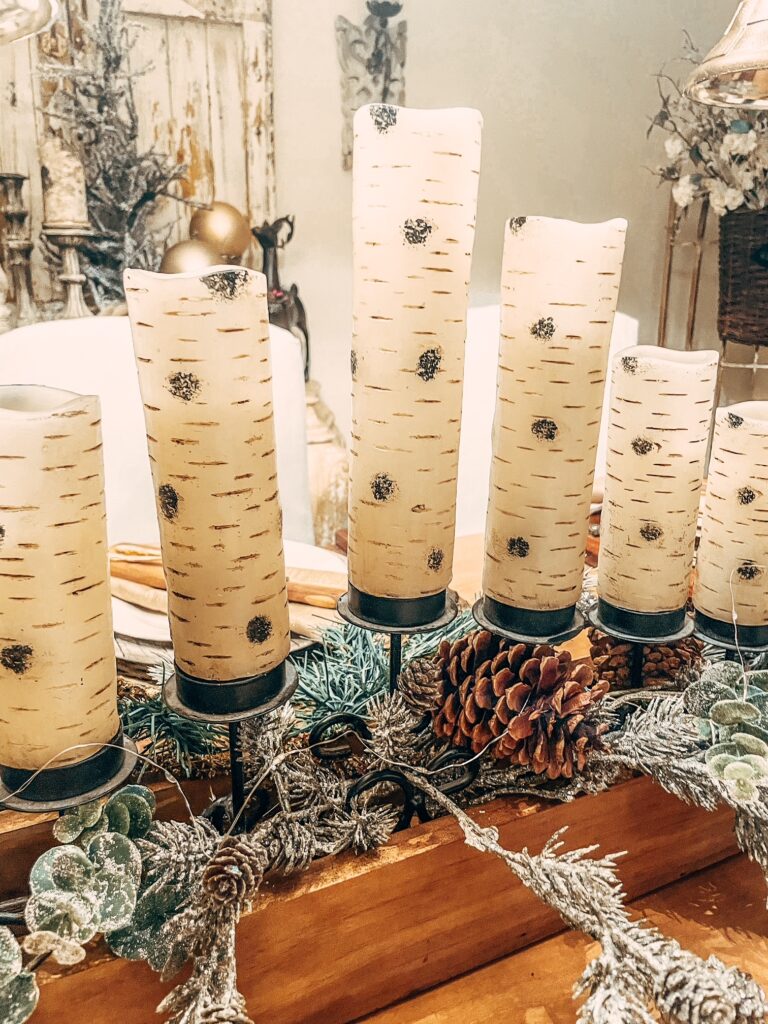
I happened to find a candleholder at a local thrift store that had a stair step design that was exactly what I needed for the look I wanted. It cost me $5.00 and tucks perfectly inside my base container. I simply tucked Christmas stems along the base to hide the candleholder and bottom of the box. Then I added some pine cones as filler. Because I wanted a subtle, more rustic, woodsy look I ordered these birch candies from Amazon. They lend themselves perfectly to the look I was after. They’re remote control which makes it easy to turn off and on without any fuss.
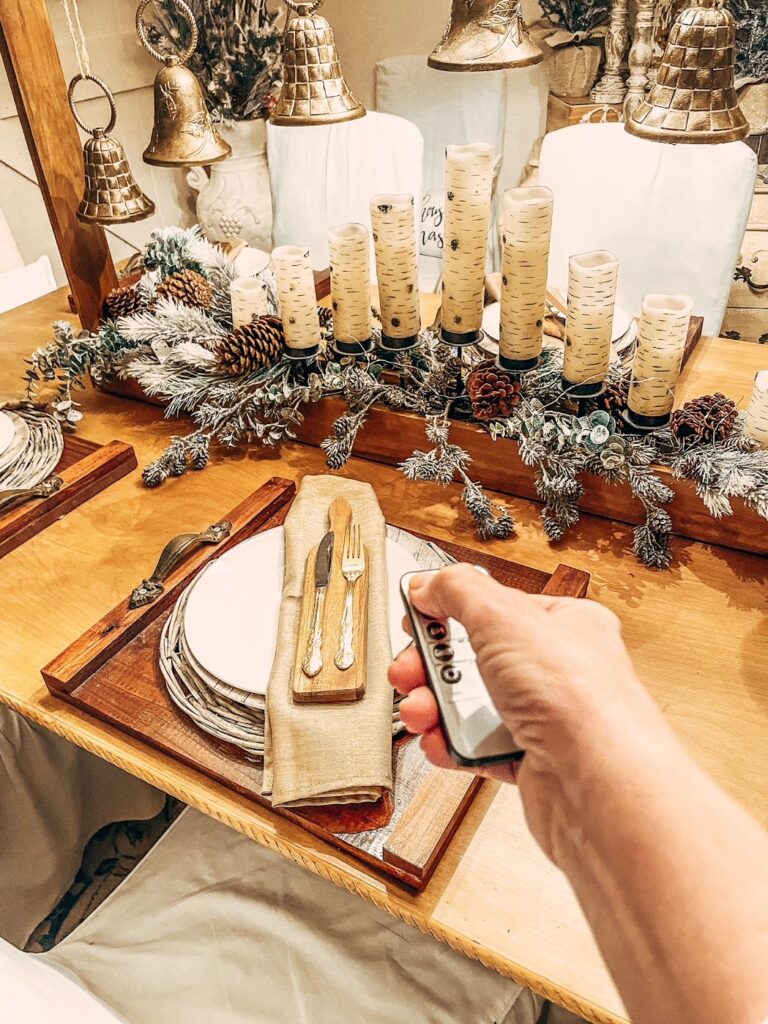
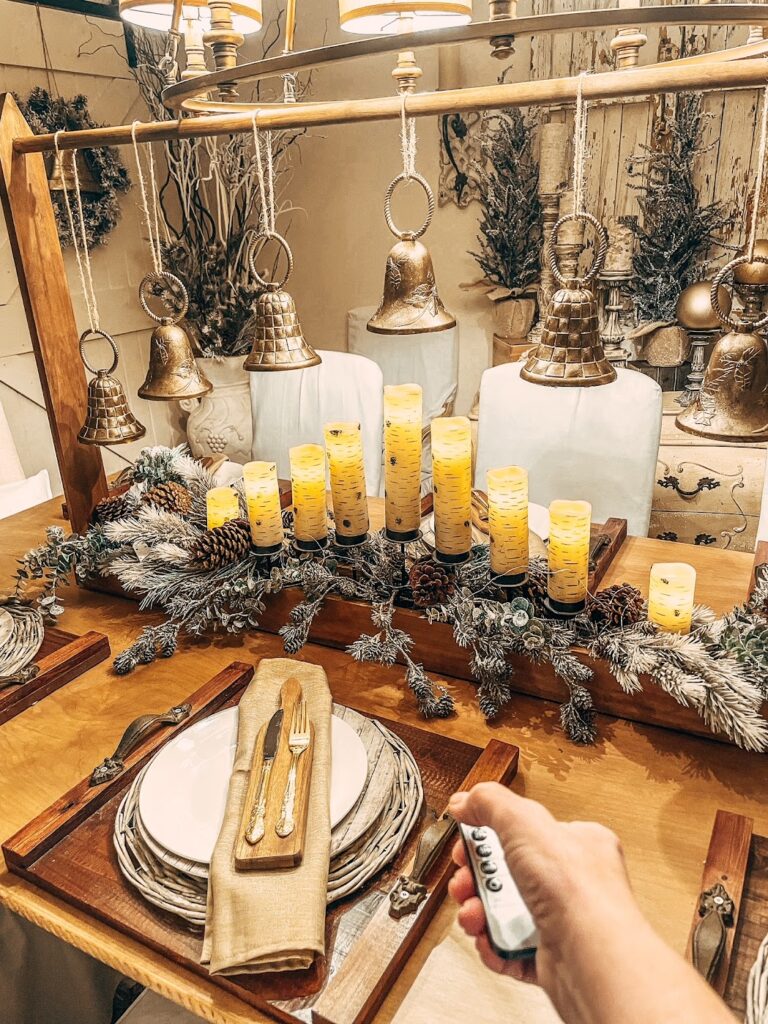
I love the ease of the remote control candles! No fuss…just a simple tap on the remote. Love!
The Faux Metal Technique
To create an added fun Christmas touch to the centerpiece I hung these bells with twine from the rod:
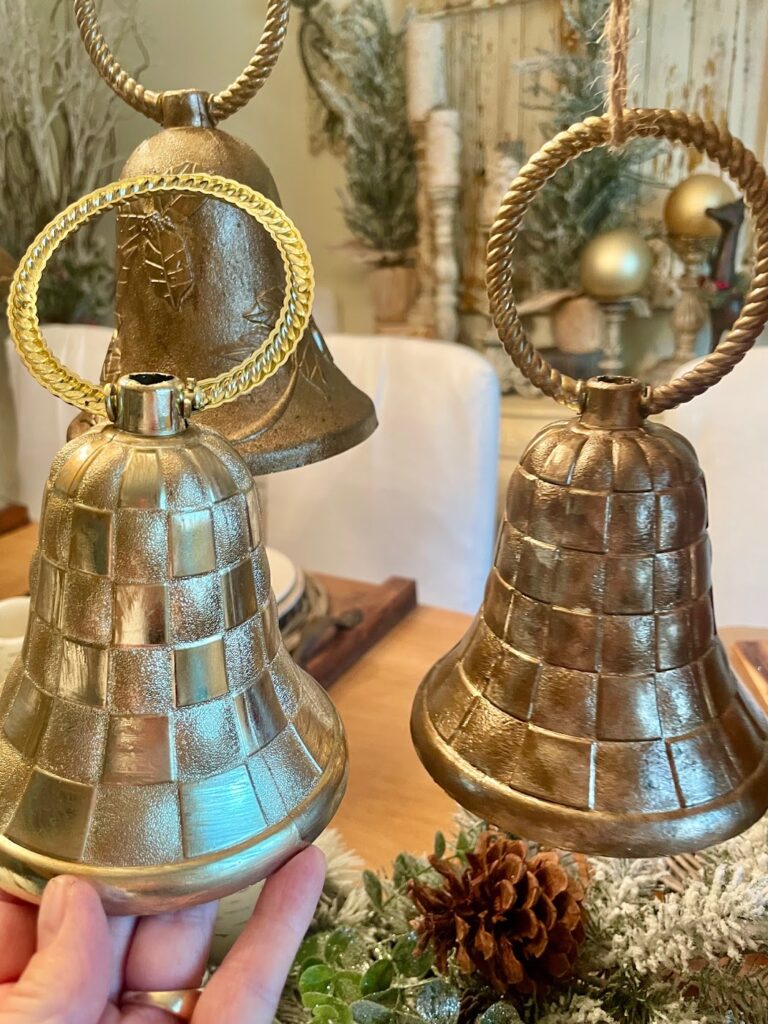
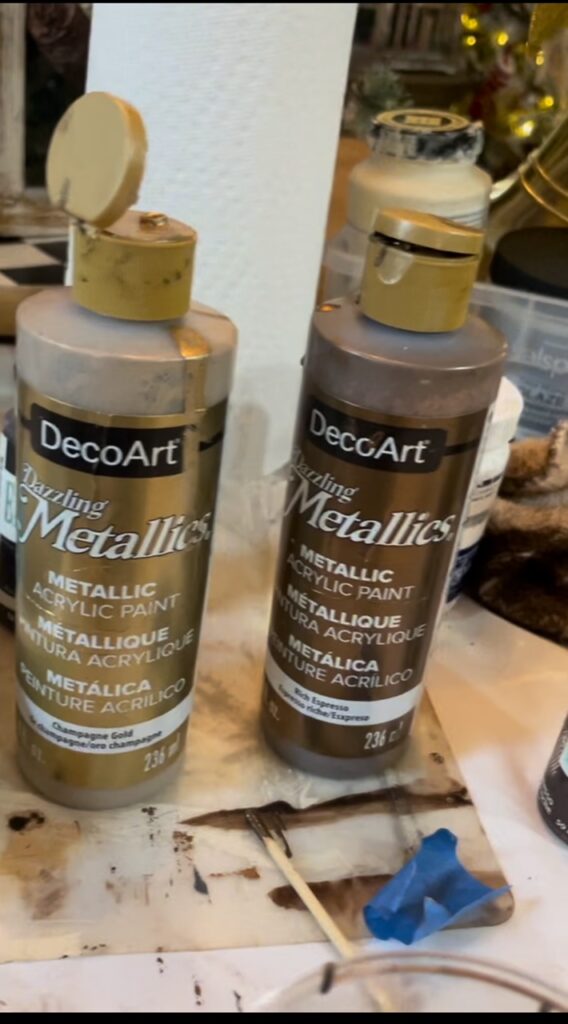
I purchased these bells from the Dollar Tree a couple of years ago and never used them. They’re inexpensive plastic in a shiny, bright gold (on the left) so I wanted to give them a richer, more authentic metal look (on the right). After lightly brushing the bells all over with Burnt Umber I used the metallic craft paint shown below and mixed the two colors together then dabbed it onto the bell in a spackled technique.
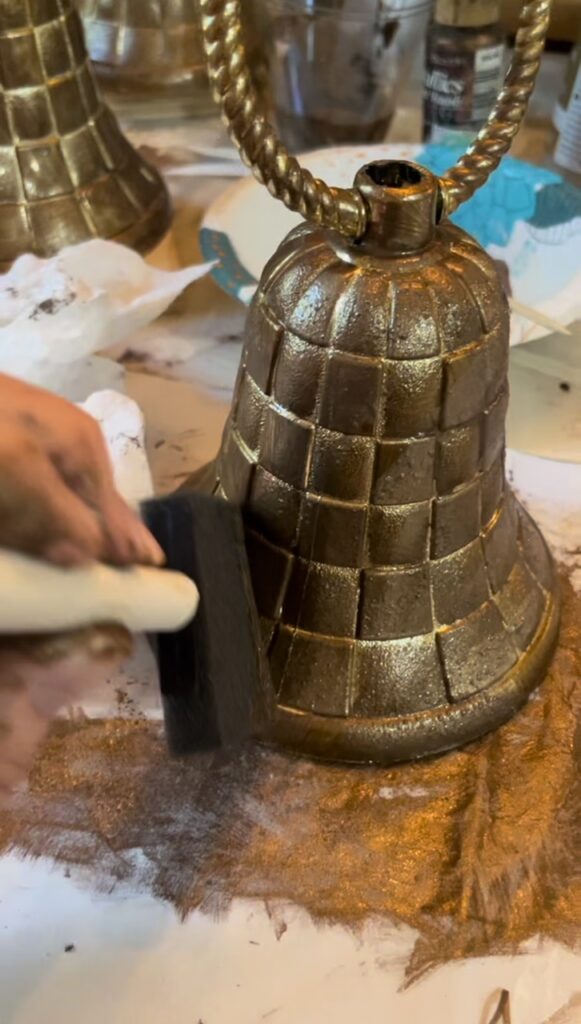
This gave me the look I was after. They look like real aged metal bells now. You’d never know they were actually inexpensive plastic bells.
The Finished Product
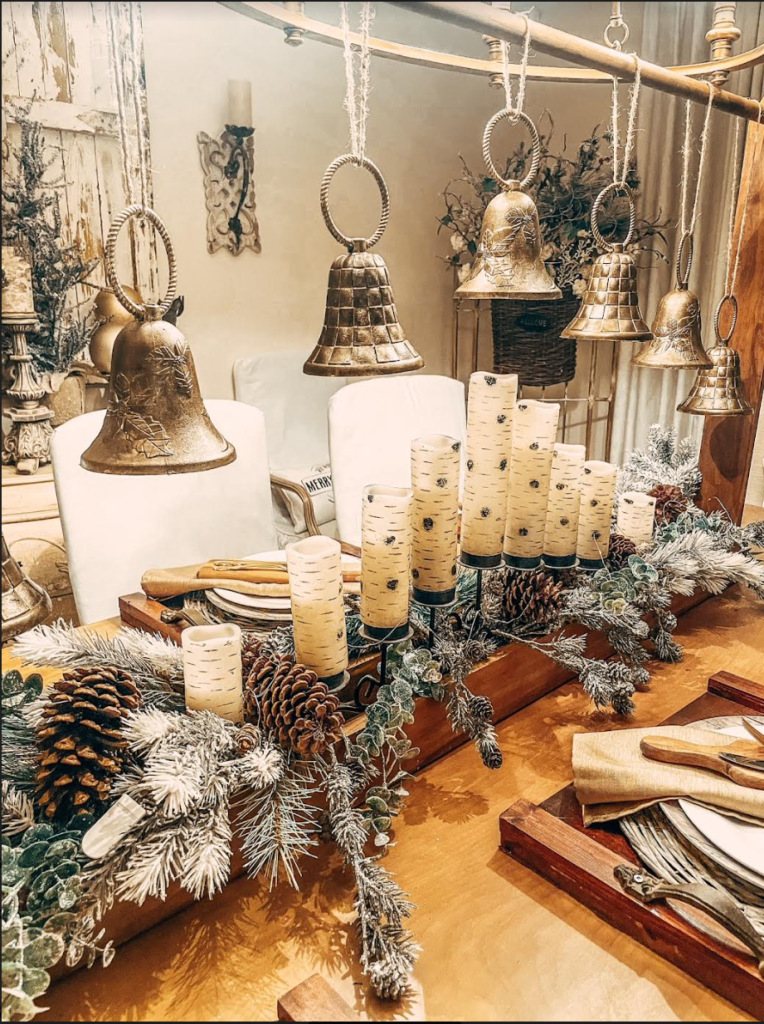
The bells, the box, the candles, the greenery all work together to create this unique, fun centerpiece. Again, since I had the wood, the stain, the bells and the greenery it was a very cost effective centerpiece to create. The dal rod, the candles and the candleholder cost me approximately $40.00. I couldn’t be happier with the way it turned out.
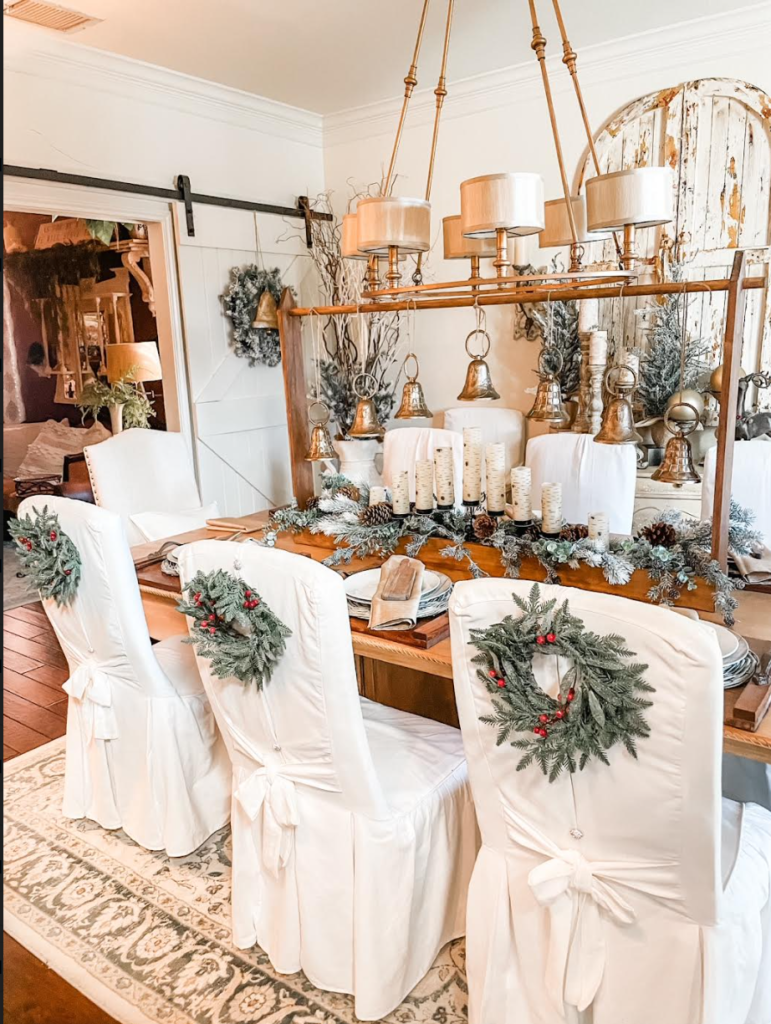
Here’s a daytime look at the space as a whole. You can see I added mini wreaths to the back of my chairs to complete the look.
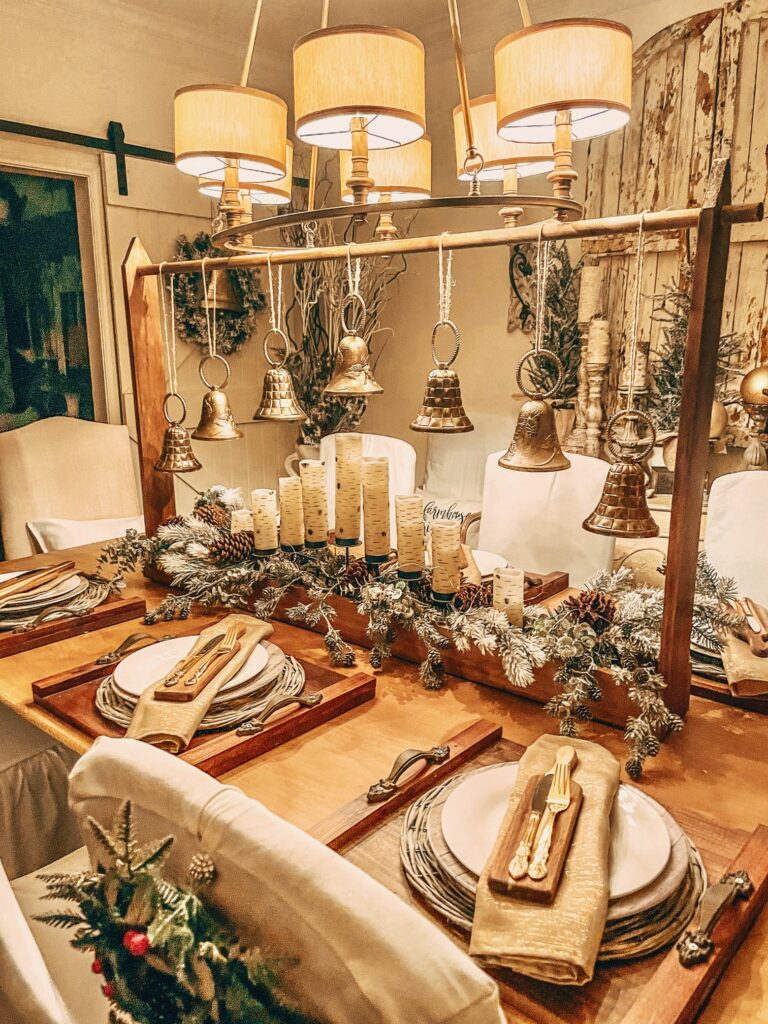
And here is the evening view before the candles are lit.
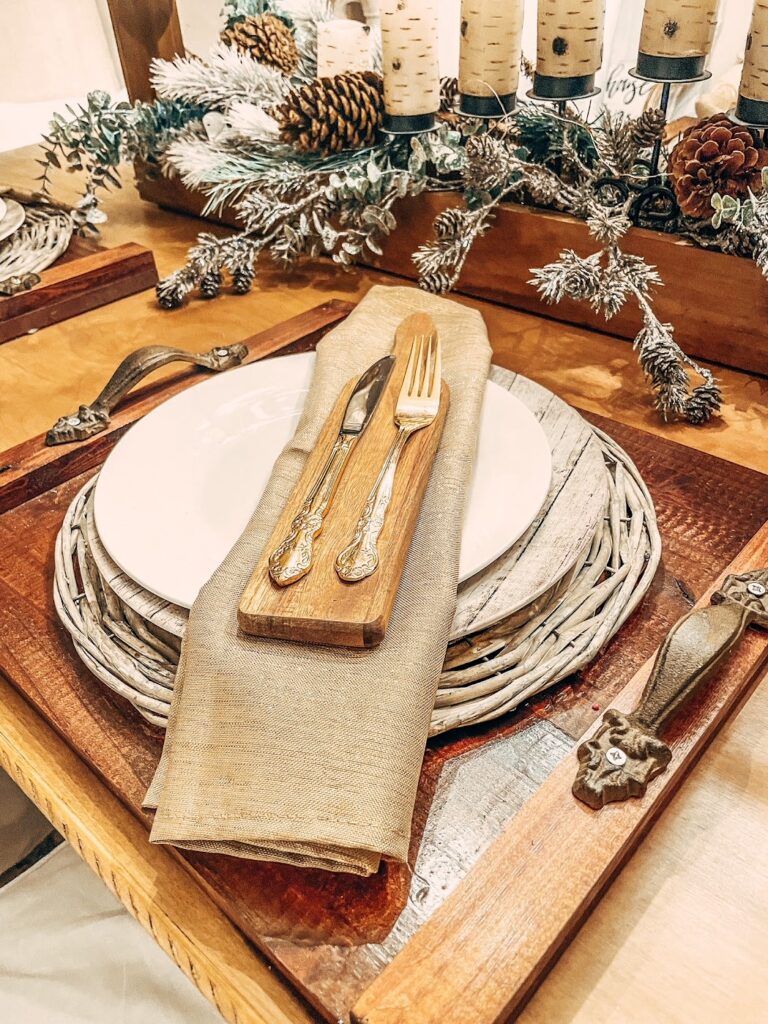
To complete the tablescape I used my DIY chargers and layered my rattan chargers, shiplap chargers, white plate, gold napkins and goldware. It’s very similar to my place setting here. All I did for the Christmas setting was switch out my napkins to gold and my silverware to goldware.
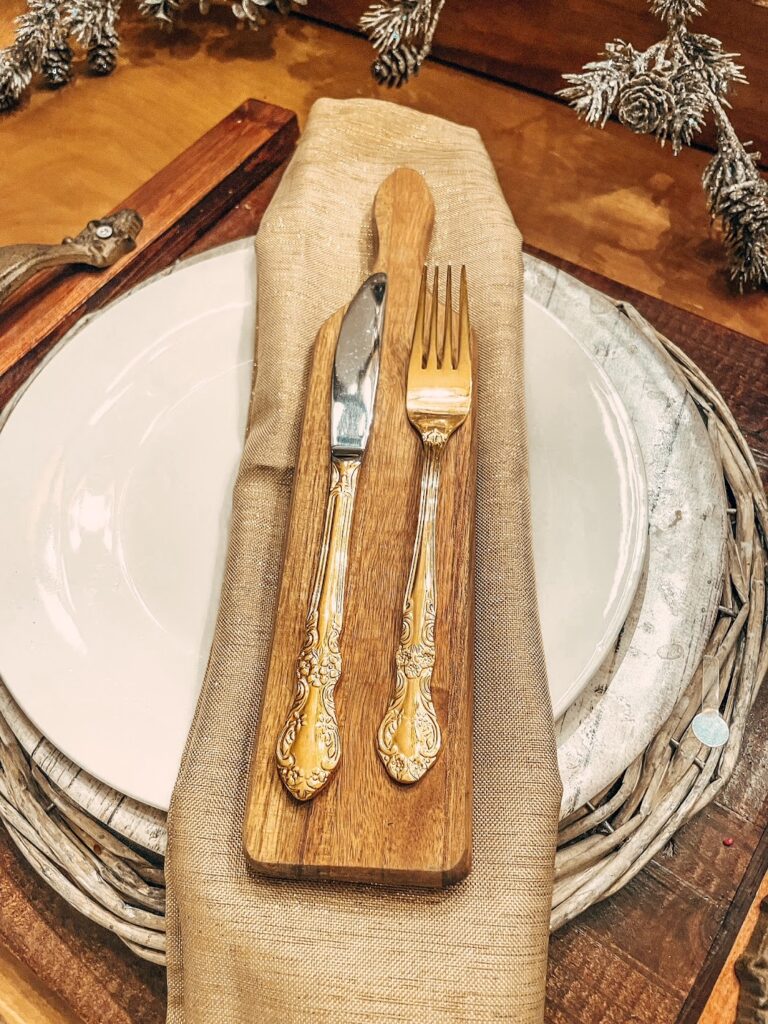
I placed the napkins at an angle on the plate, topped it with these cute mini charcuterie boards from Hobby Lobby and then topped them with my goldware.
And as a fun side note this piece is interchangeable depending the the theme. Check out the pictures below to see how I used this for my daughter-in-law’s baby shower:
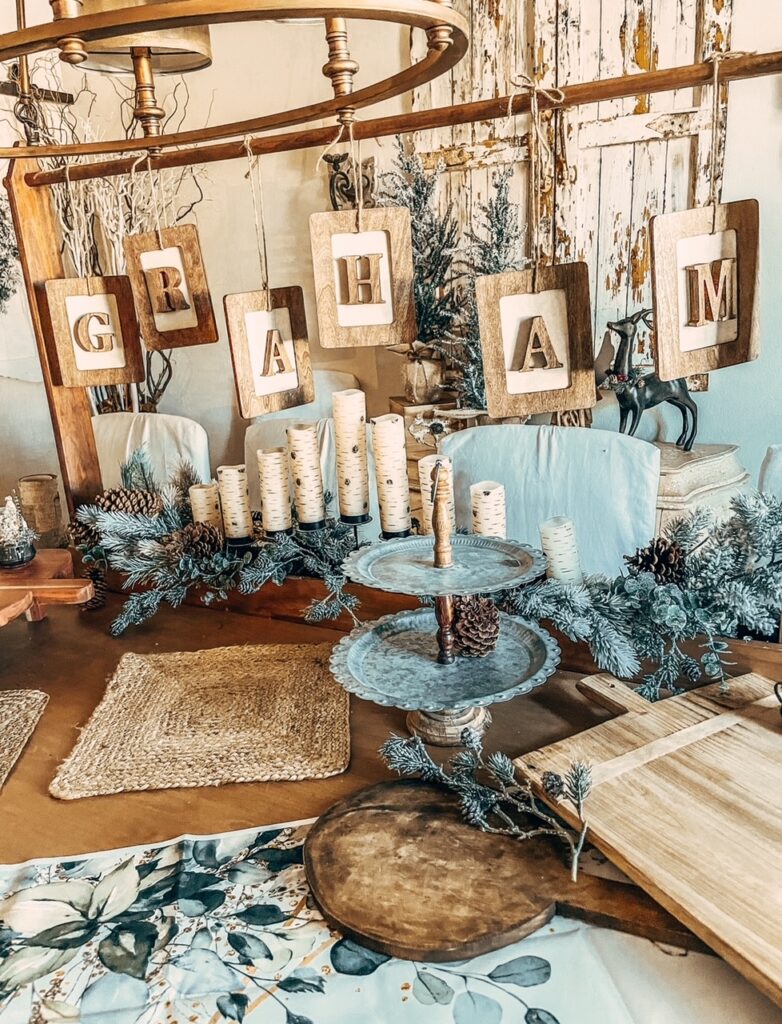
I purchased these frames and letters from Michaels and stained them to match. The letters spell out my grandson’s name. Another fun use for a piece like this.
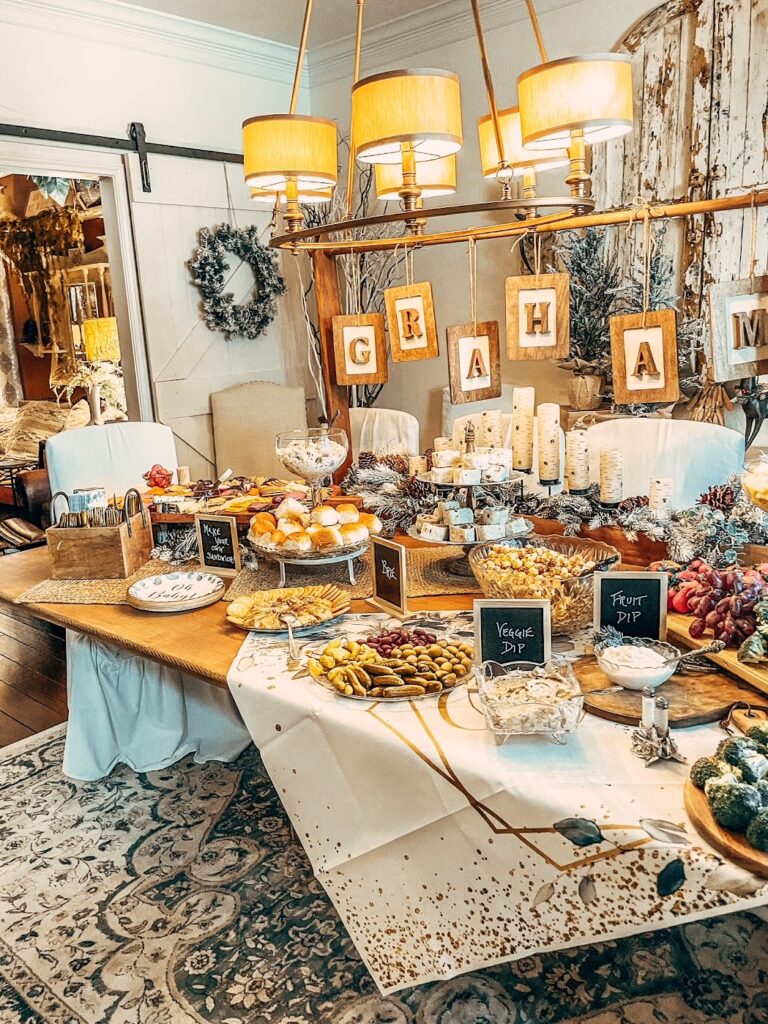
So much fun! I hope this has given you a bit of inspiration and motivation to create your own unique Christmas Centerpiece on a budget. One that you can actually keep out year round and use for a multitude of themed or seasonal gatherings.
Please be sure to check out my friends and fellow designing women Crystal and Kristy below for more holiday inspo!

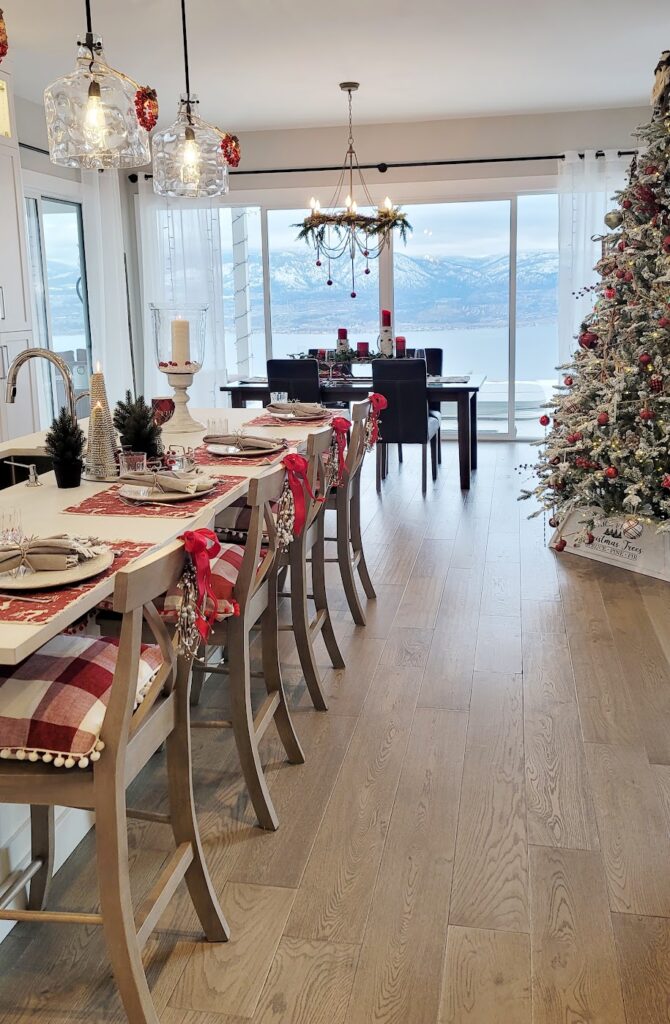
Crystal with Sweet Valley Acres
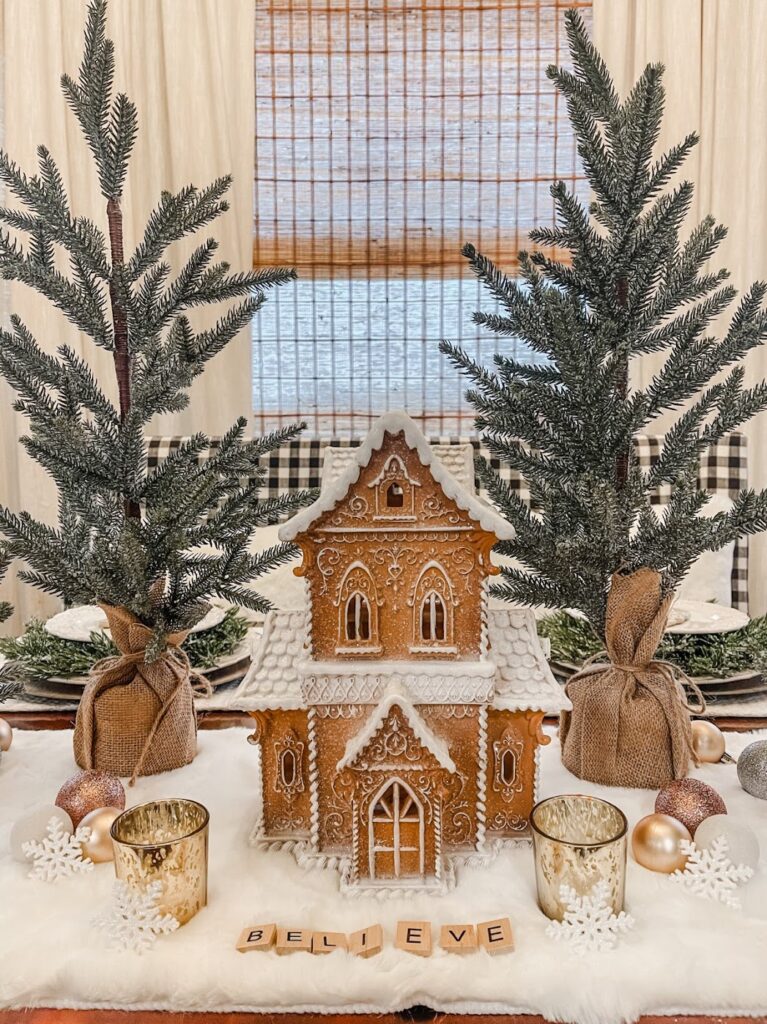
Kristy with At Home With Kristy
Happy Decorating, Merry Christmas and Happy Life By Design!
I love your beautiful French Farmhouse Christmas Dining Room and all of the pretty details, Sheri! That over-the-table centerpiece is awesome. I love its versatility and that it wasn’t expensive at all to make.
Sheri your talent shocks me. I love it that you see something and then are able to recreate it all on your own. What a fabulous job you did too! As always I love your styling which is so warm and sophisticated. I am so happy that you refinished the bells because now they are perfect! Wow!!! Fantastic! A+++++++++