You may or may not have seen any of my previous staycation posts, but this is something my family has been doing the last few years as a way of just hanging out and enjoying each other for the weekend. Nothing fancy, pretty simple actually, but a lot of planning goes into each one. What I like to do prior to each family staycation is come up with a fun, unique, customized invitation for each of my kids to sort of set the stage for the weekend.
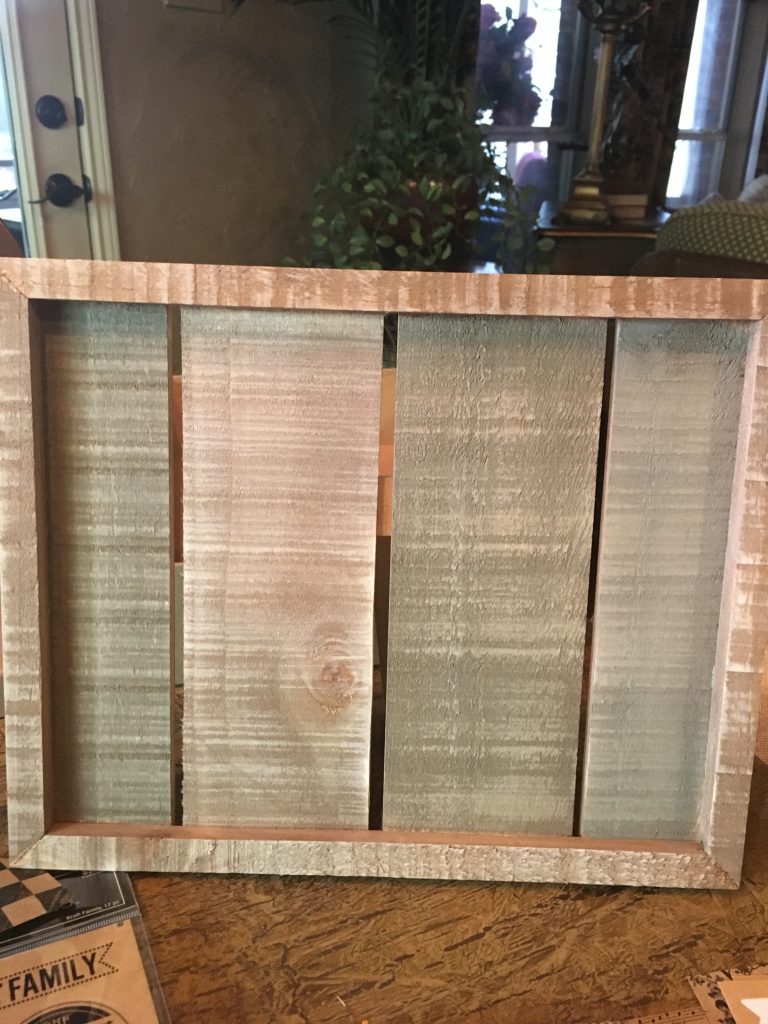
This year I was a little stumped as to what I wanted to do so I just decided to peruse Hobby Lobby for awhile to see what all they had that I could create something unusual with. After looking at several different things I decided on starting with this wooden frame. It has a little stand on the back so that it sits upright like a regular picture frame so it would be easy to work with and it would be something they could keep and use for their own purposes after the weekend..
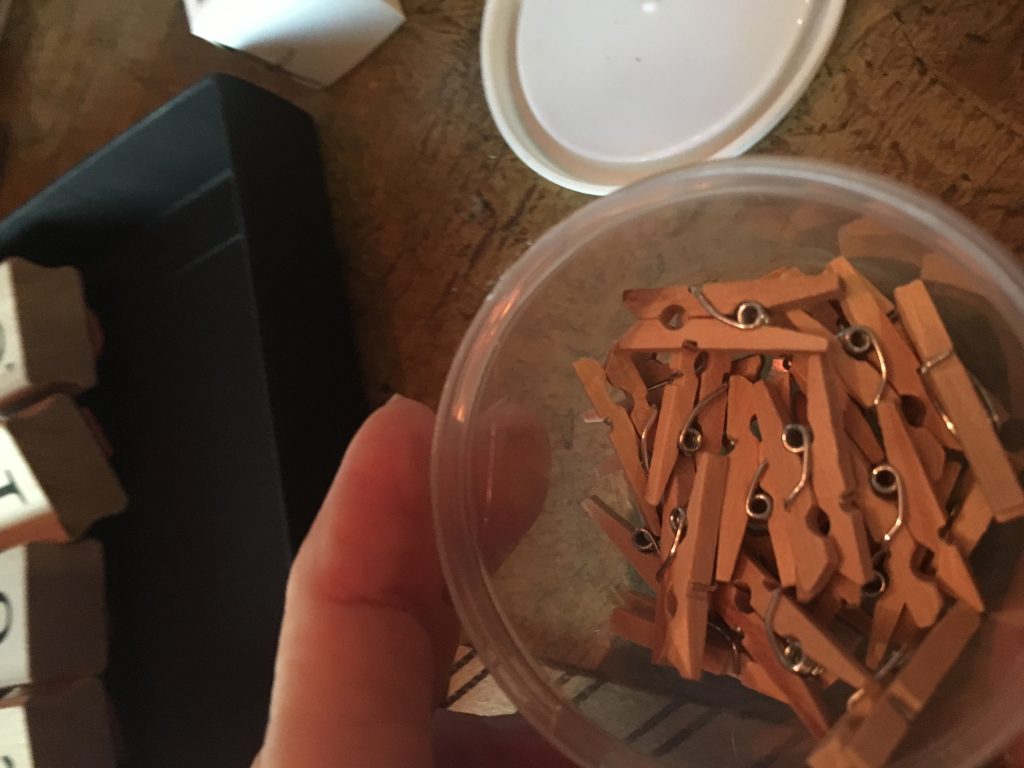
Then I bought a couple of packages of these little clothes pins.
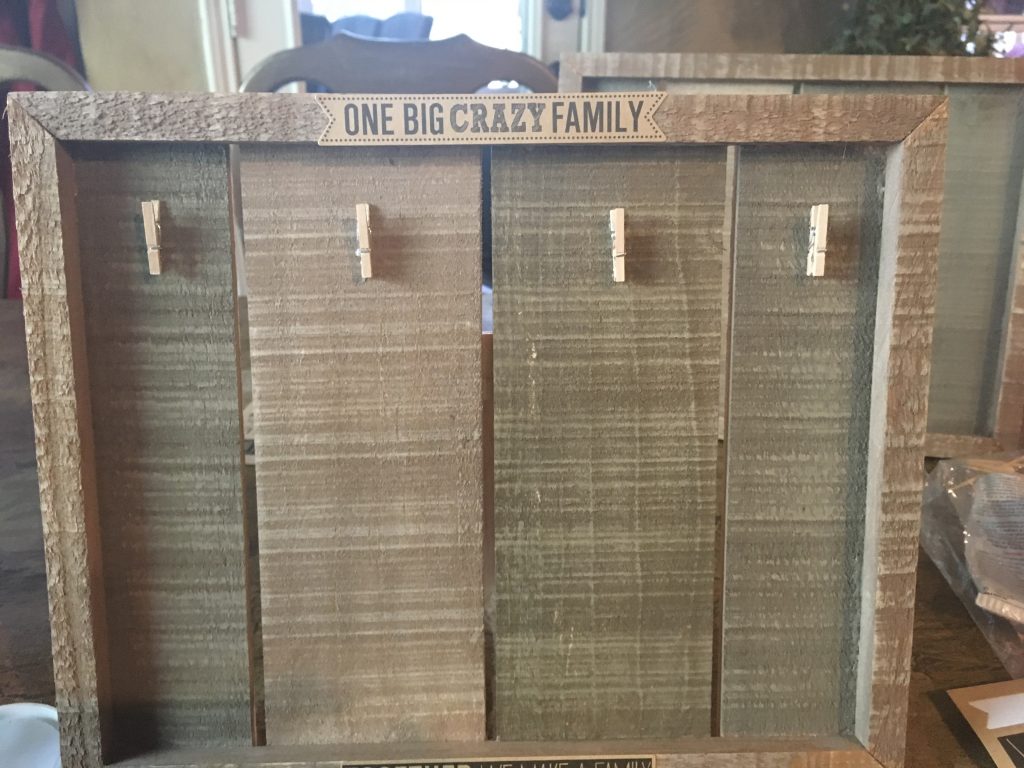
And glued then to the top of each plank.
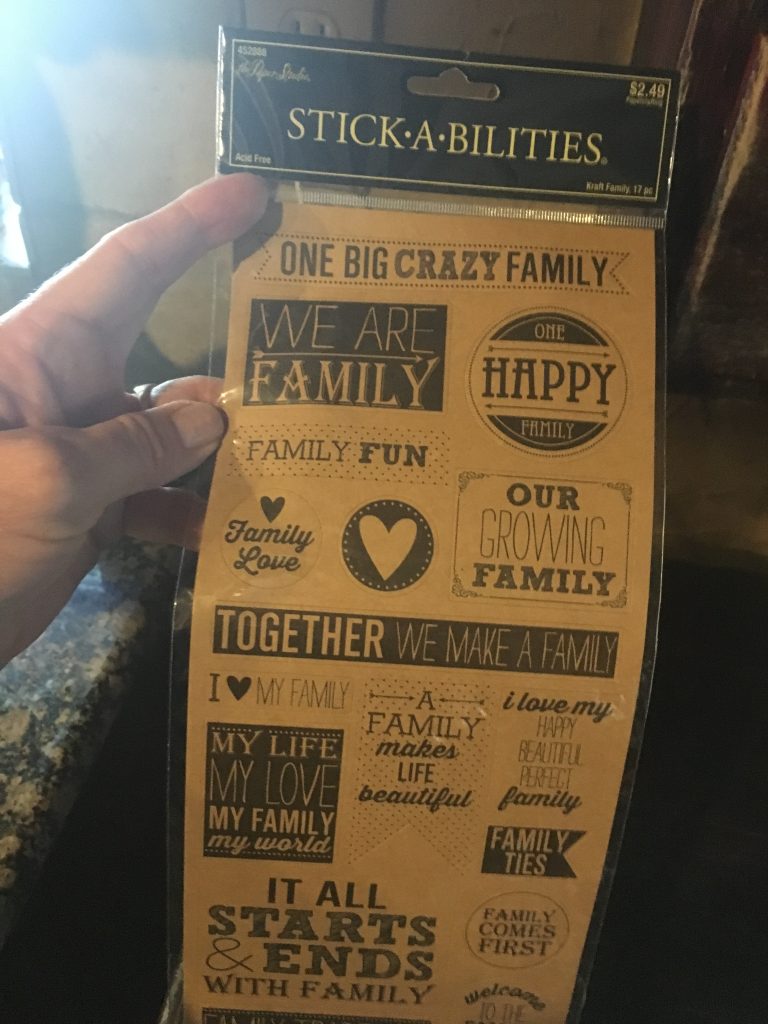
I bought a couple of packages of these fun family themed stickers to use for my “family” theme and for the cards for the invitations.
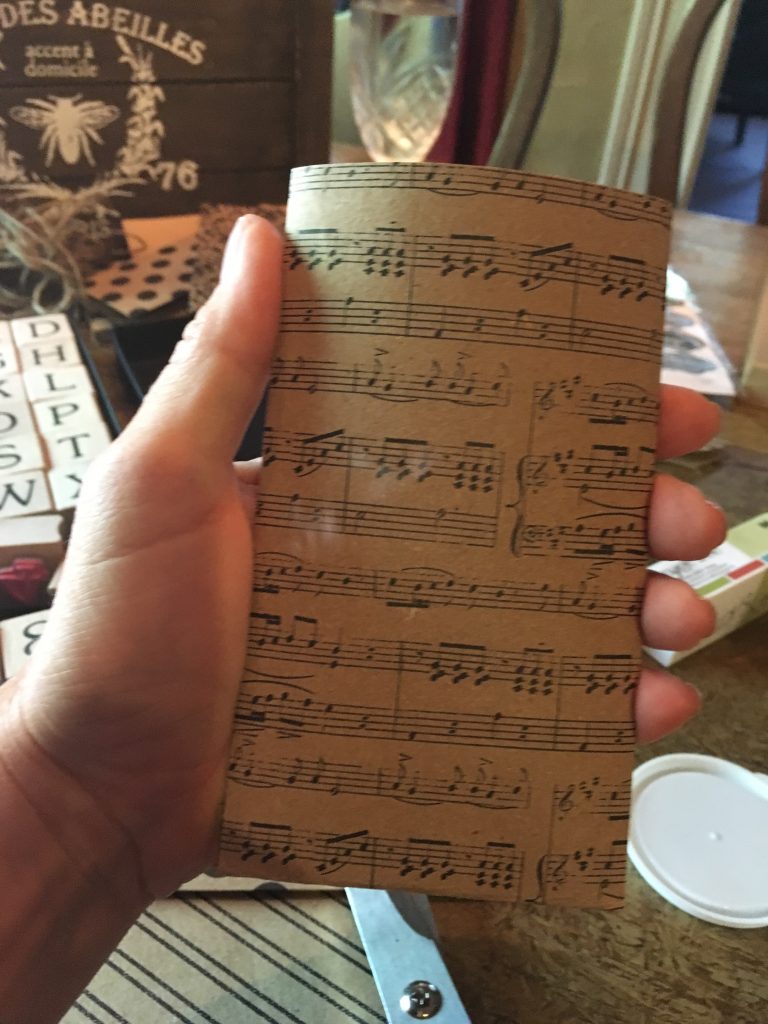
Next I bought a package of decorative craft paper. The package was in tablet form with 12″x12″ craft paper in a variety of different patterns. (Sorry I don’t have a picture of the actual tablet) I was able to mix and match all sorts of patterns to create a little more fun and interest.
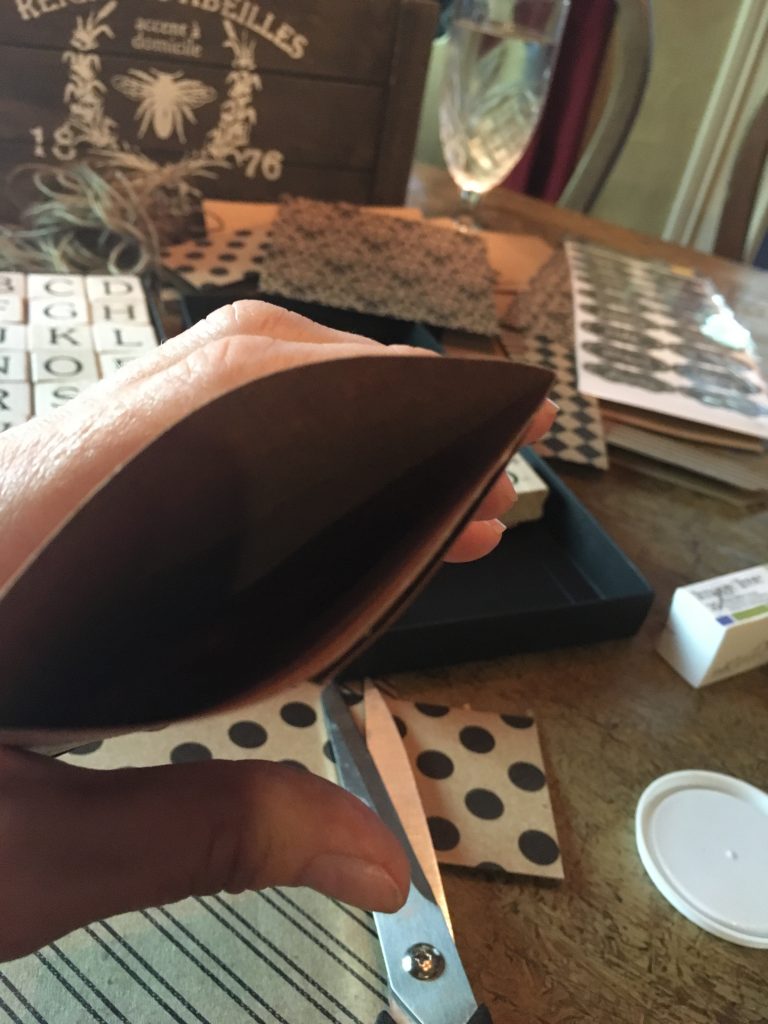
I formed some small envelope type packets with the craft paper to attach to the frames.
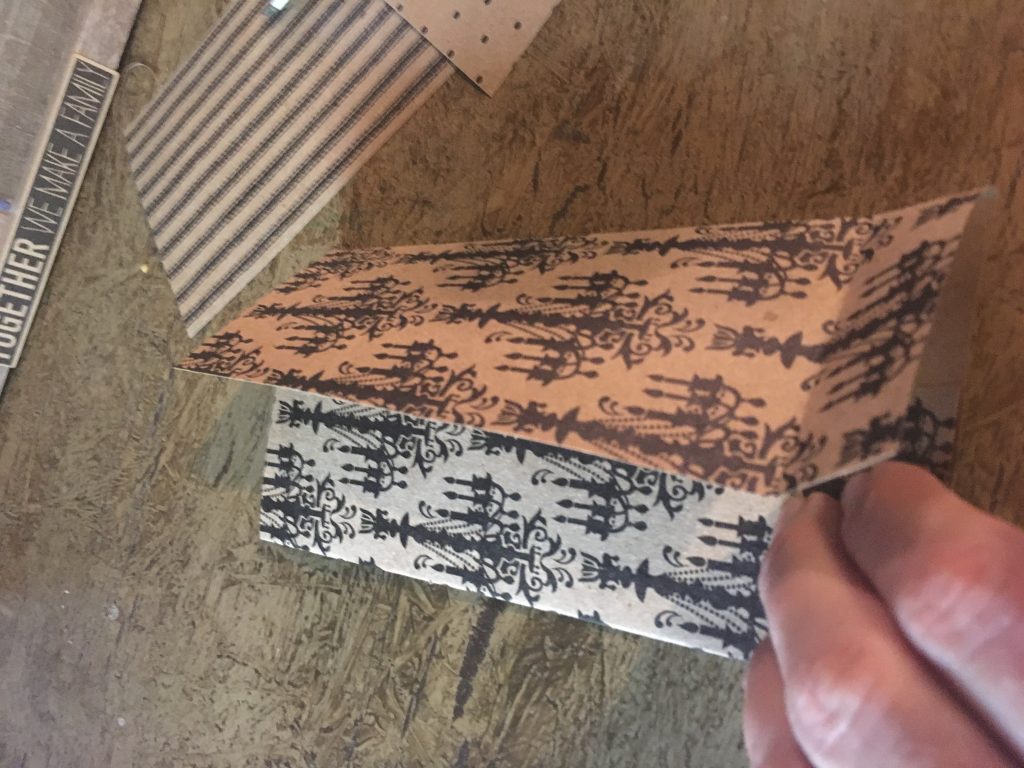
I folded both sides to the back leaving the front smooth..
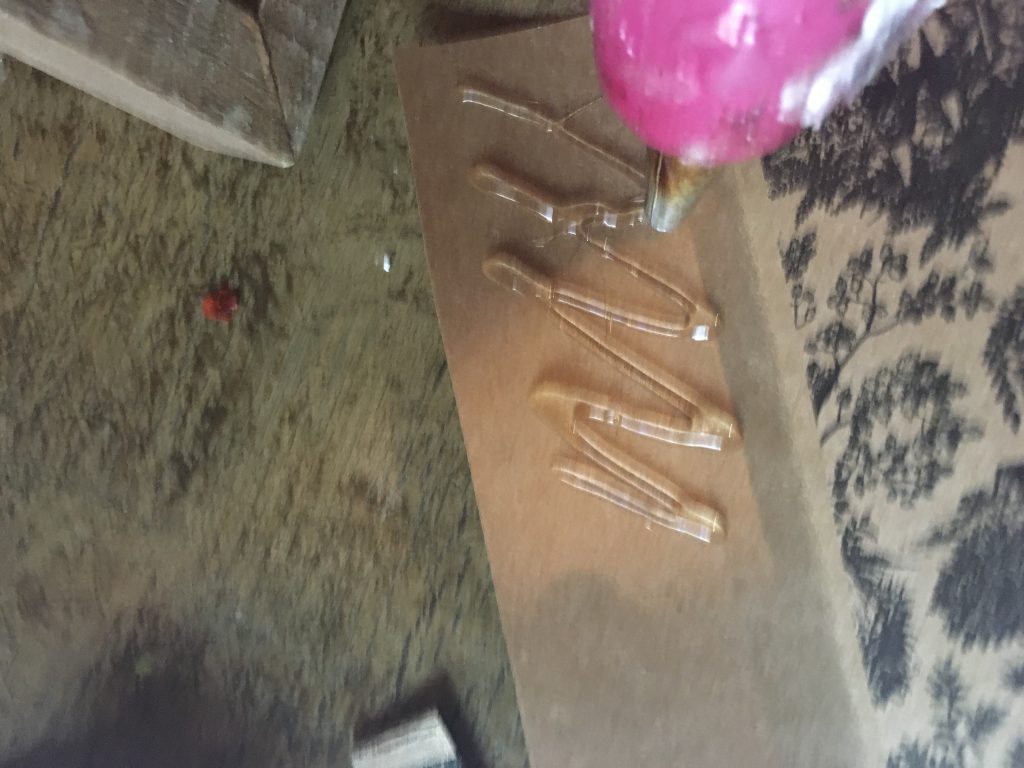
Then glued the back shut. Sorry for the blurry picture, but you get the idea.
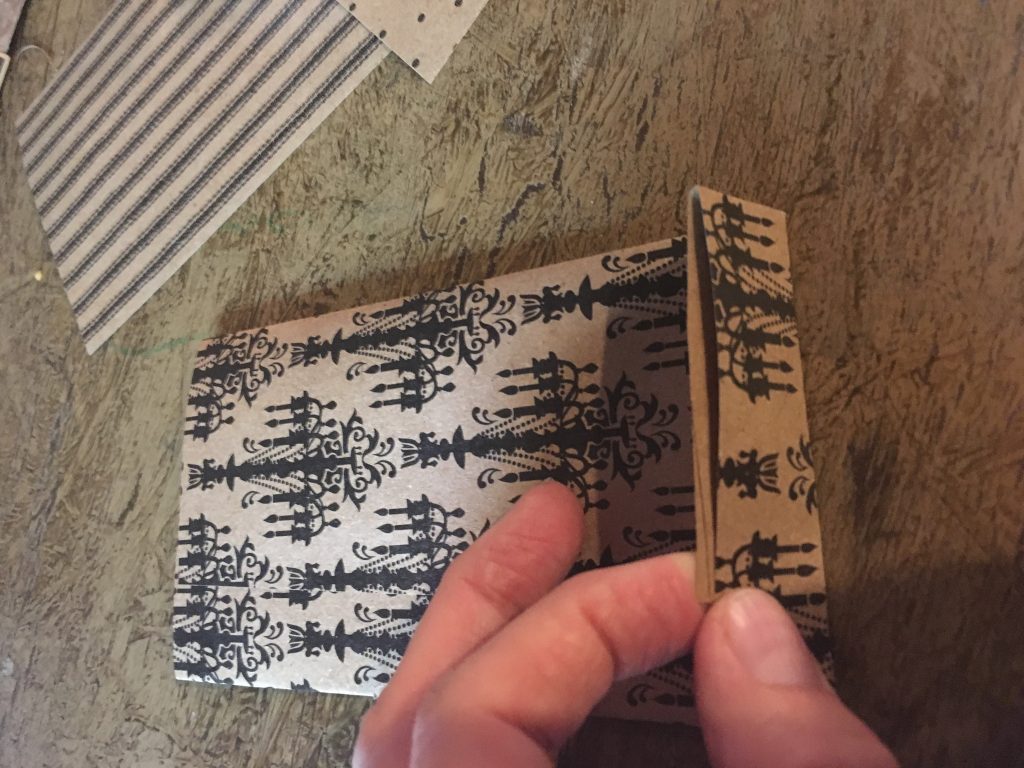
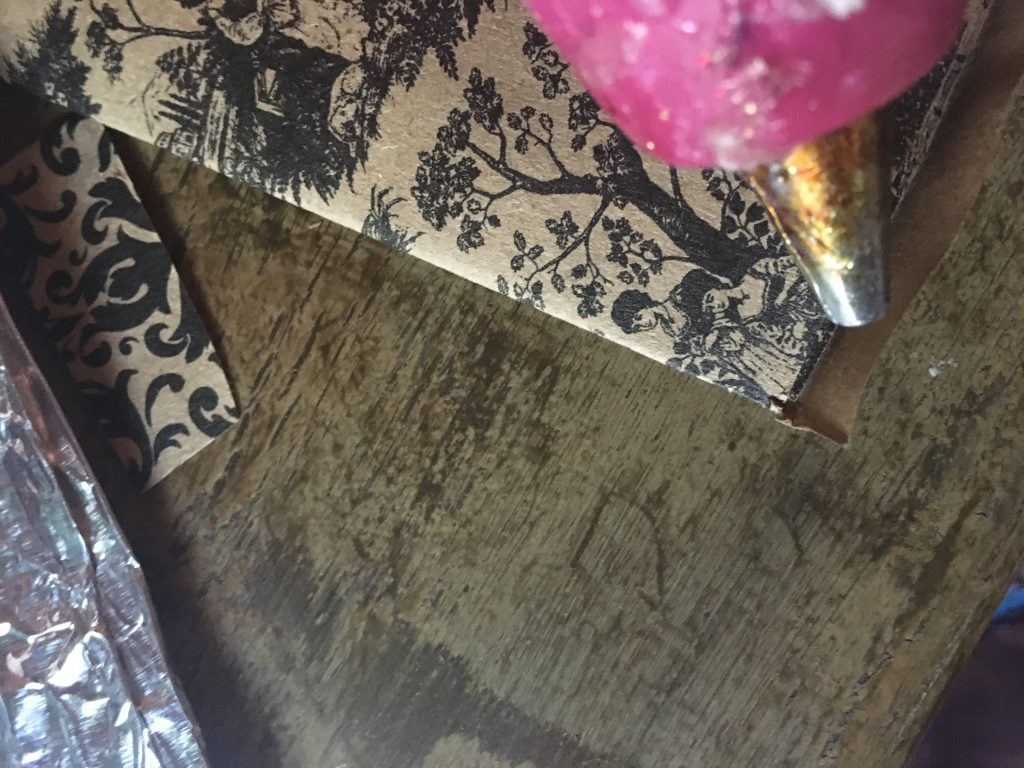
Then I folded up the bottom edge, cut away the excess bulk of paper and glued the bottom shut.
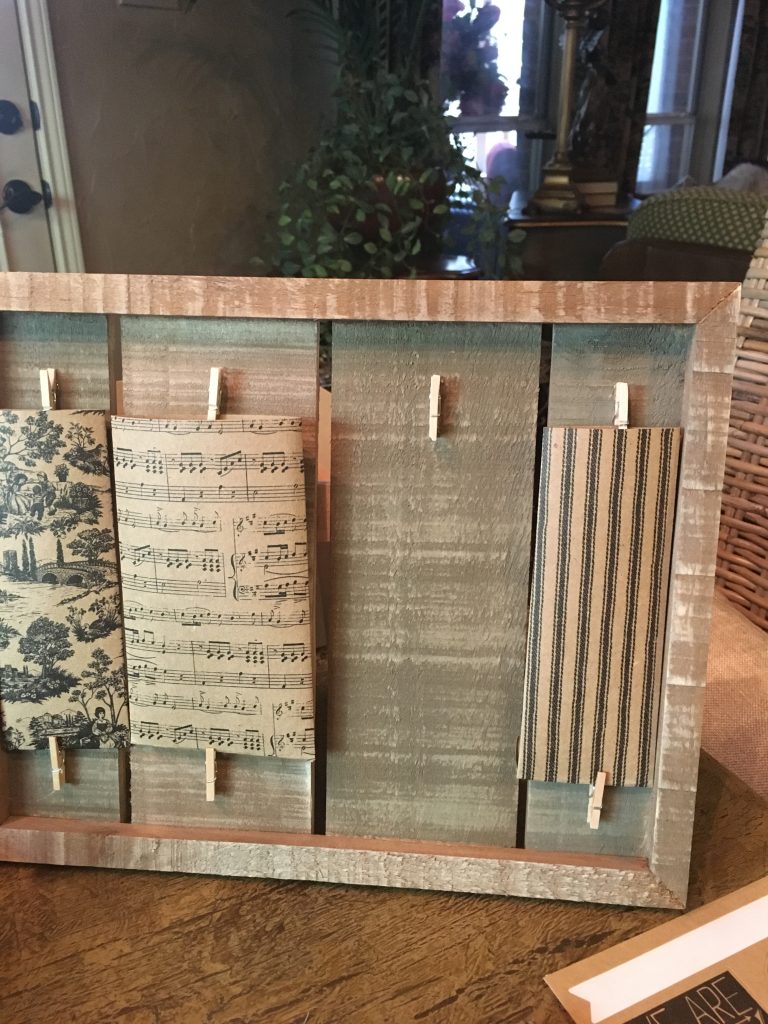
Next I clipped each envelope to the clothes pins.
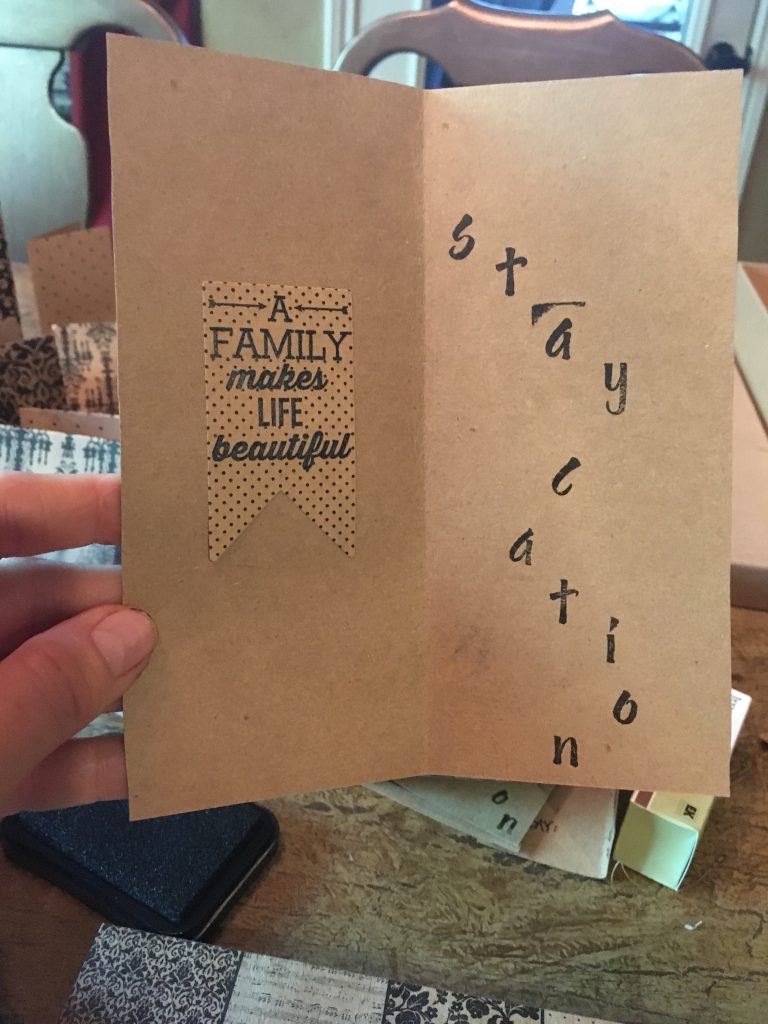
. I made little cards creating different shapes at the top to spell out the weekend. I messed up on this one, but – once again – you get the idea
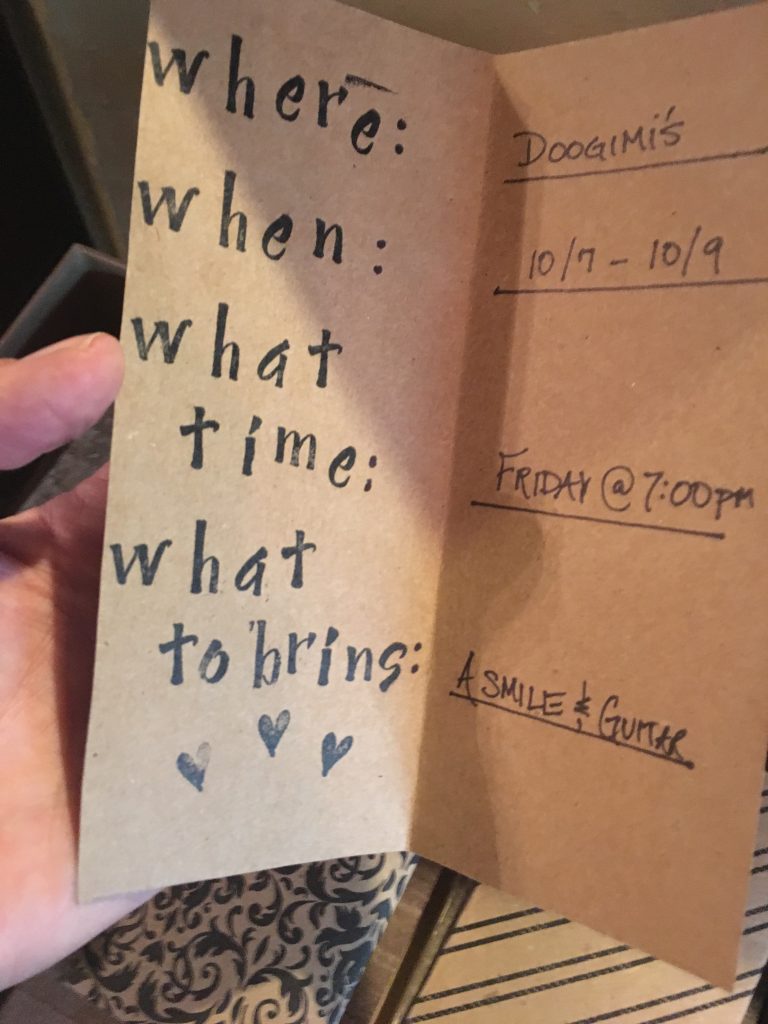
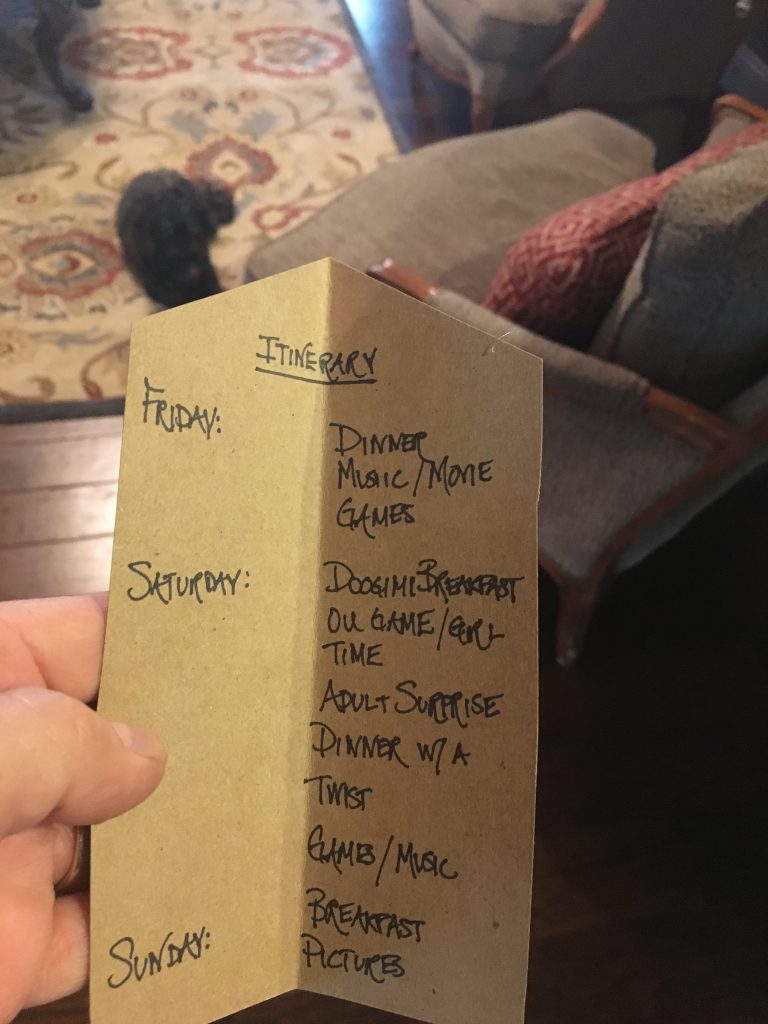
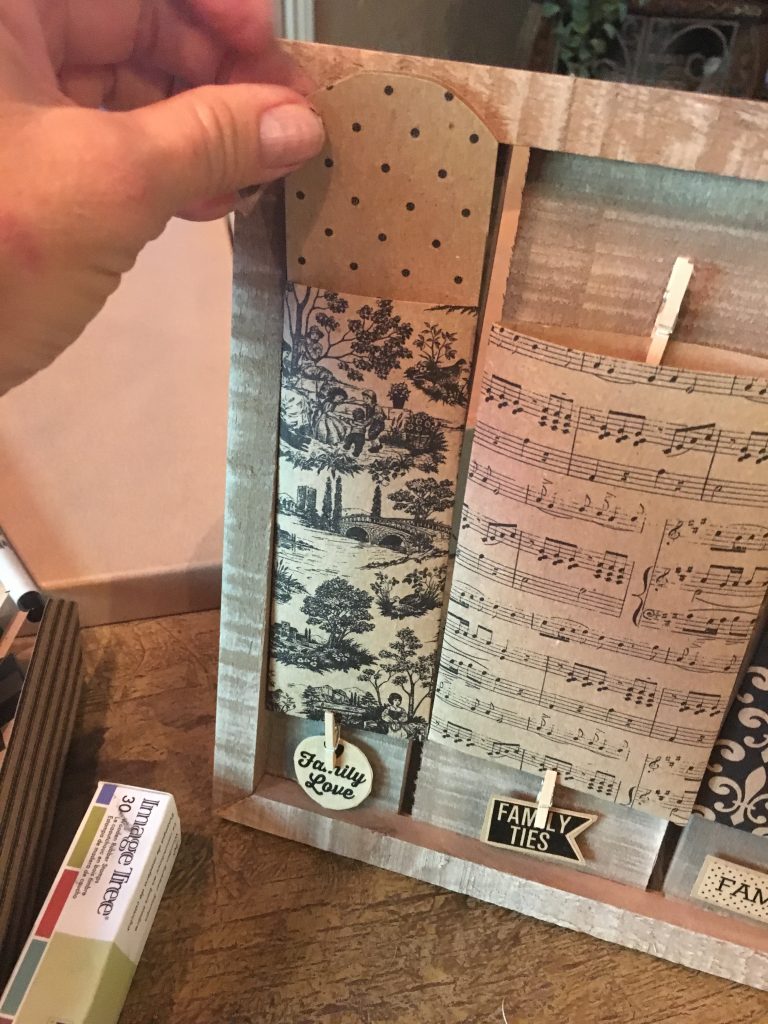
I placed each card inside each envelope making sure to mix all the fun patterns and shapes.
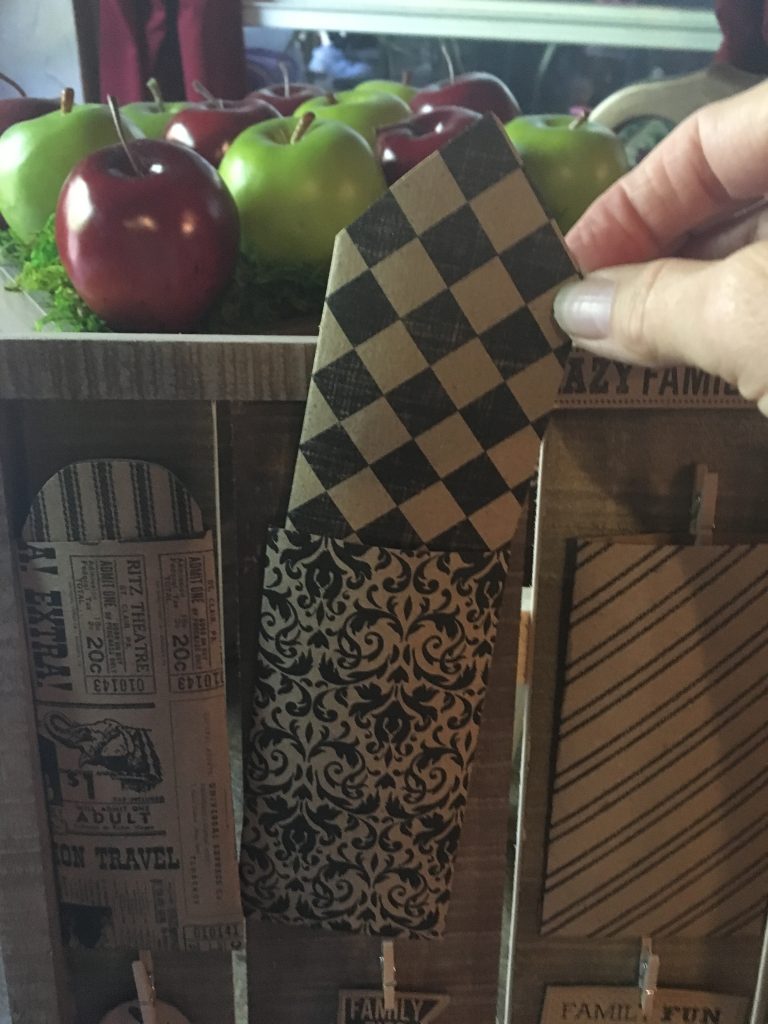
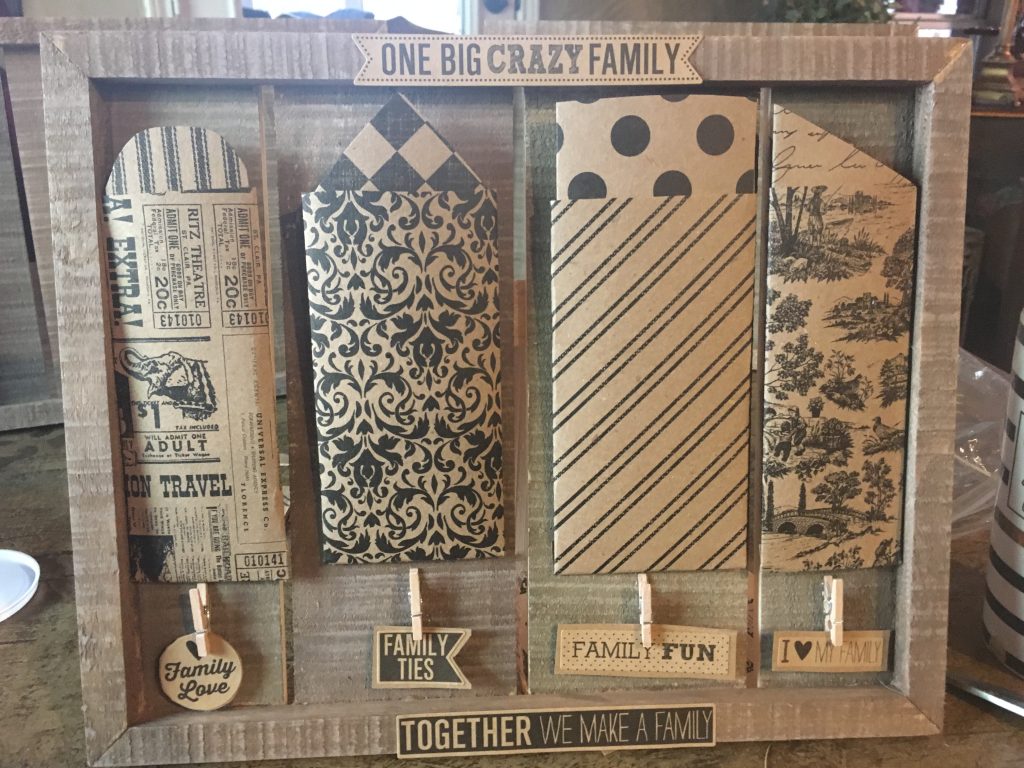
I added stickers to the top and bottom of the frame and clipped on more “family” stickers at the bottom to continue with the theme.
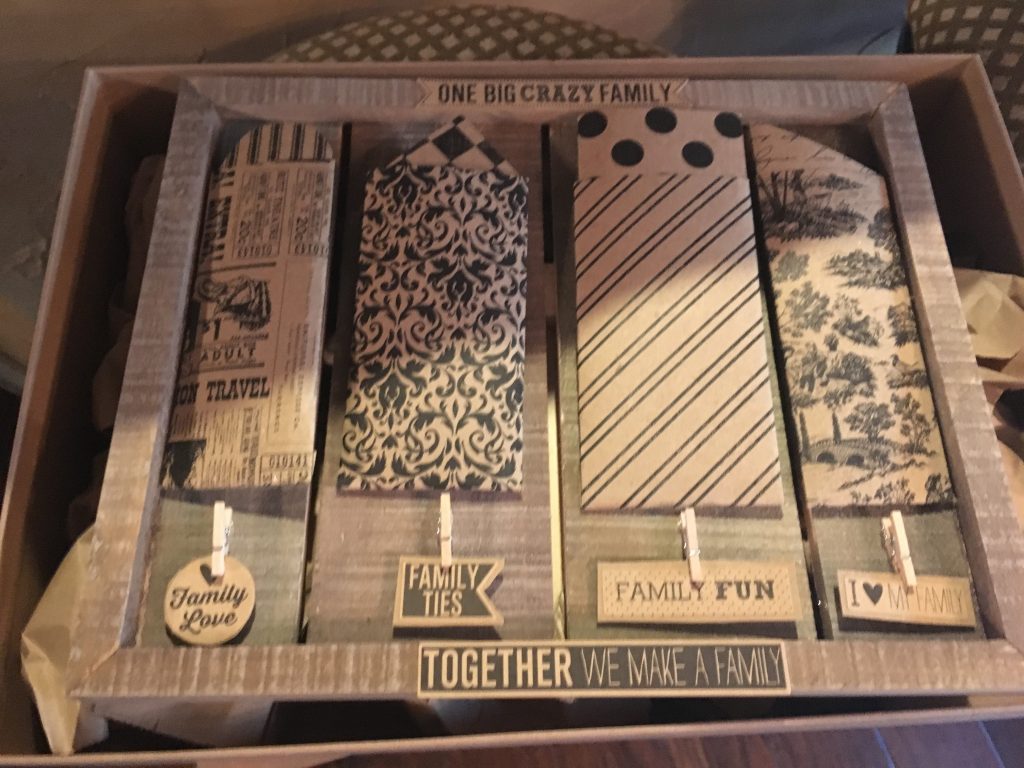
I found some great cardboard boxes just the right color, size and shape – except for the depth. I stuffed some matching wrapping paper on the bottom so the frame would sit on top and not move around too much.
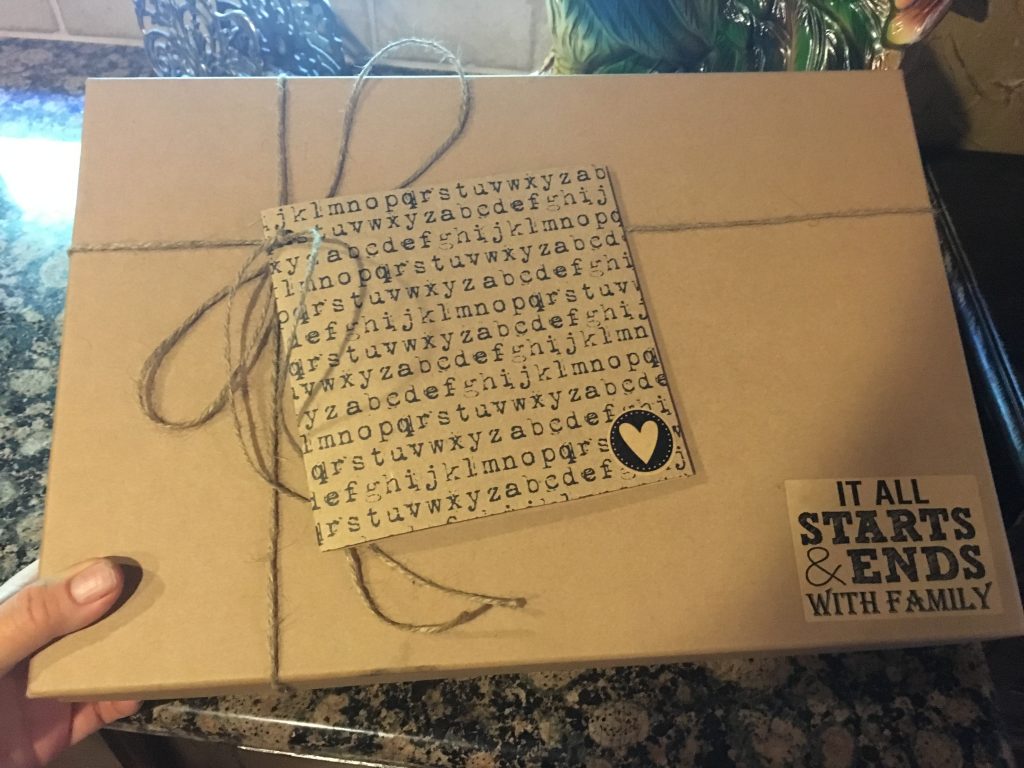
Then I created another little card for the front and tied string around it for bow.
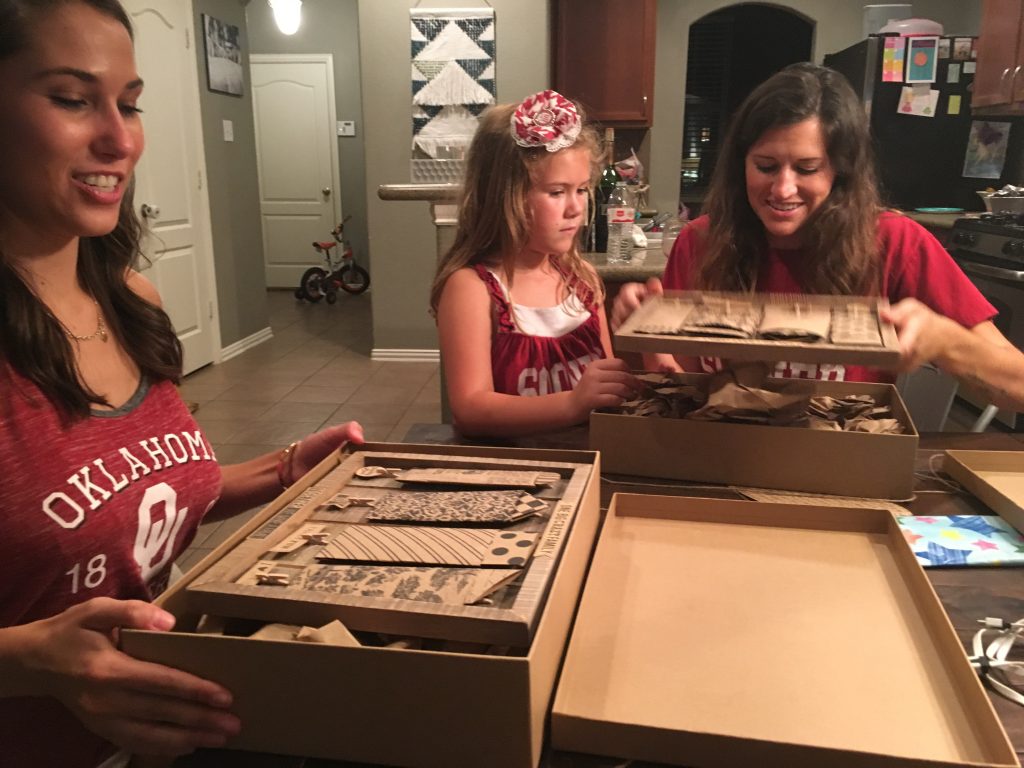
When we all got together for an OU game/birthday celebration at my son and daughter-in-law’s house I gave both my daughter-in-law’s their invitation. As you can imagine the boys were more interested in the game! Hmph….go figure! (My daughter is at college at OSU and couldn’t be there so hers would wait till she was home the next weekend.)
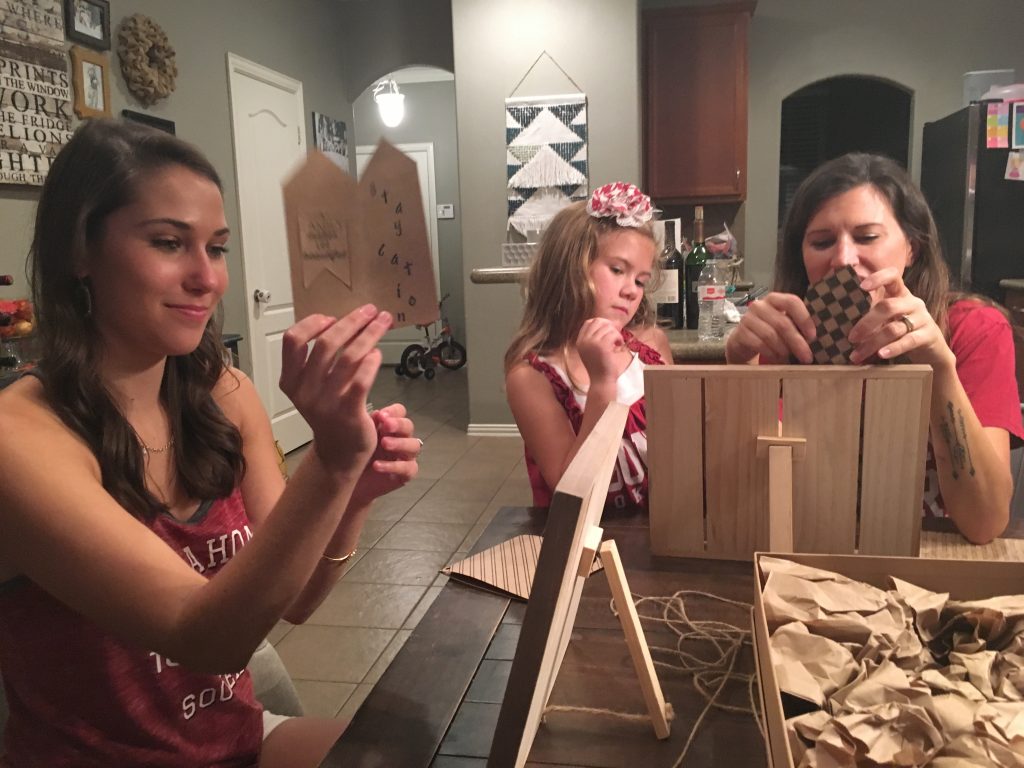
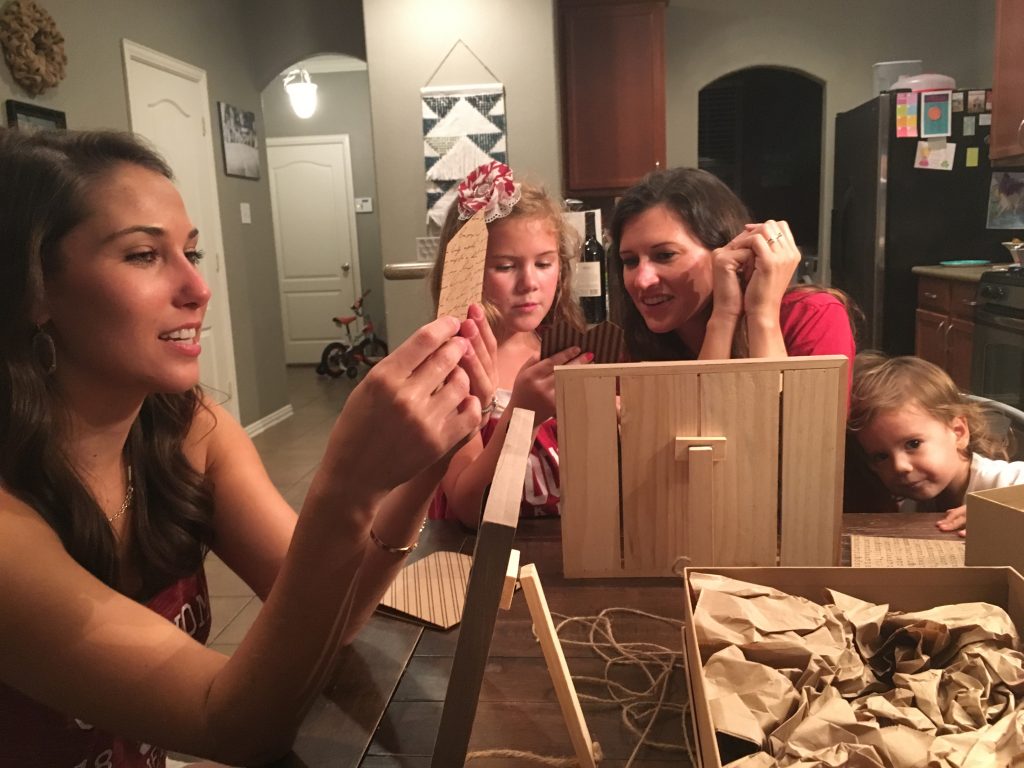
Two of my excited grandkiddo’s joined in on the fun and helped mama with hers.
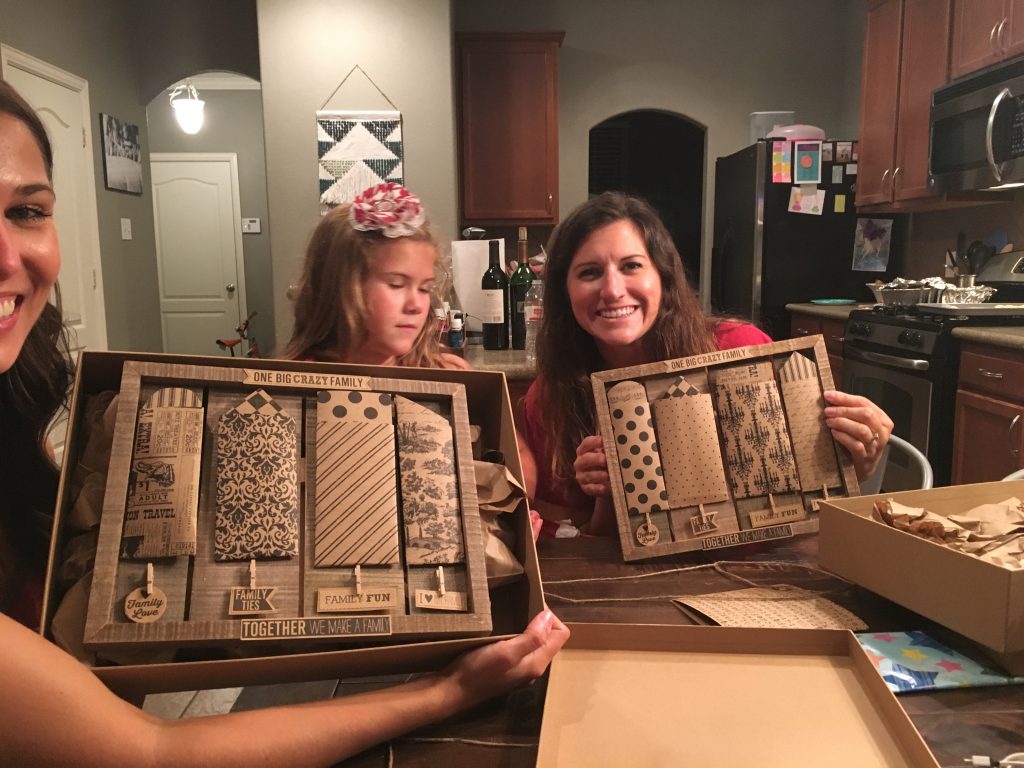
And with that we were off and running. Ready for a weekend of family time.
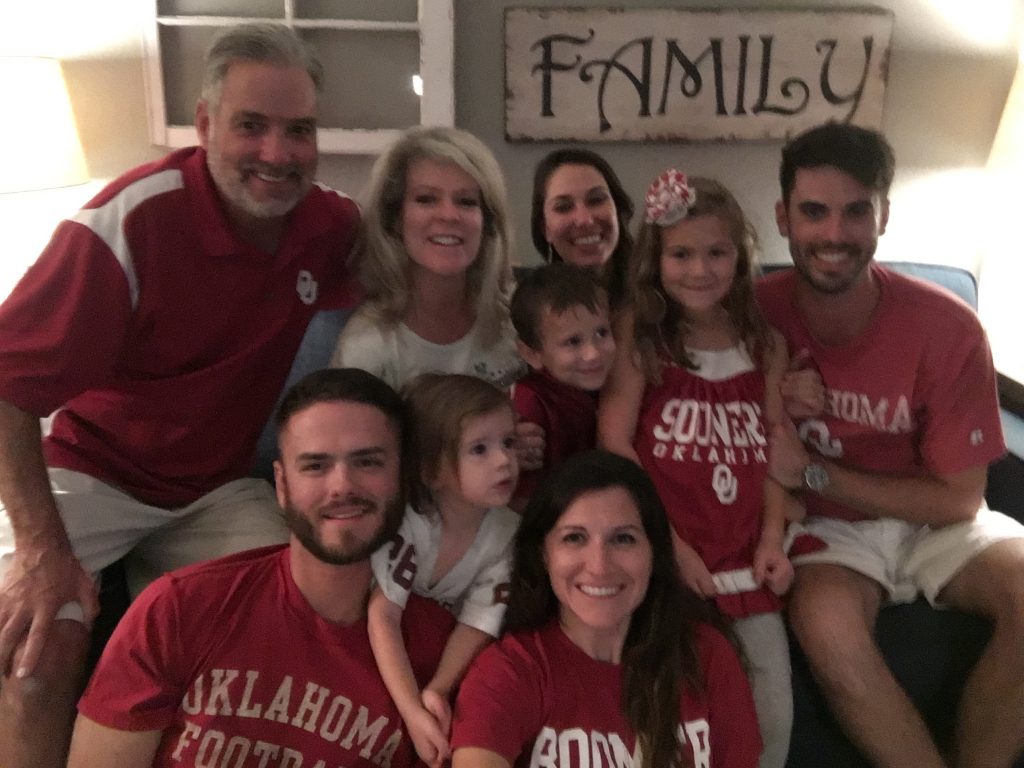
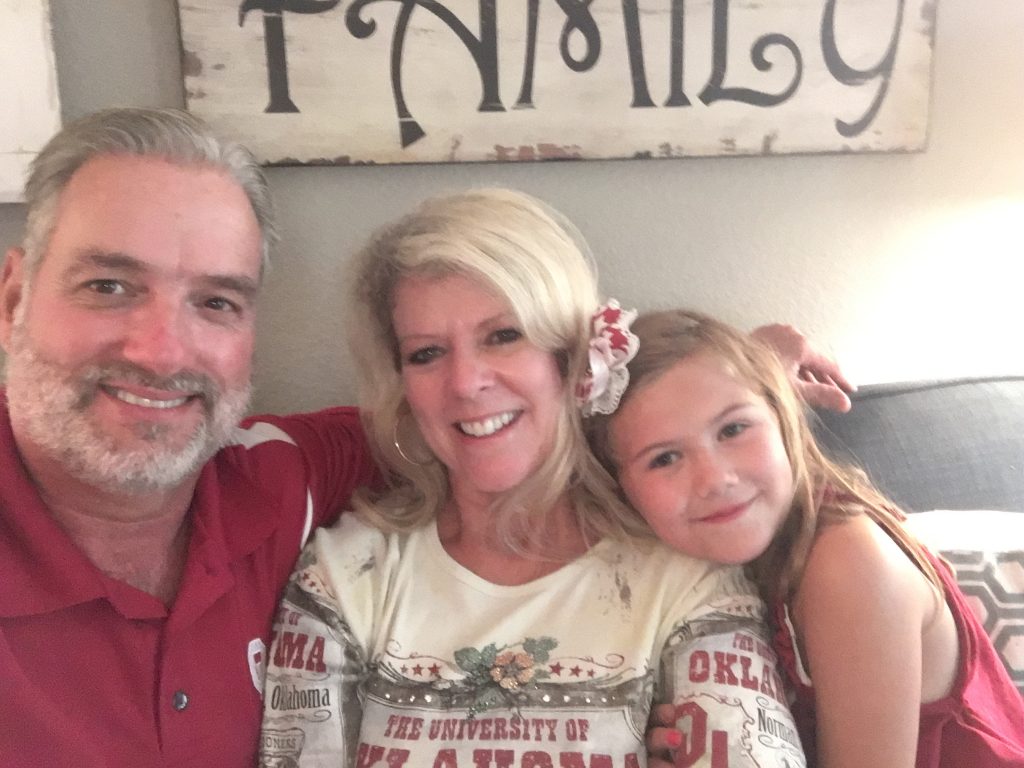
As you can see we are all in our OU gear….but with my daughter attending OSU I decided that the theme for our family pictures this year would be a “Family United Yet Divided – OSU/OU”.
Those pictures coming soon.
Happy Decorating (and Crafting)!