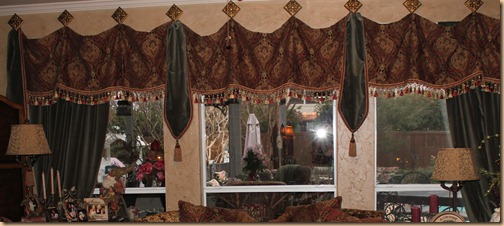
We ended up doing a lot of extra’s when we had to have our floors and walls re-done due to the flood (I know, I know….you’re sick of hearing about it by now….sorry!) But, the whole dilemma took over my life for 6 weeks or more so it stands to reason there are just “things” to share on my blog. One of those things is my family room window treatments. With fresh paint and floors going in I decided it was time to update my windows after having the same ones for the last decade. So with money going out like crazy for so many different needs I convinced myself that in order to save a few pennies I needed to do the things I was able to do myself and farm out the things I could not. One thing I know how to do is sew.
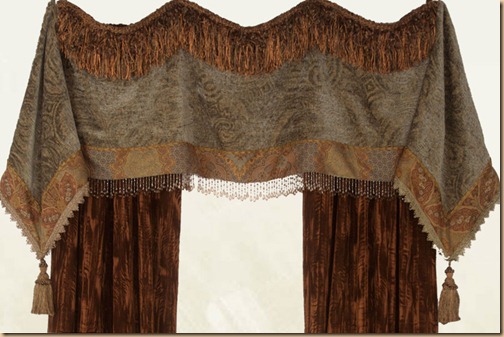
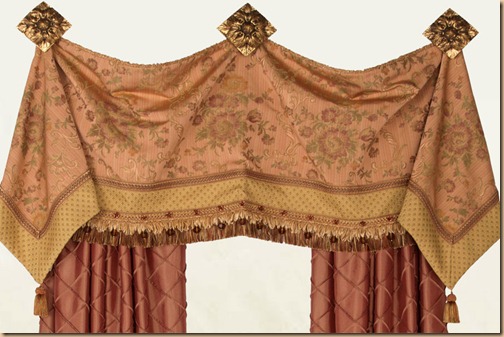
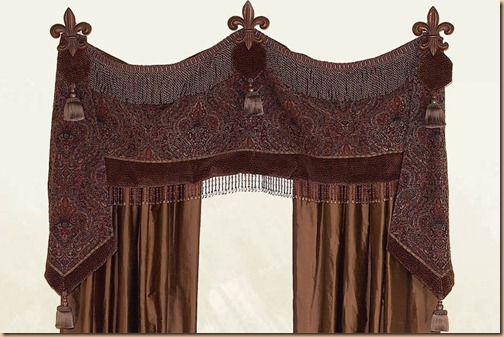
So I did some looking, designing and thinking and landed on this design as my inspiration.
There are variations of the same style, but I always came back to the same basic design.
These are from Reilly-Chance…..a website you should check out, by the way. I’ve actually come to despise sewing (although when I first started my business I made all my client’s window treatments). I have the workroom I use for my clients make almost all my own stuff to spare me the time and energy. But, in this particular case with so much money going out for other things I decided to drag out my sewing machine and go for it. These are actually surprisingly simple. All they require is a little time and patience. (Not that I have much of either!)
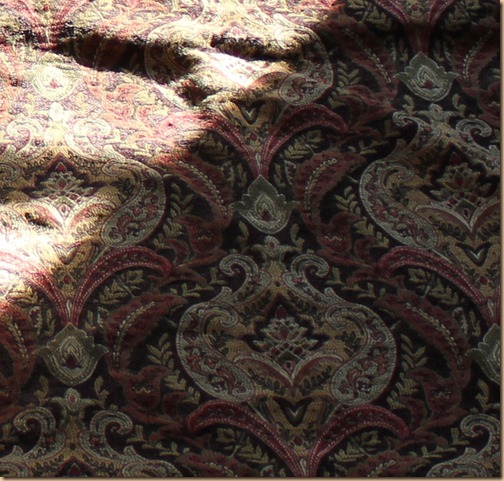
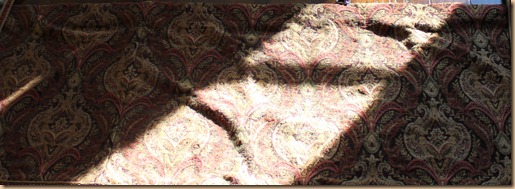
So after some extensive research I finally found my fabric.
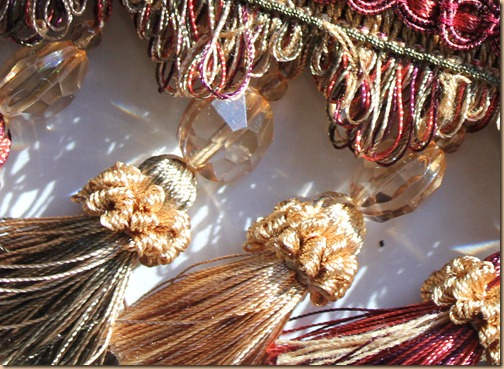
And, after weeding through a multitude of trims I settled on this one. I was torn between doing tassel trim or beads so when I found this combination of both I knew it was the one.
I measured the width of my window plus a few inches out on each side. In order to have enough fabric to create the swoop you see I had to cut the fabric 1 1/2 times the width of the window. My window measured 48 inches plus the few inches on each side. A width of fabric is 54 inches so I did each window with 1 1/2 widths of fabric (or 81 inches wide). My windows are 72 inches long, plus the 12 inches from the window sill to the floor so I determined I wanted my valance to be 24” long. (I added for the top and bottom seams and hems and cut the valance length accordingly.)
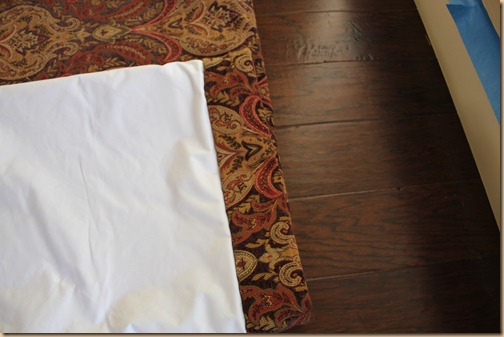
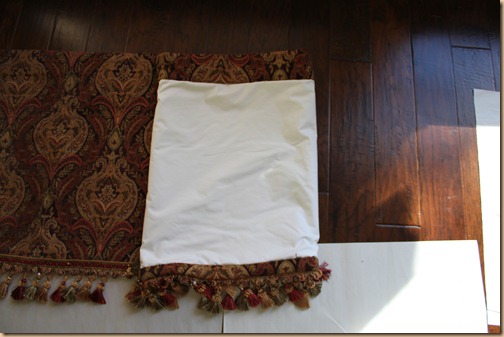
Notice the seam on the left where I sewed the fabric together to create the right width? I did the same for the liner fabric. Then I pinned the face fabric (the decorative, pretty fabric) to the white liner and sewed all the way around leaving a pocket on the side so I can turn the fabric inside out. Then I sewed down the side seam. I made sure to press all the seams so that it had a clean, flat look. At the top I turned it under a good three inches and at the bottom I turned it under a good inch for a finished edge. This keeps the white liner from showing.
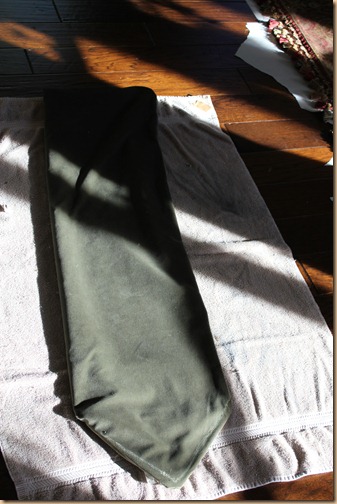
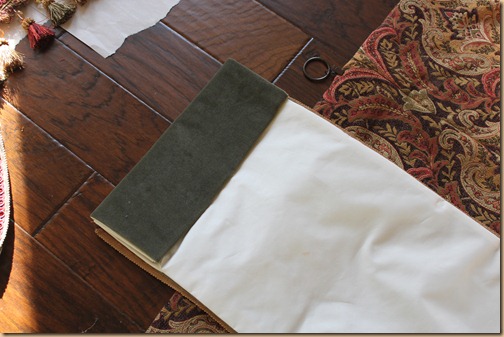
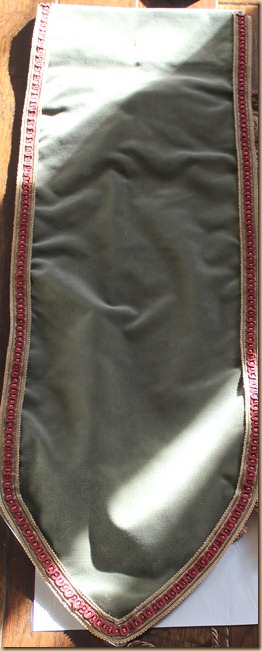
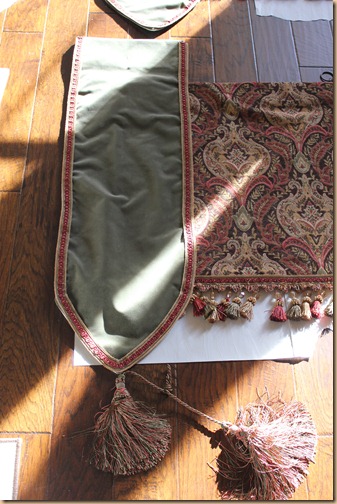
I recycled these green velvet pelmets from my old drapes for my new ones. I removed the old trim…..
And I turned under the top to shorten them.
And added new trim….
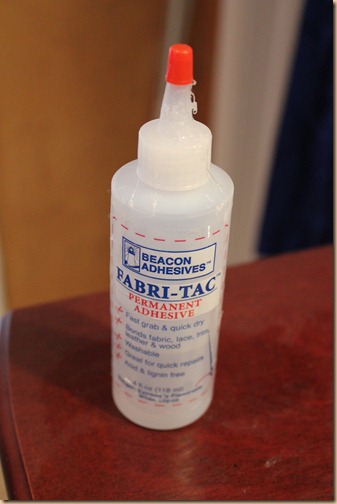
By gluing it on with a product called Fabri-tac – it’s like sewing with a tube.
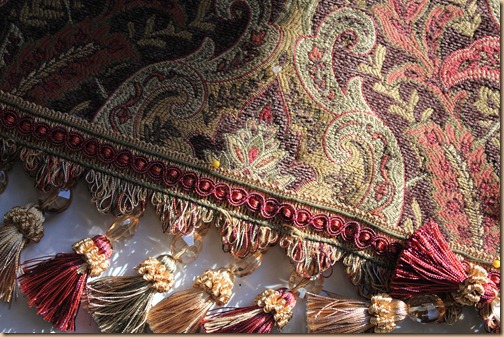
I did the same thing with the beaded, tassel trim and pinned it into place until the glue set.
I made sure to wrap the trim around to the liner side to keep the edges clean. (When you cut trim it immediately begins to fray so you have to be very careful.)
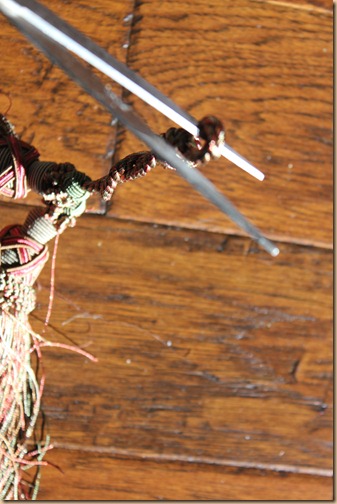
Then I played around with these tassels until I figured out what I wanted to do with them.
I ended up cutting them into two pieces and sewing one at the end of each pelmet.
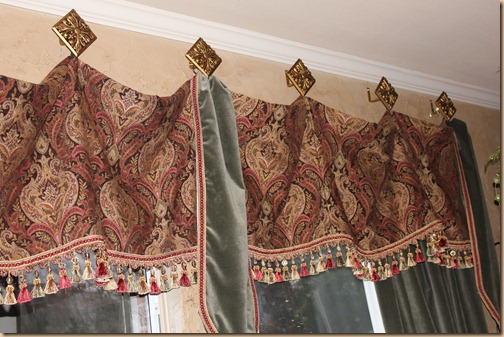
I looked at several different styles of medallions before I settled on squares. But, I had them hung in this diamond shape for a little more pizzazz. (The pelmets hide where each end of the valances meet.)
I know they’re not quite as snazzy-whazzy as the Reilly-Chance valances, but it was all I had the patience to do. And, I must say I like them just fine! If you prefer, you can add banding or trim (or both) to the top of the treatment, or a row of banding to the bottom. There’s a great many ways you could embellish them if you wanted to. I just opted for a simple style…..mostly because I was too lazy and short on time to do anything anymore complex than that!
Hope you’re inspired now to tackle your own window treatments!
Happy Decorating!
