Last month, with Terrie at Decorate and More with Tip as our host, I participated with a group of fellow IG-ers/Bloggers in a DIY project creating our own customized doormats. Although I felt like mine probably wouldn’t measure up to the others I was glad I completed it, because I actually really like having a personalized mat. And, in the end I feel like it held its own somewhat with all the others after all. You can see it here.
Terrie is hosting this months rope challenge as well. And, just like last time I feel the very same way I did last month…doubtful mine will measure up to everyone else’s! But, I decided to go for it anyway. I’m not sure why I feel inferior about these projects, but I do! I mean….I am a DIY’er at the core of my being, but when I’m in a challenge like this with true blue crafters it’s a bit intimidating. I don’t know….maybe it’s something lacking in my childhood that makes me feel so inferior, but I guess we’ll never know! Inferior or not at least I gave it a whirl!
I’m not going to lie…I took the easy route, because basically I had no idea how to make one so I was just winging it.
Since I’ve been planting a bunch of plants around here lately I happen to have what I felt would be the perfect plastic container to use as my base. (Not sure how everyone else is doing it.)
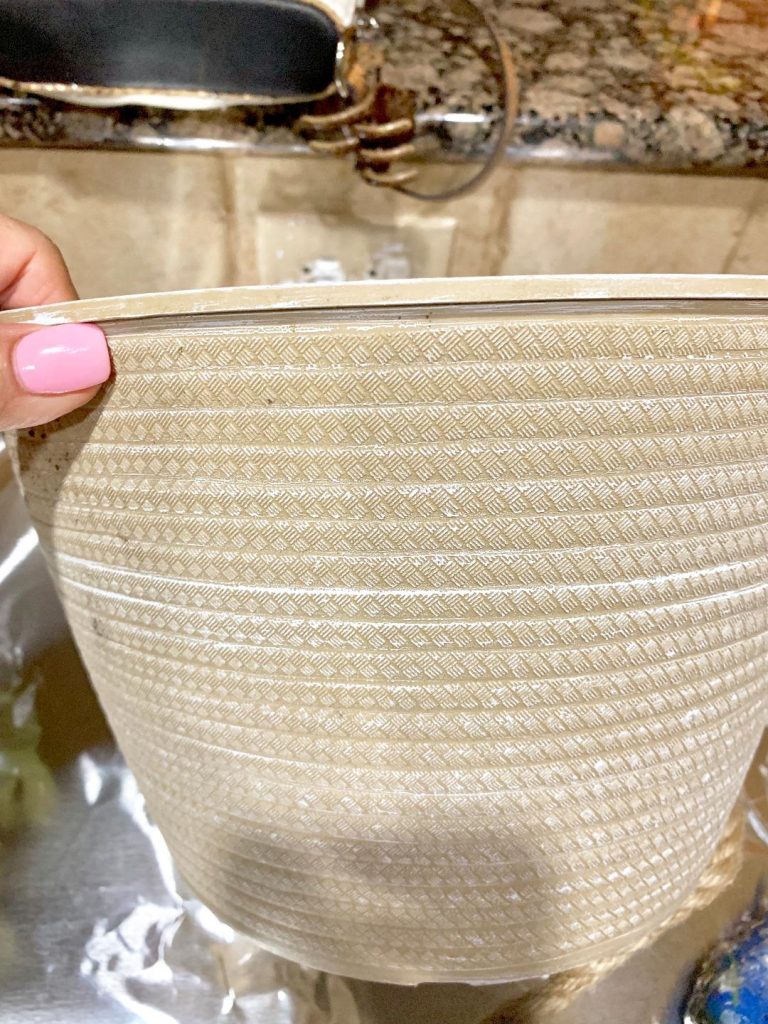
This was the perfect size and color for the project. It even kind of looks like rope or rattan or something. So I decided to use this as a base to make it easy on myself.
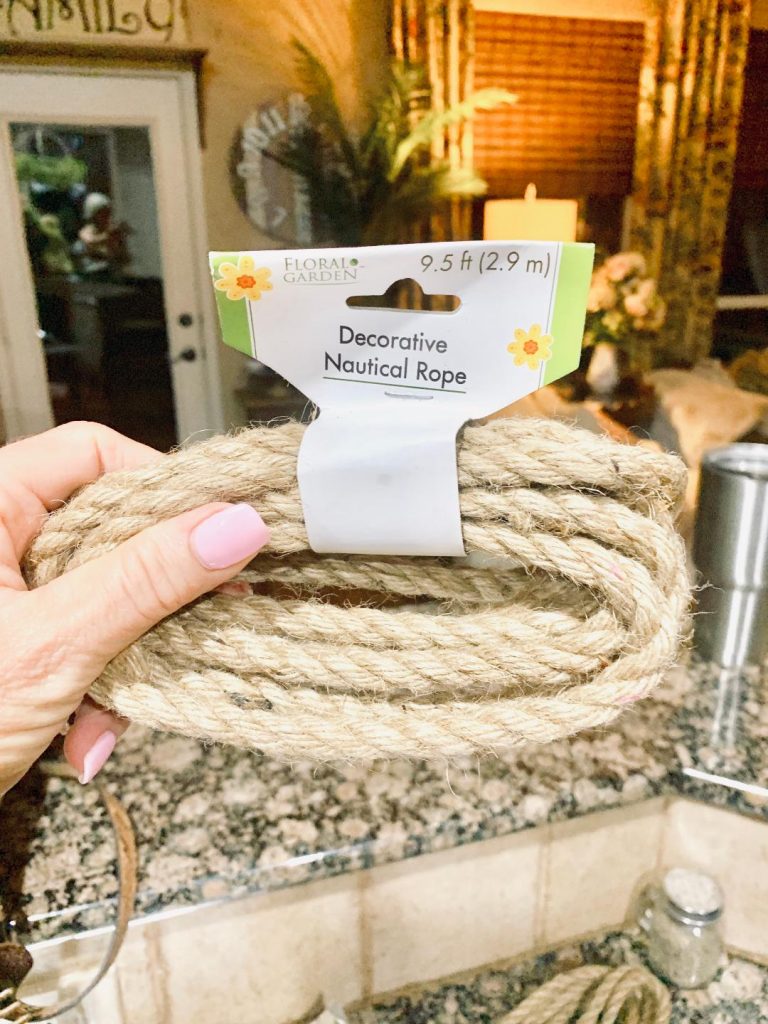
I got six strands of rope at the Dollar Tree for….you guessed it…..$1.00 each. I can’t claim credit for knowing they sold it. One of the other girls mentioned that was where she got hers so I set out to get mine since that’s my kind of price!
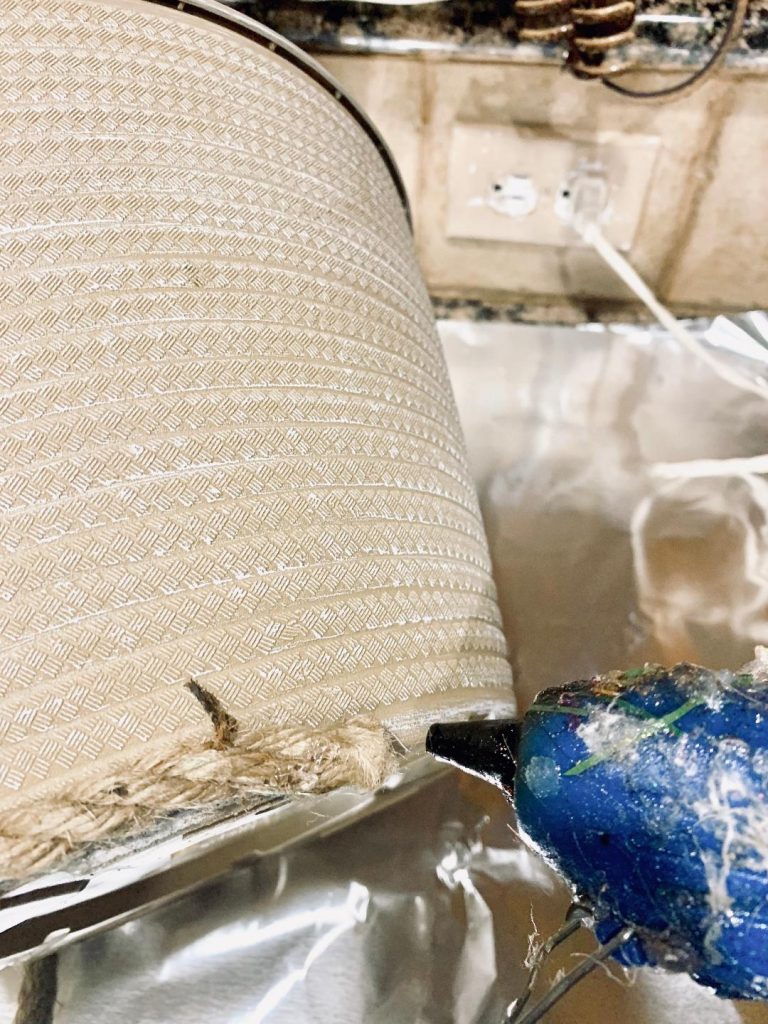
I started at the bottom of the container and just began by running hot glue along the edge and carefully placing the rope along the glue strand.
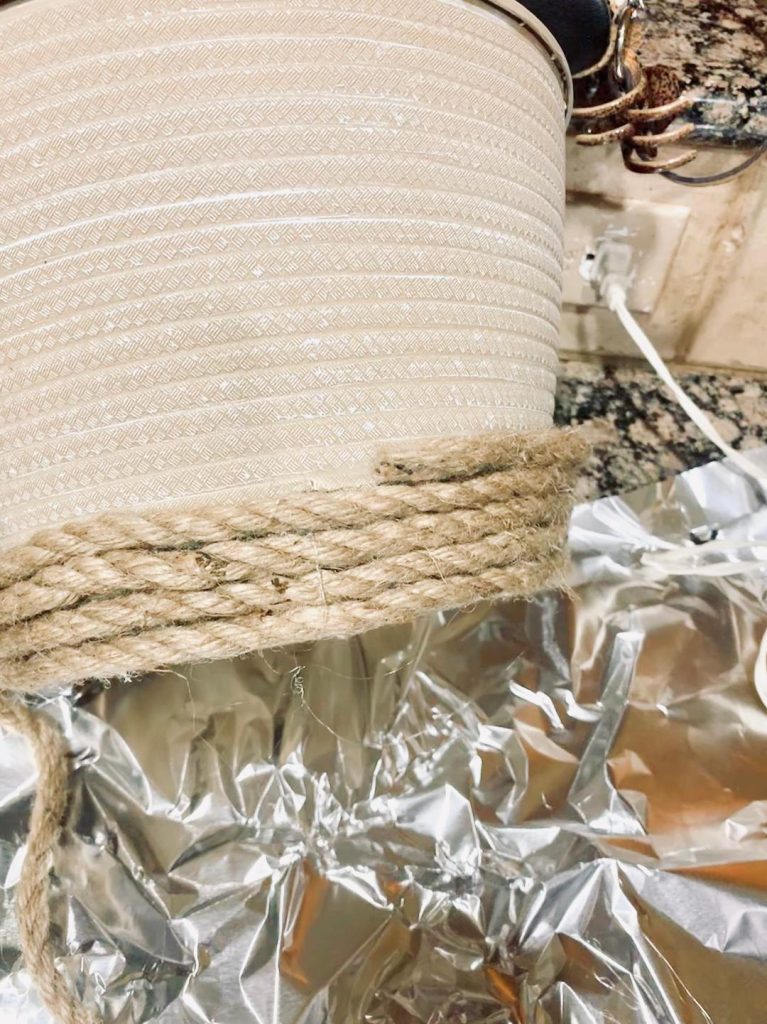
I just continued wrapping the container with strands of glue and the rope, careful to glue the ends together to appear as seamless as possible.

Fortunately I thought to get what I thought would be an “extra” rope, because I ended up using every last bit of it. Shockingly I only burned the youknowwhat out of my fingers once!
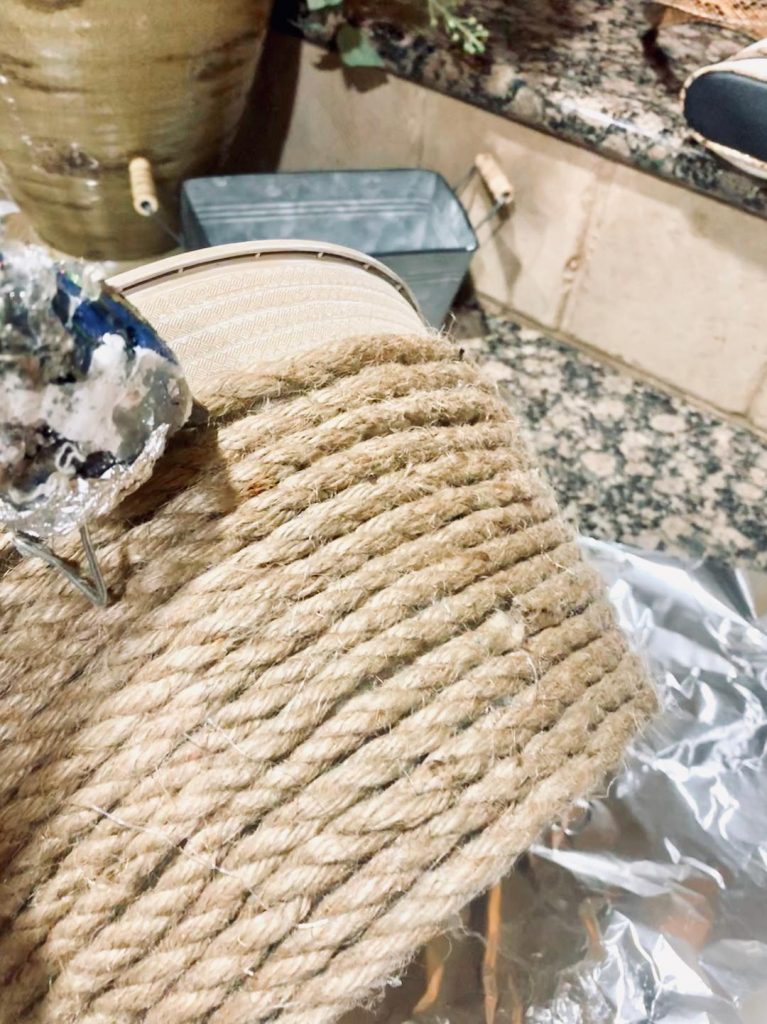
I just kept wrapping and wrapping until it was entirely covered.
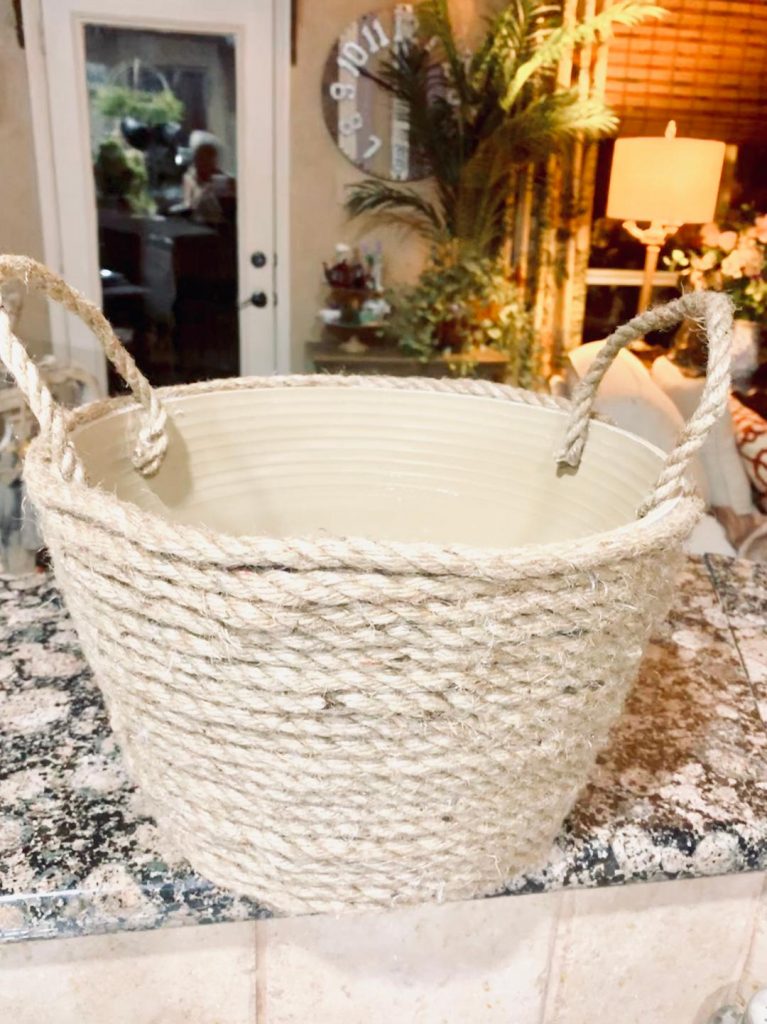
I know there’s a better way to do the handles, but since I knew I wasn’t going to actually used this as a basket where I would need strong handles I decided to just glue them on the inside of the base on both sides to give it the appearance of a “real” basket. But, I certainly couldn’t put much weight in here and expect the handles to support it. So it’s basically just for “looks”
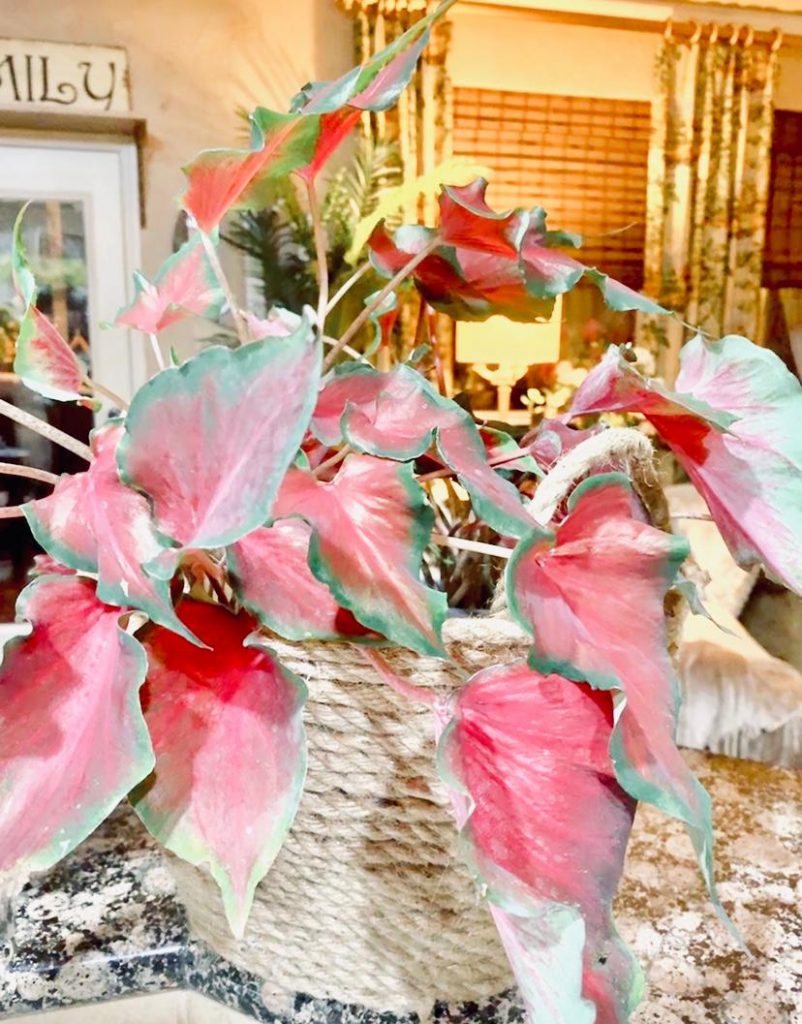
And, that’s just fine for how I’ll be using it.
Since it’s actually a plant container there are already holes in the bottom for drainage so for right now I have a couple of caladiums in here. That may change…not sure. But, I am sure I like the way it turned out. It’s kind of cute and could be used for any one of a number of things.
So, yeah, I’m sure it’s not the caliber of my fellow DIY-ers, but at least it turned out usable! And, the total cost was $6.00 in rope.
I’m good with that!
To tour the other DIY blogs and see what they came up with check out my fellow bloggers below:







Sheri, your basket is so cute and will hold up to all of ours! You my friend have a talent and you need to feel good about that. I love how creative you are and the basket turned out great. Love working with you on our monthly challenges! You are going to feel like a pro in no time! Have a super Wednesday, happy hopping!
Thank you Terrie! I appreciate the support and encouragement! These DIY’s are challenging and fun!
Sheri, I love your basket and think you did a great job! I was totally out of my comfort zone with this project and it took me three tries before I was able to pull a true basket together! That which doesn’t kill us makes us stronger, right??!! 🙂 Hugs!
Haha! That’s right! What doesn’t kill us makes us stronger! Thank you!
I’m thoroughly enjoying seeing all these baskets. You all have put your own style and personal touch to them. You did such a great job.
Thank you Shanna! I appreciate that!
Using what you have and the fact it only cost $6 bucks is brilliant! I tend to not get those really nice pots so this is a great idea for how to hide the ugly ones.
Thank you! It was a lifesaver! It made the project easier and now I have a sturdy container that I can use for anything!
Sheri this is so cute! Love that you used it as a planter!
Thank you so much Dori! I wasn’t sure how it would work at first, but I’m happy with the way it turned out!
Your basket turned out so cute!! Love the natural vibe that you have created!! Looks amazing!!
So much fun doing this challenge with you!!
Happy weekend!
-Emily @ lecultivatuer.com
Thank you so much! Yes, it was a fun challenge! I was unsure how it would turn out, but I’m happy with it!
Sheri, I think your approach to the basket challenge turned out great, both in your technique and your outcome. I do hope that you use the basket because it’s really cute.
I’ve already used it for several different uses! First plants, then books, then as a break basket! Haha! So it’s going to get used for sure!