When I decided I couldn’t stand my kitchen cabinets anymore and they had to be re-stained – it left me with a bit of a dilemma: My breakfast nook table would no longer match. It would look old and drab now with new, richly stained cabinets, but I didn’t really want a new table. I liked the style and size of my old table, I just needed to update the color to work with the new cabinets. So I asked the guy who would be staining my cabinets what it would cost to do my table, too. To my surprise he said it could cost as much as $1000.00 depending on what was involved. Ugh! Well, that made my decision for me. I would try to tackle it myself. If it didn’t turn out the way I wanted we would donate it to a ministry that my hubby is involved in providing furniture for Chin refugee’s from Burma.
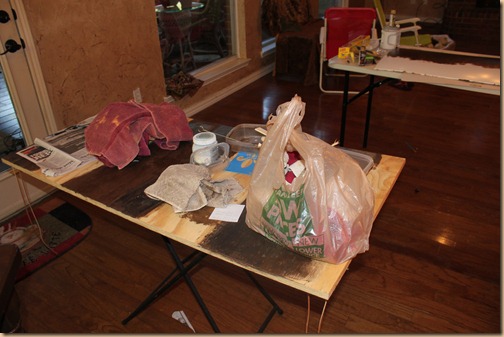
So I gathered my things and set up a table to “practice” on. I knew what look I wanted, but wasn’t 100% sure how to create it so I needed to do some serious experimenting.
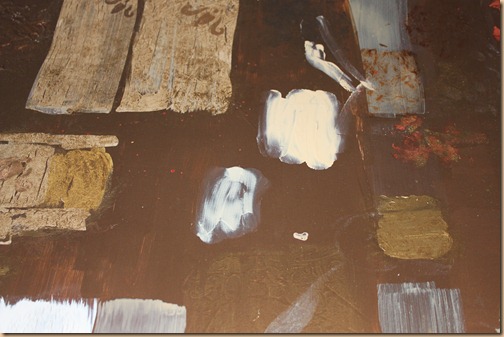
I got a couple of large white foam boards and went to work doodling around with color and technique. I had some paints and glaze left over from a client job that I was able to experiment with. I wanted a rustic, crackled, aged leather type of look for the tabletop….but how to do it was the question.
So I doodled and mixed and doodled some more.
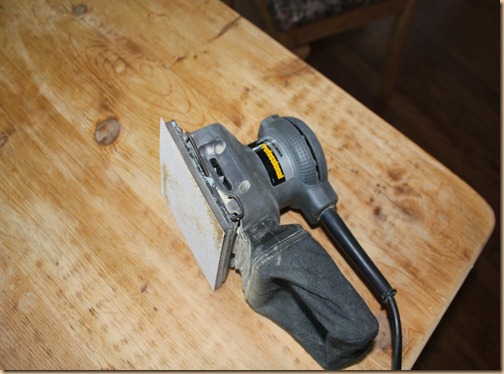
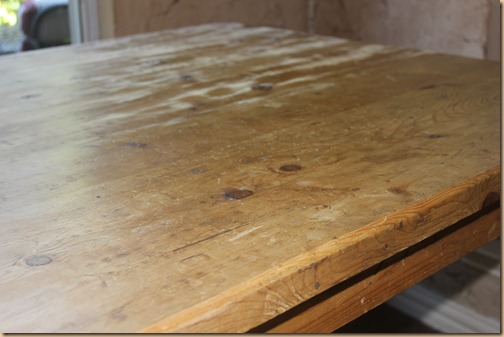
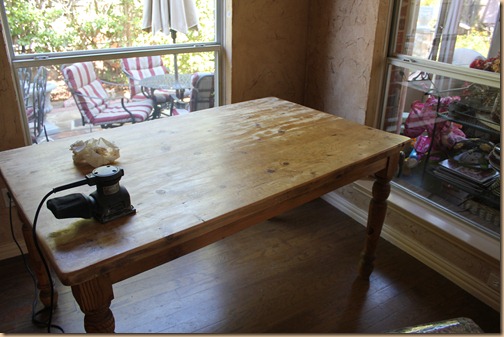
To start – I first borrowed my dad’s electric sander and sanded down the entire table.
It didn’t really take all that long to do.
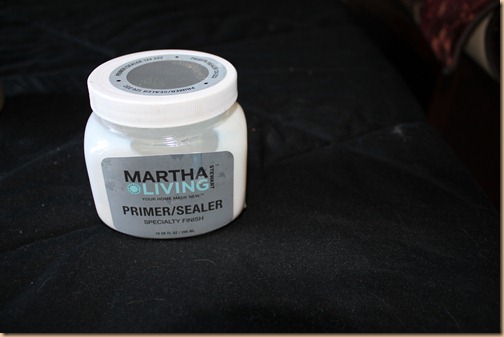
Then I wiped it down with a rag and sealed it with this Martha Living Primer/Sealer.
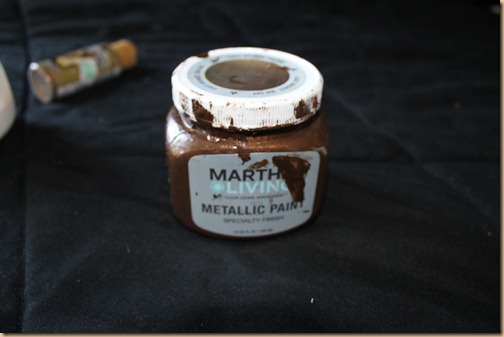
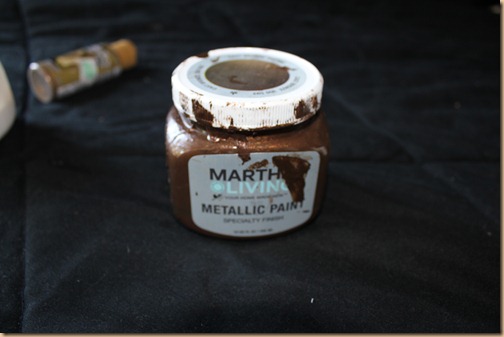
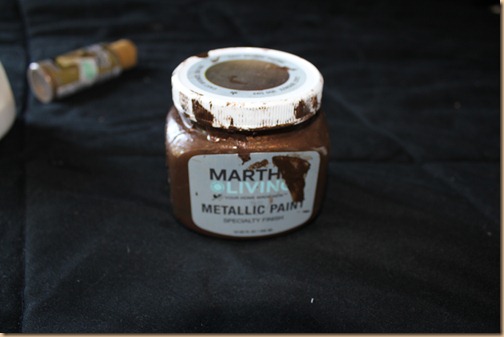
Next I painted the entire table with this Martha Living Metallic Paint in this bronzy brown color.
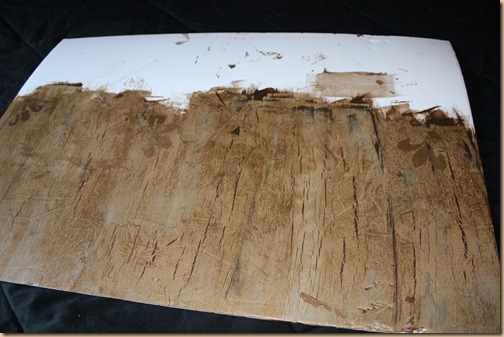
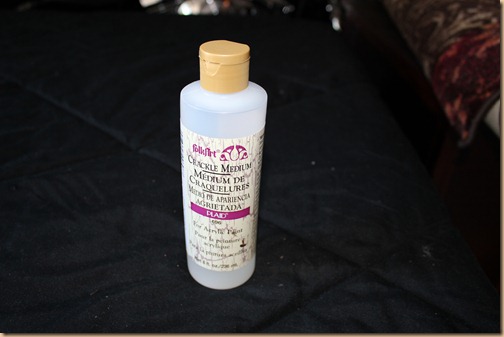
When it was completely dry I topped it with this crackle medium by Folk Art.
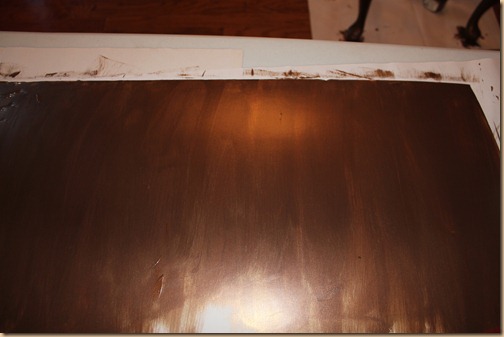
Which gave it a shiny appearance like this. I let it dry for several hours (that’s what the manager at the store advised me to do to make sure it crackled correctly).
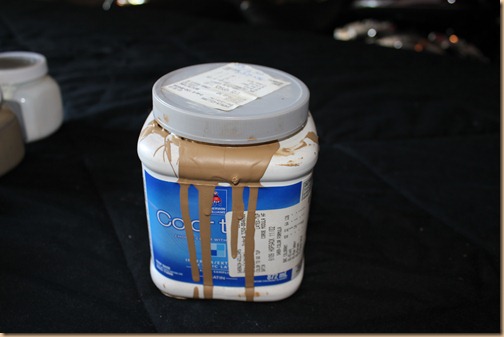
Then I brushed on this Sherwin Williams paint called Hopsack that I had in my storage shed from a client job.
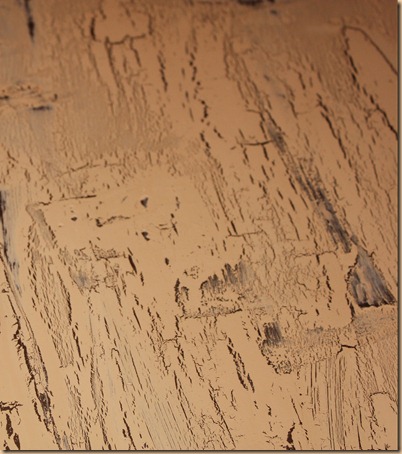
Which created a crackled look like this. Cool, huh?
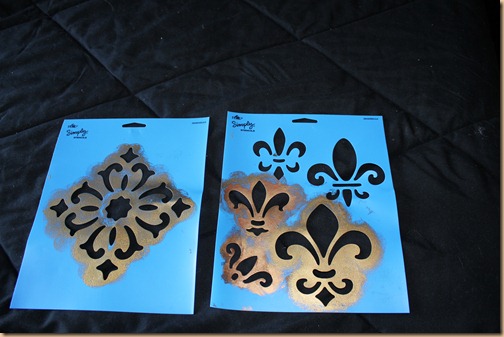
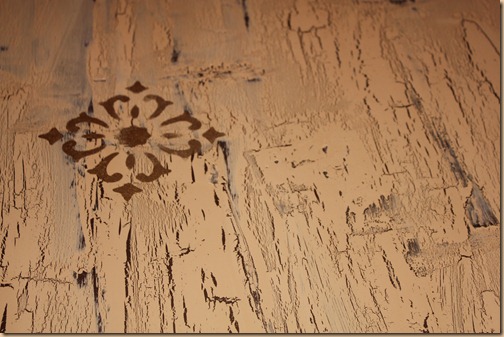
I’d seen some really cool, really expensive tables at the World Trade Center here in Dallas that I really wanted my table to look like so I decided take it a step further and try it on my table. I purchased these stencils from Michael’s, a local craft store and placed them on the table where I wanted them.
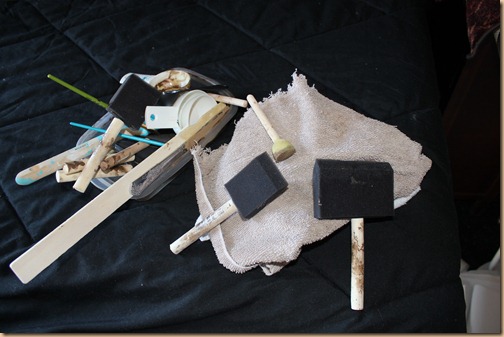
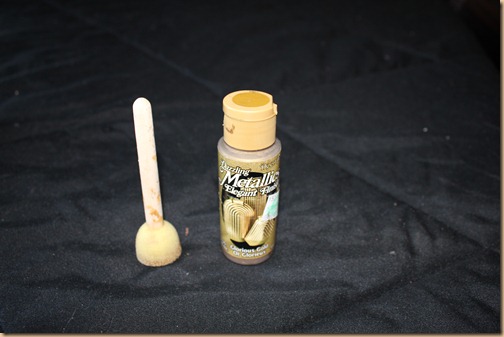
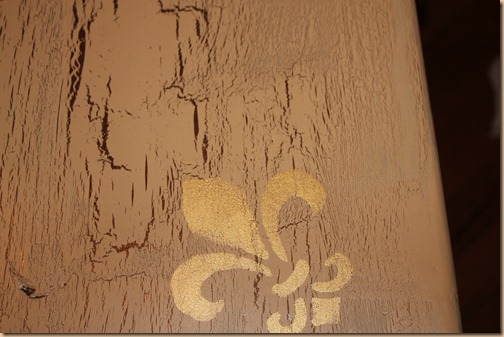
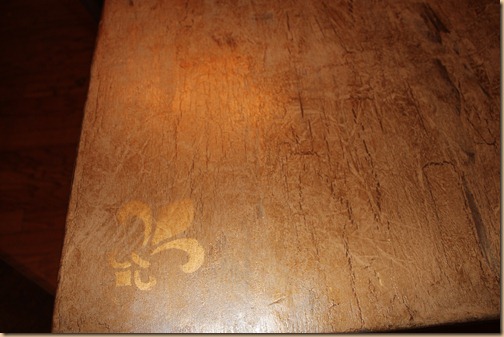
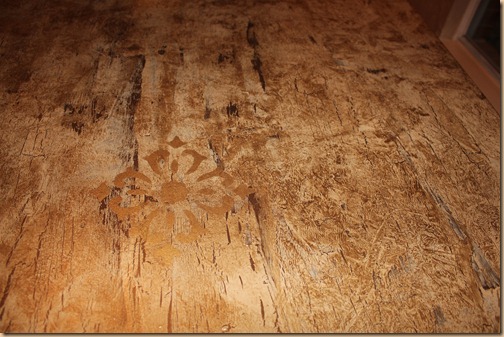
Then I dabbed on metallic gold with this little sponge. (I placed the fleur dis li at each corner of the table and the other design smack dab in the center.)
Which looked like this.
But, I wanted a more distressed look like I’d seen in a showroom so I kept going…
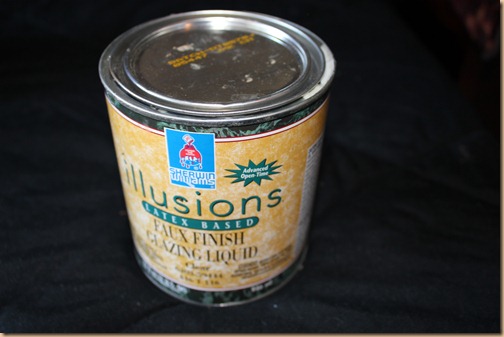
By mixing four parts of this glaze from Sherwin Williams….
With one part of this same Martha Stewart paint…
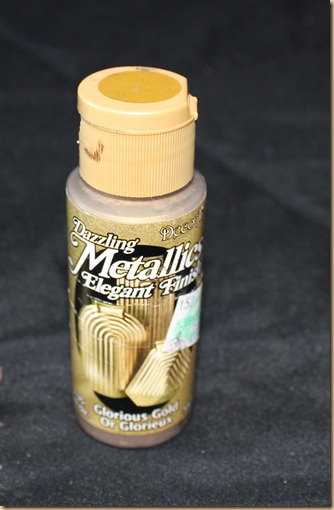
And for a little glitz I added one part of this metallic to the mixture, too.
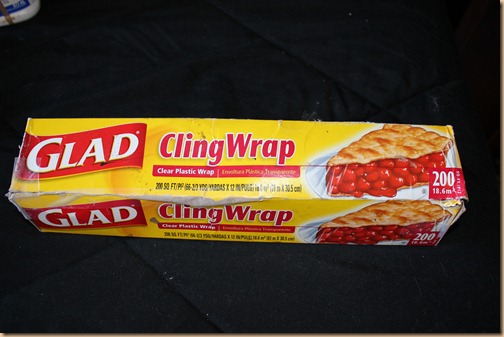
Next I tore several sheets of this plastic wrap so they would be ready to use on the glaze mixture. After mixing up the glaze I brushed it on the table in sections. Then I crinkled up the plastic wrap, flattened it back out and laid it right on top of each glazed section. I laid the palms of my hands down flat on the plastic wrap and smeared it all around to crinkle up the glaze. I pulled it off gently and then softened some of the edges with a rag. You have to work quickly when doing this so the glaze doesn’t dry and start to show overlap lines.
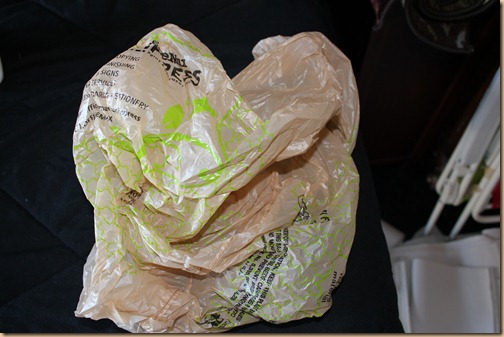
I actually ended up running out of plastic wrap so I finished off with these grocery bags. They did the same thing to create an aged wrinkly, leather look.
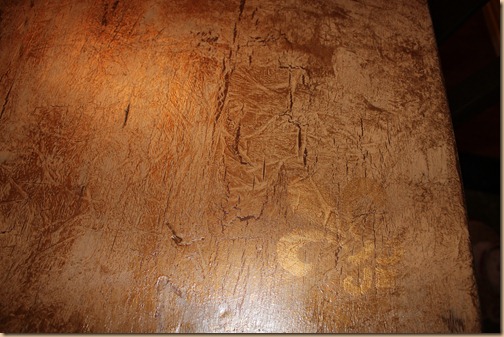
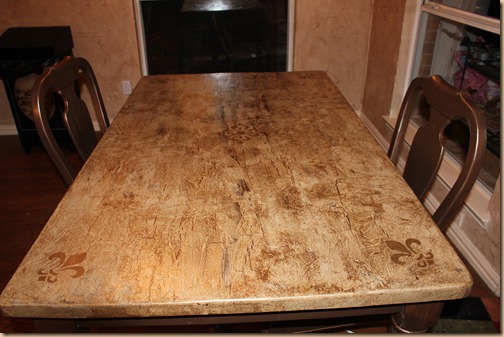
The glaze on top of the crackle gave it an more rustic, old appearance that I really wanted and helped tone down the stencil color.
Which I also wanted to do.
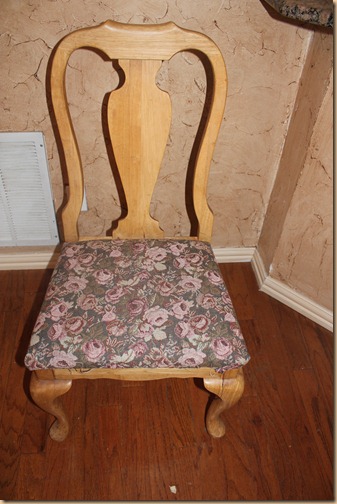
Next, I removed the seat covers on the chairs (this fabric was covered up with chair covers in a different fabric in case you were wondering)….
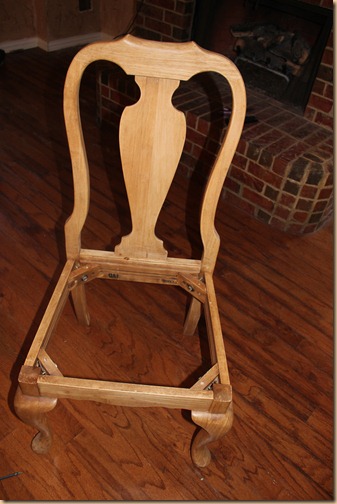
And sanded down the chairs.
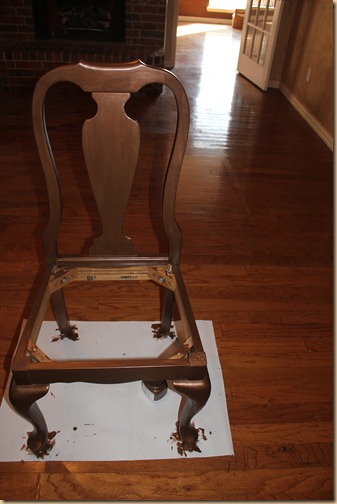
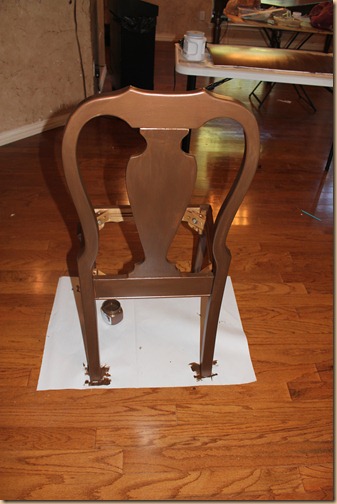
I gave them two coats of the Martha Living Bronze Metallic Paint.
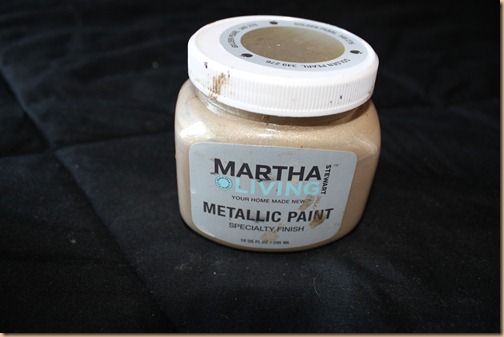
Then for a little added depth and bling I gently, gently dry brushed on this Martha Living Pearl Metallic Paint…..
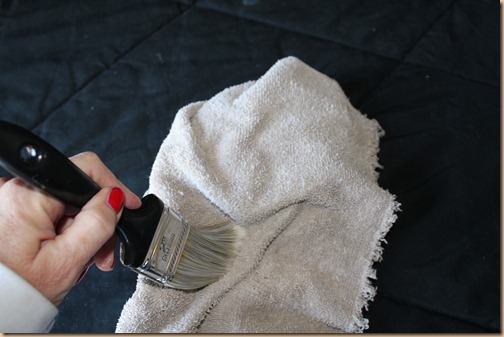
By dipping it lightly in the paint and then dabbing almost all of it right back off on a rag.
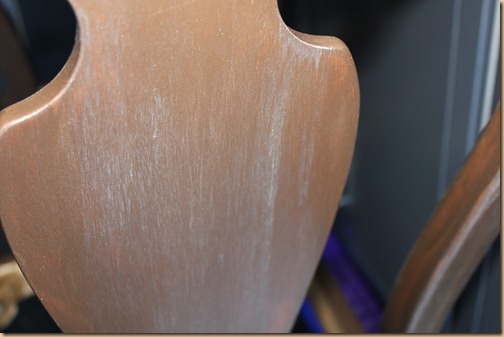
When I oh-so-lightly brushed it on it turned like this….with just a little antiquey look.
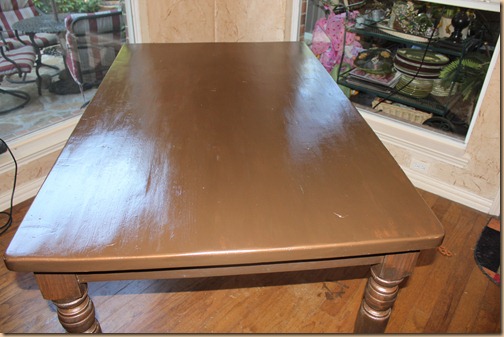
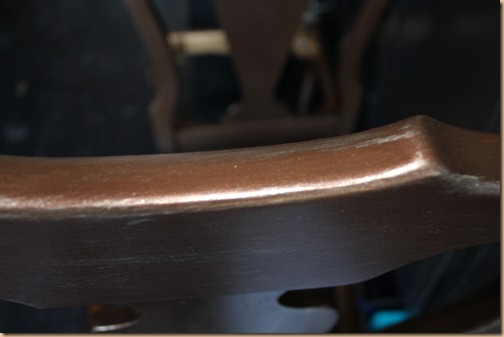
I did the same technique to the table legs and I ended up with this look. Just what I wanted the end result to be! Rustic, crackled and aged. Next step is to seal it again with Minwax sealer, but we are having some work done on the house now so I have to wait until we’re dust free again to do it.
The best part is all the products together amounted to around $85.00 since I had the glaze and paint here already. I’d say that’s a tad better than a $1000.00. It took me the weekend, but it was definitely worth the effort. Hope this inspires you to save yourself some money and do your own refinishing project!
Happy Decorating!
Love it! You make it look so easy 🙂
You are super talented!!! I love the table!! your hubby!