If you’d like a quick, easy floral arrangement for a special occasion or even for your home year round here’s a simple solution.
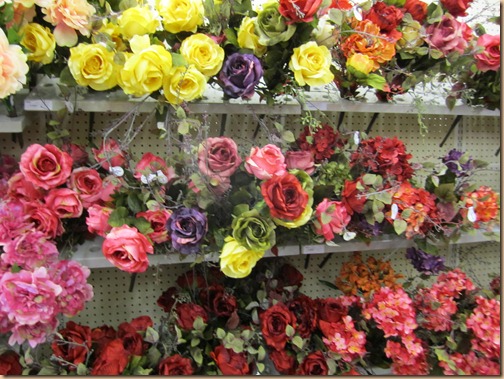
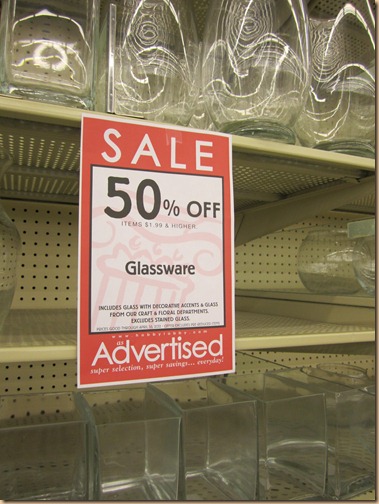
First of all, for the most cost effective arrangement – always try to find your flowers on sale. I know – that goes without saying, but I thought I’d say it anyway. Especially if you would like a nice full arrangement that requires lots of flowers, buying them on sale can make a huge difference in the cost. (Great looking containers can usually be found on sale, too!) I like to shop at Hobby Lobby here in town, because they have a nice assortment of flowers and they have them on sale half price at least once a month or more. (I just can’t bring myself to buy them unless they are on sale, because I know if they’re not this week odds are they will be next week.)
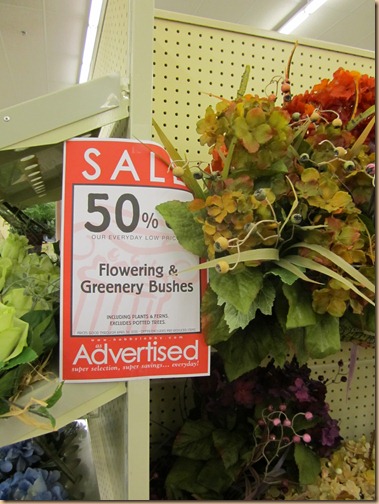
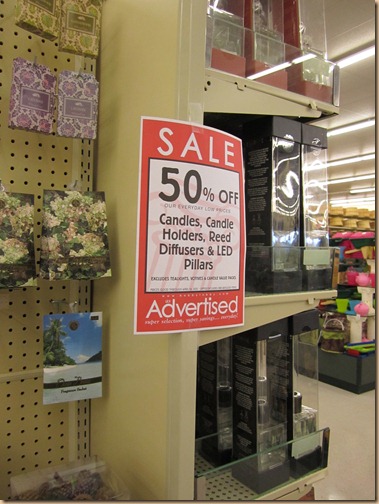
If I don’t see this sign I don’t buy.
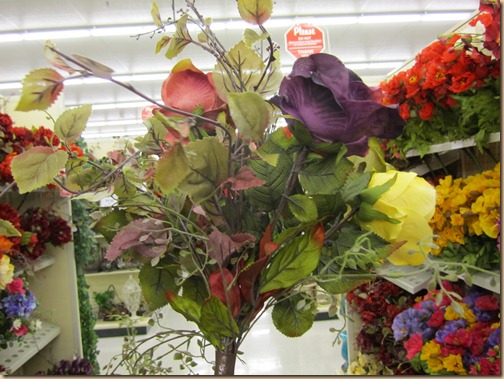
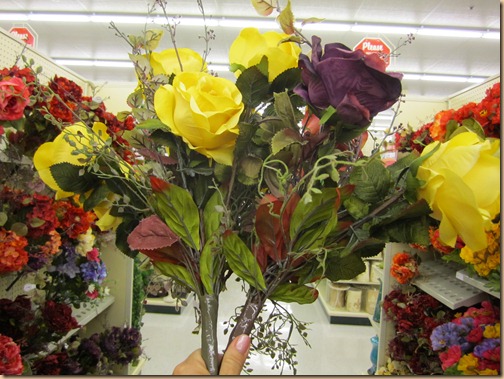
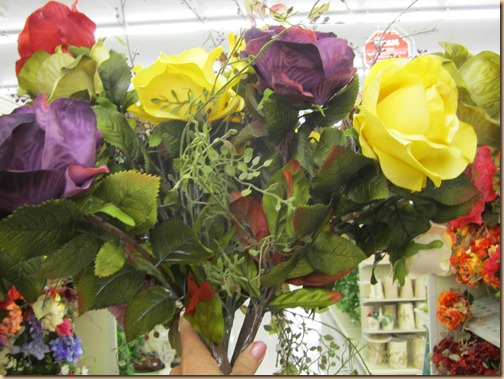
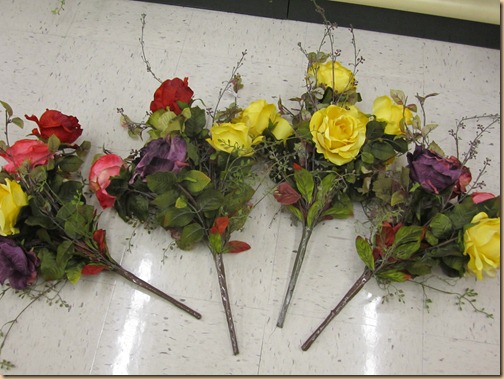
Tip number one is this: Not all flowers are created equal. There are some that are too bright, the leaves are too green, the colors are just “off” and they are just overall too fake looking which gives them a cheese-o-rama appearance. Look for a higher quality flower or floral arrangement, one that looks natural. Yes, it will cost more, but it will absolutely be worth it. The easiest way to create a full floral is to buy these ready-made bushels. These in particular are loaded with color and have added vines and stems to create a more natural, expensive, custom look. These florals you see here were originally $24.99, but with the 50% sale I got them for $12.49 which is much more bearable, because I needed several to create the look I wanted.
I added another bushel to the first one to create more fullness.
Then another.
Then still another. In the end I used five of these bushels too create one large arrangement. So, you can see that buying them at 50% off was a huge advantage with regard to the overall cost. Tip number 2: Don’t make them too skimpy or wimpy. Keep adding until the fullness you need is there. That’ll make them look more custom.
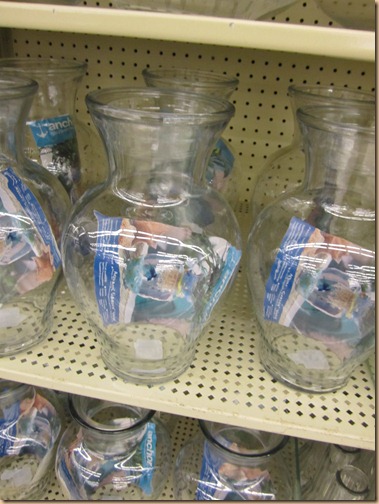
Next I opted for a clear vase so it would look as if the flowers were plucked from the garden and tossed into a vase for a natural look.
These vases were a whopping $3.99 so with the sale I got them for, yes – you got it – $2.00!
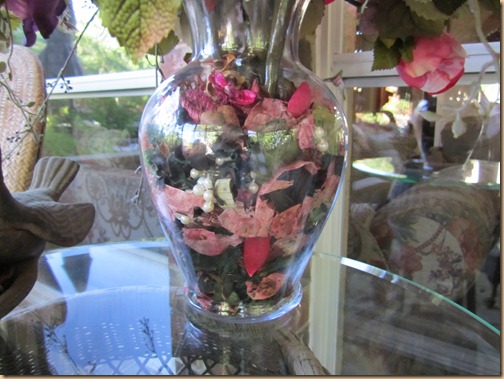
I decided I wanted to fill the vase with potpourri for added pizzazz. I had seen this years ago at a flower shop with a fresh flower arrangement and loved the look. They had simply added potpourri to the water in a clear vase and it looked rich, elegant and beautiful. Tip number 3: Be careful to choose the right look for your container. Adding interest with the vase helps enhance the arrangement. The wrong container can ruin the entire look.
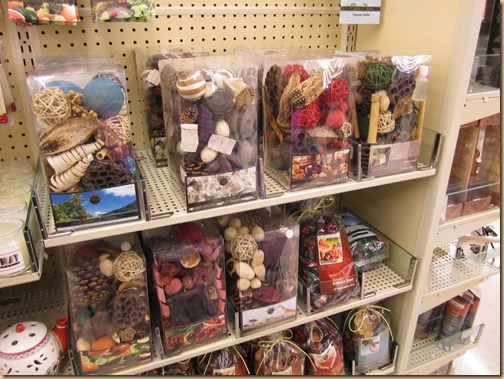
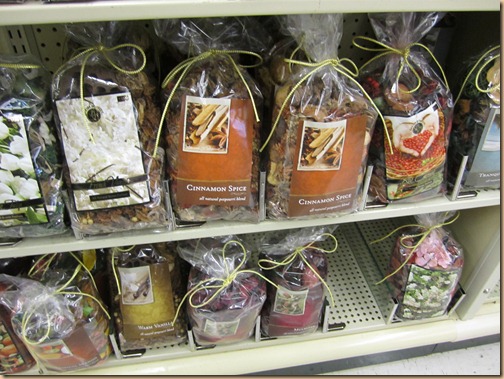
Of course, I looked for a sale on potpourri and – voila! – I was in luck.
A bag of potpourri – $3.99 on sale for $1.98!
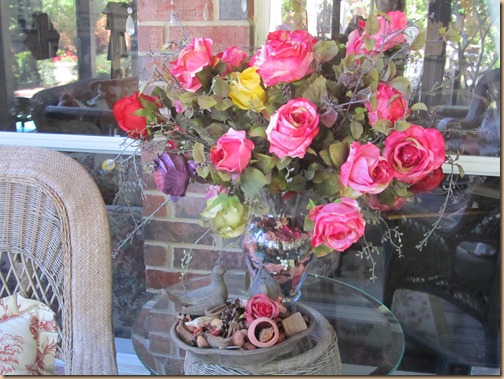
I filled my glass vase with the potpourri and added a strand of pearls just for fun. Can you see it tucked inside here?
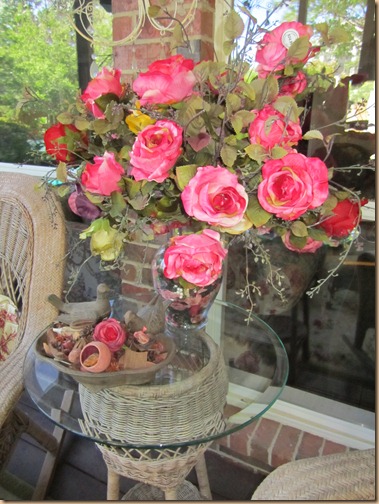
Then I added my five bushels of flowers. I carefully fluffed and tweaked the leaves, the flowers and the stems, arranging them until I got the look I liked.
Inexpensive, easy to do and the result is beautiful.
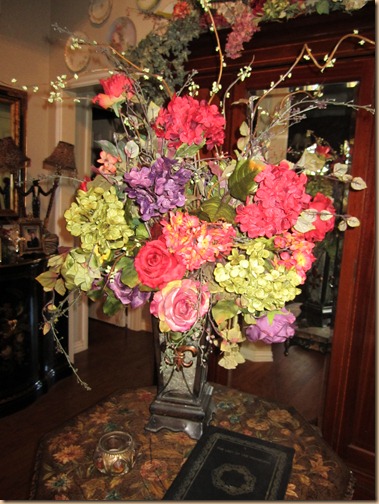
Here’s another arrangement using similar flowers in a different vase. No, these aren’t professional arrangements done by a professional florist (which I do use frequently and have a definite need for) but, for the right home or event this is an easy solution for a great look using inexpensive ready-made, retail flowers.
Happy Decorating!!!
OK, the smaller one I could maybe do, but not the bottom one. By the way, love the Cheese-o-rama reference! 😉
Yes, you could do either. They’re done the exact same way. And, I’m glad you like my “cheese-o-rama” comment. Sometimes you just gotta say it like it is.