When I was asked to participate in a DIY blog tour I immediately said yes! It sounded like so much fun. Once everyone was on board there was some discussion on what the first project would be and it was decided that it would be a DIY doormat. Of course everyone else was “Johnny on the spot” and had their doormats purchased and their projects started…..but, me! As it turned out the week was busy and hectic and I was out of town for a couple of days. And, then had my four grandkids over the weekend soooooo…..I was the “last doormat standing” I guess you could say. And after seeing everyone’s handy work I have to admit it was a bit intimidating. I wondered if I should even do it, because their’s were all so professional looking! I mean, ugh! But, I committed to doing it so I thought I’d give it a go. Clearly this sort of thing came easily to the others! For me it was a bit of a challenge.

The first thing I got was a plain mat from Target. Honestly I didn’t even know they sold plain mats….that was something I learned from the other chickadee’s participating in the blog hop. This one was $9.99.
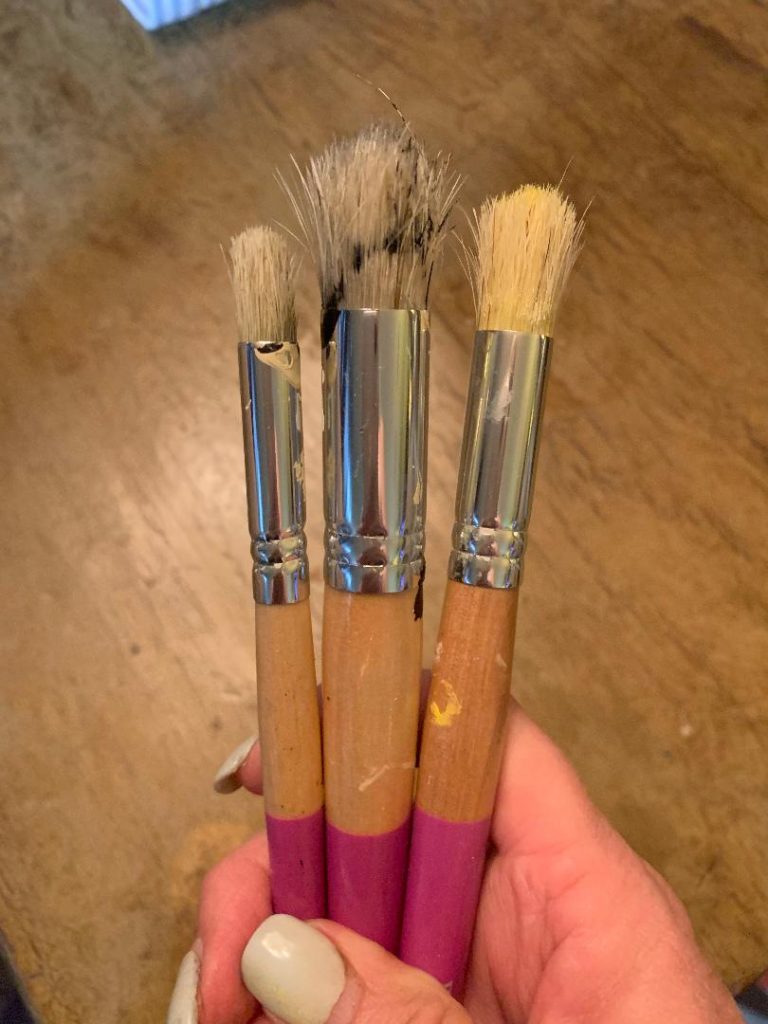
I already had these brushes in my stash so I pulled these out to use. I’ve never really been the best at stenciling….I always tend to have a problem with the paint bleeding under the stencil so I was afraid it was going to happen with this. But, I thought these would be stiff enough and small enough to do the trick.
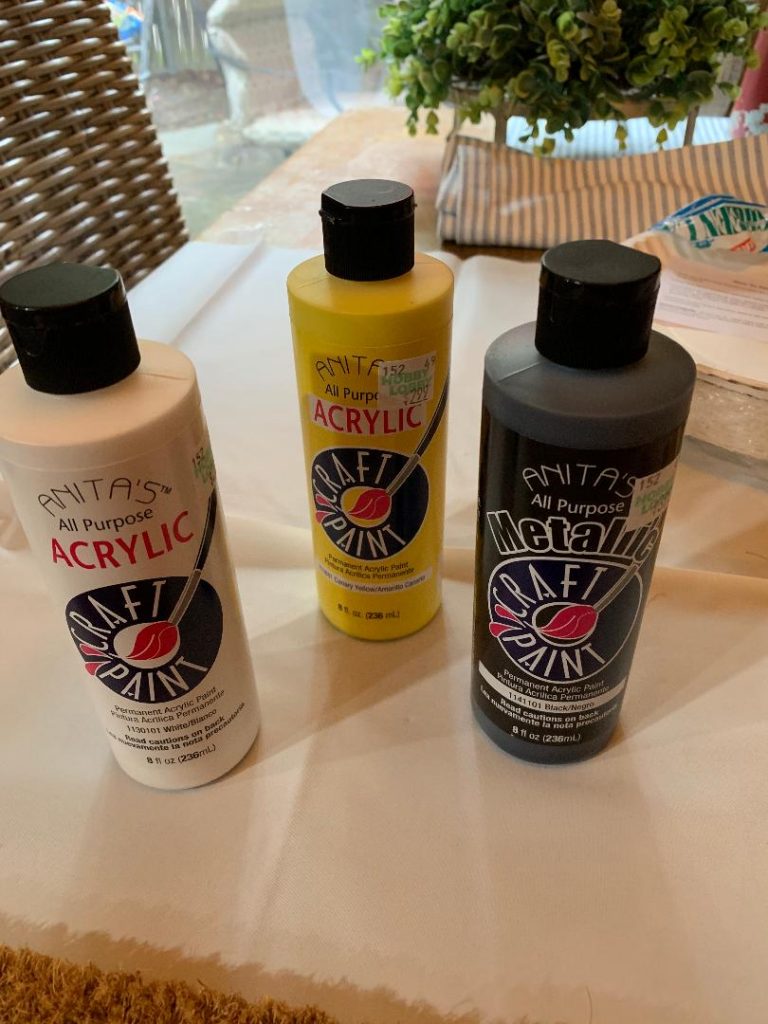
You can use exterior latex paint or all purpose craft acrylic so I chose these Anita’s paints from Hobby Lobby: Black, White and Yellow. My doormat will be actually be going on my screened in porch so it won’t be as affected by the outdoor elements as it otherwise would.
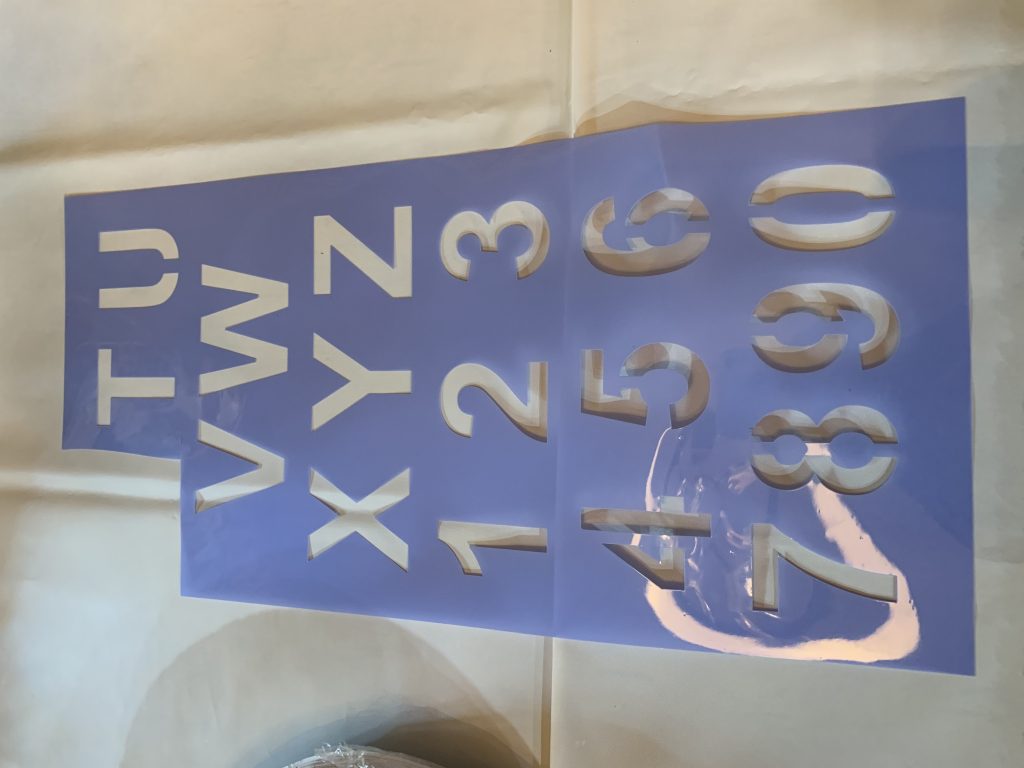
I got these medium sized stencils at Hobby Lobby, too, because I was going to need quite a few of them and I didn’t think the larger letters would fit.
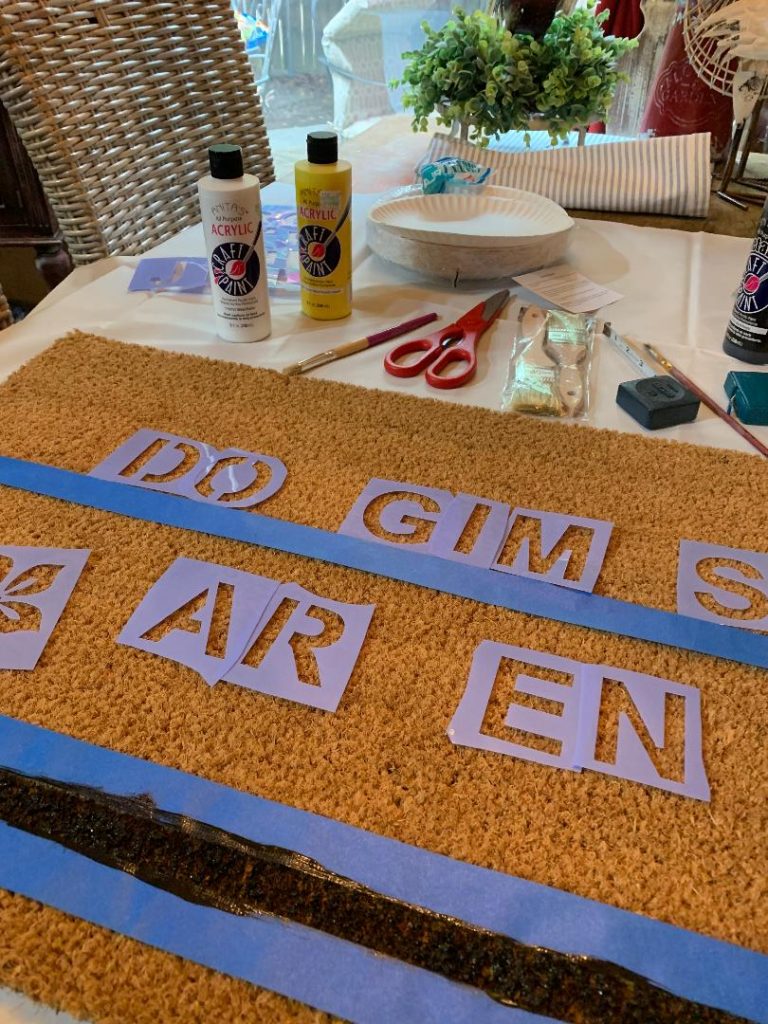
I decided I wanted to do some sort of border to sort of define the area a little better so I taped off each section with two strips of tape to get the size of border I wanted. I was careful to measure all the way across the mat to be sure the tape was on straight and wasn’t veering off at all. I did this all the way around the perimeter of the mat.
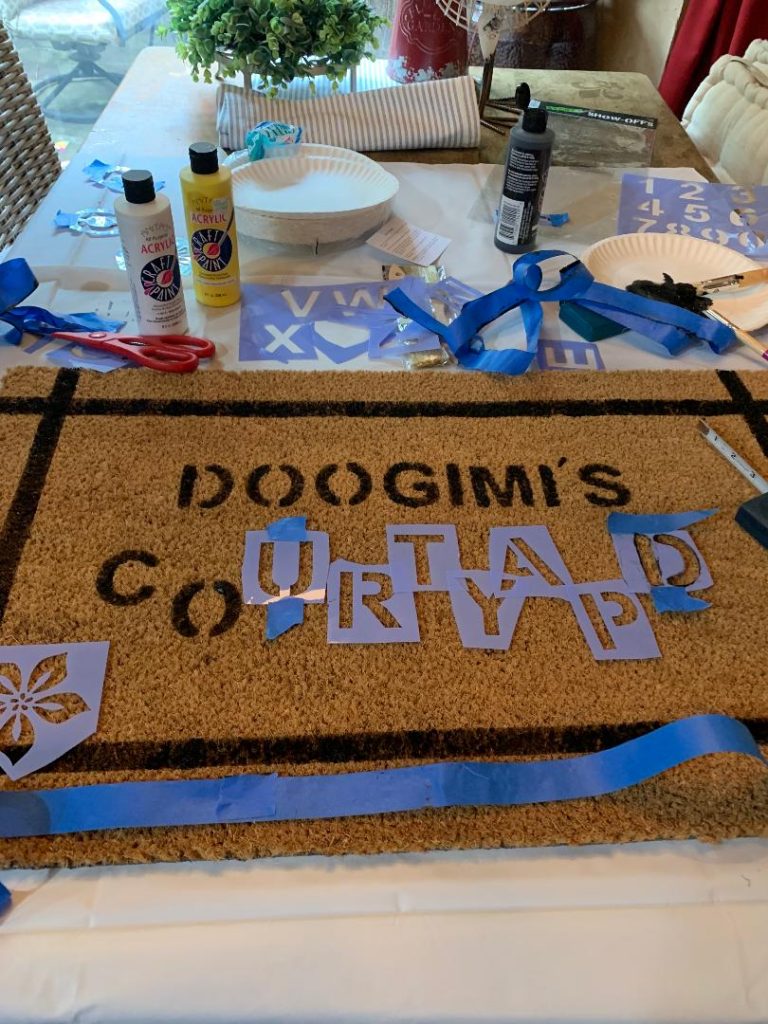
Our grandparent names are Mimi and Doogie and our kids and grandkids call us “Doogimi” so I decided to incorporate that into the doormat design. I thought about Doogimi’s Garden, but changed it to Doogimi’s Courtyard because that is what we call the side area right off the screened in porch where this will be going.
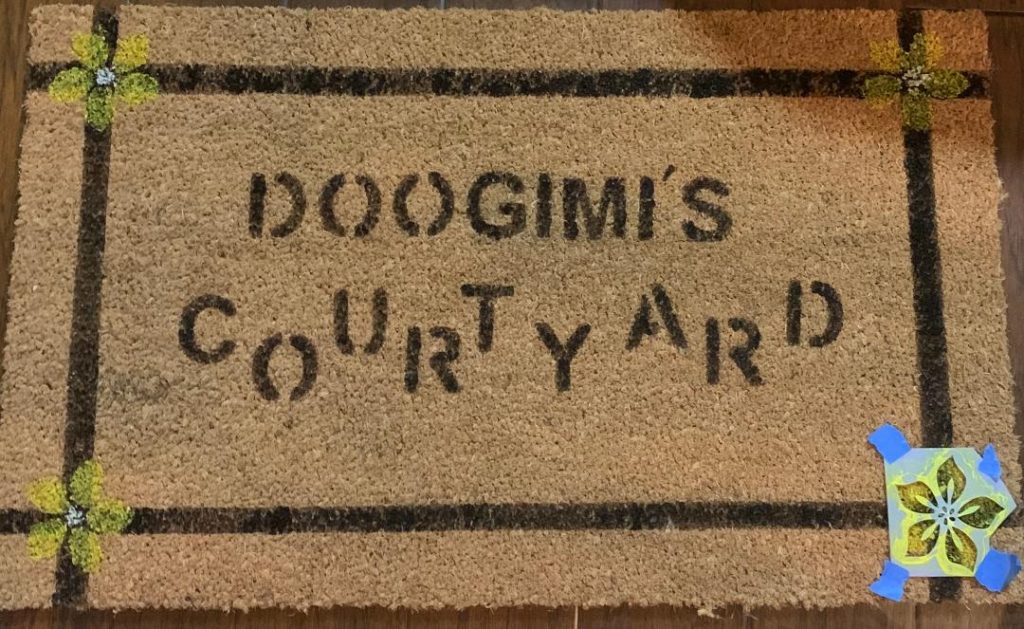
Once the border and all the lettering was in place it was time to add the flowers. These were more challenging, because of the lighter color so I had to keep dabbing more yellow and white on to get the value where it needed to be. I still wish they were darker, but I gave up after several coats. I think it’ll be okay.
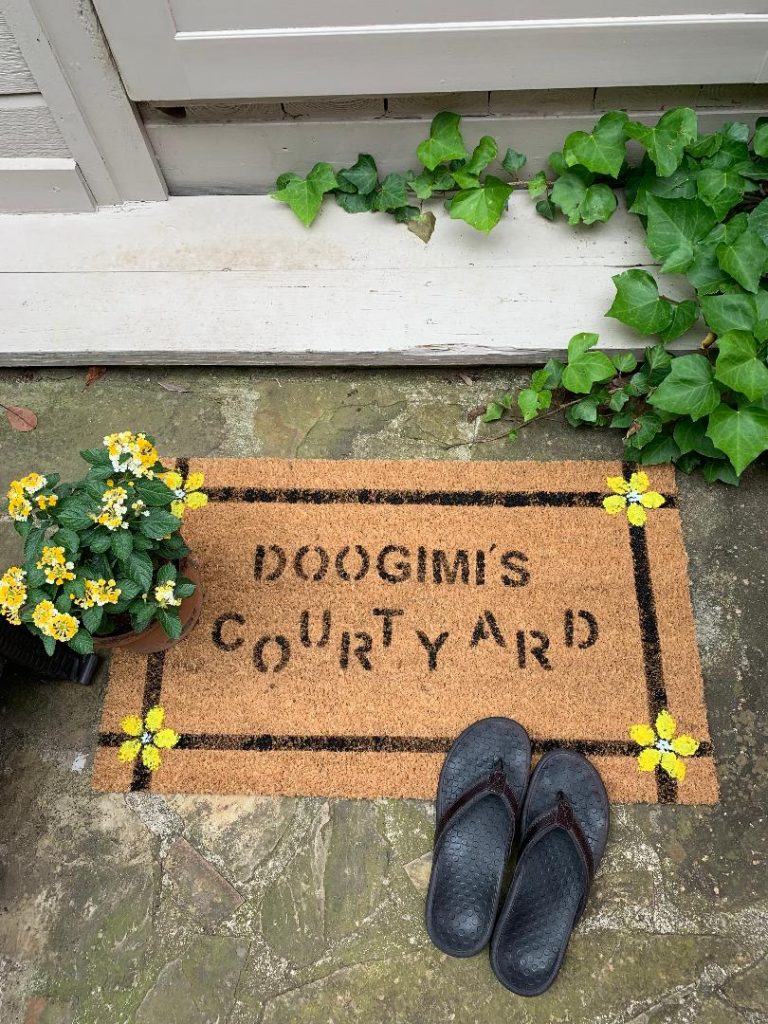
And, voila! Here’s the final product! It’s simple, but it works. And, it matches the sign I already have in the courtyard below.
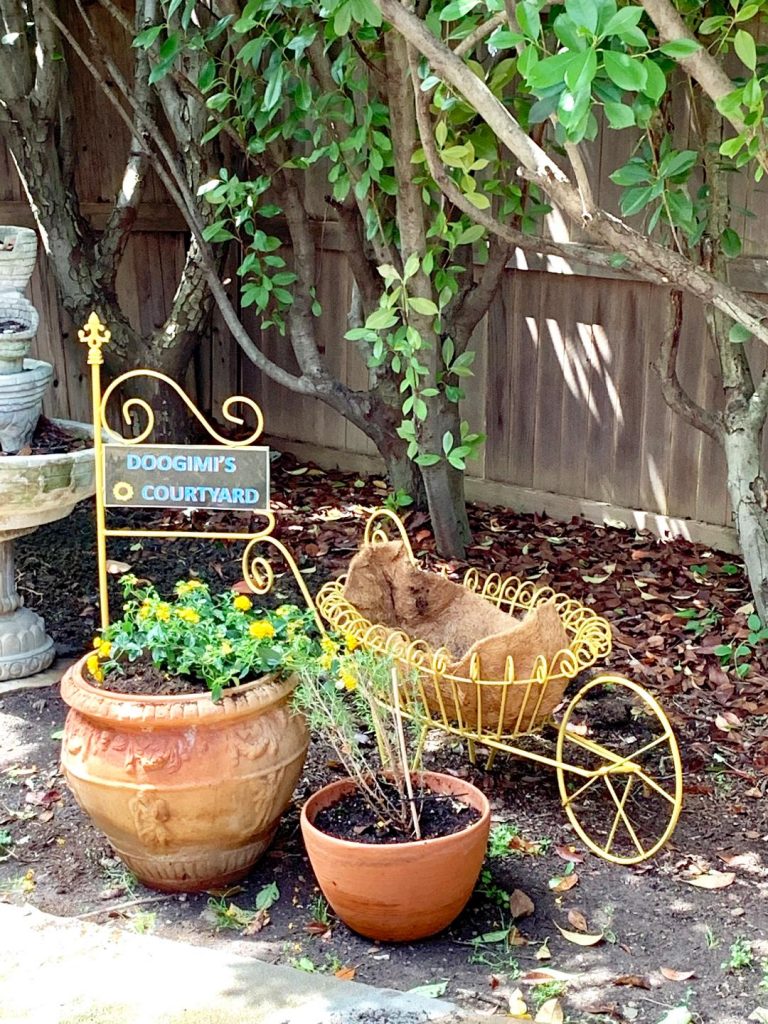
So I think it’s clearly established that this is truly “Doogimi’s Courtyard”!
Be sure to hop on over to the other DIY Doormats from these other amazing bloggers:
Sheri, your mat is so cute and works perfectly with everything around it. I love the added yellow flowers to the border. Perfect! Love working with you on this DIY challenge and can’t wait to do next month’s. Have a wonderful Mother’s Day!
Thank you Terrie! This was a fun DIY project. Looking forward to the next one.
I love that your grandkids have a mashed up couples name for you and your husband! That is so precious! I also love the design you created for your doormat. Those yellow flowers are darling!
Thank you so much Kristen! Yeah…all of the married adults in our family have a joint nickname. Doogimi is ours and we love it.
Very cute! Goes great with your styled courtyard! So fun working on this together!
Thank you! Yes, it was a fun DIY and blog hop!
I love how your door mat turned out Sheri. I really love what your grandkids call y’all. So cute. I wish I would have thought about using tape to make my letters line up straight. That was pretty smart on your behalf. This was a lot of fun lady, let’s do it again soon.
Thank you! Yes, it was fun doing this DIY blog hop wasn’t it? I’m looking forward to the next one.
I love how you used your grandparent names! So unique and those yellow flowers are such a fun pop of color!
Thank you so much Dani! I appreciate that!
Doogimi is so cute! I love the personalized mat!
Thank you so much! I have to say I love having a personalized mat, too!
How adorable!! And that yellow wired wheelbarrow caught my eye – very unique!
Thank you! I broke out the yellow paint to do an outdoor refresh on some of my old yard items. Worked like a charm and now they feel new.
This is just too cute! I love it! Looking forward to joining you guys next month! Hugs!
Thank you! It was fun! Glad you’ll be joining us next time!