Do you have a camper? But you want more of a glamper? You love camping in it, but you just want to make it cozier….cuter….you know….you want to make it your “own” instead of keeping the generic basic look from the manufacturer.
Well I can help you.
I was the exact same way. I tried to live with it as is, but as a retired interior designer and a home decor enthusiast I just couldn’t not put my own thumbprint on it. And I was able to jazz mine up without spending a lot of money. If that sounds like something you’d like to do this blog is for you. Here’s a quick overview of how you can snazz up your own camper…especially if you, too, have a Grand Design 2600RB camper like I do. But, even if you don’t….no matter what type of camper you have…here are some easy design tips your can use to snazz it up and make it your own.
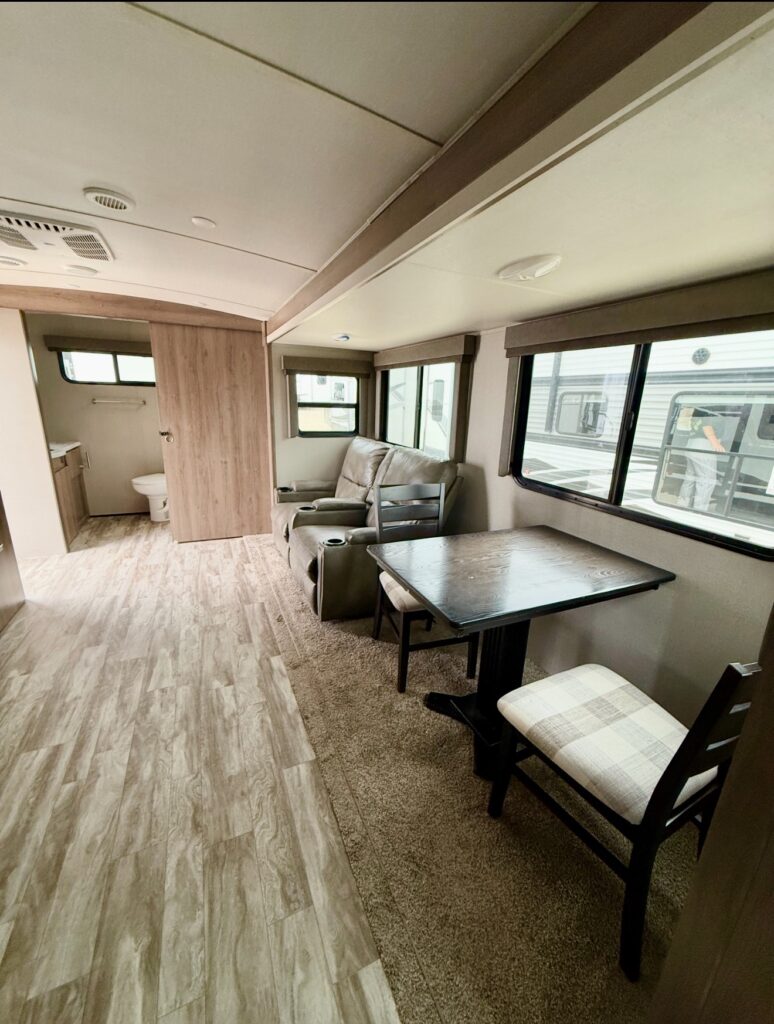
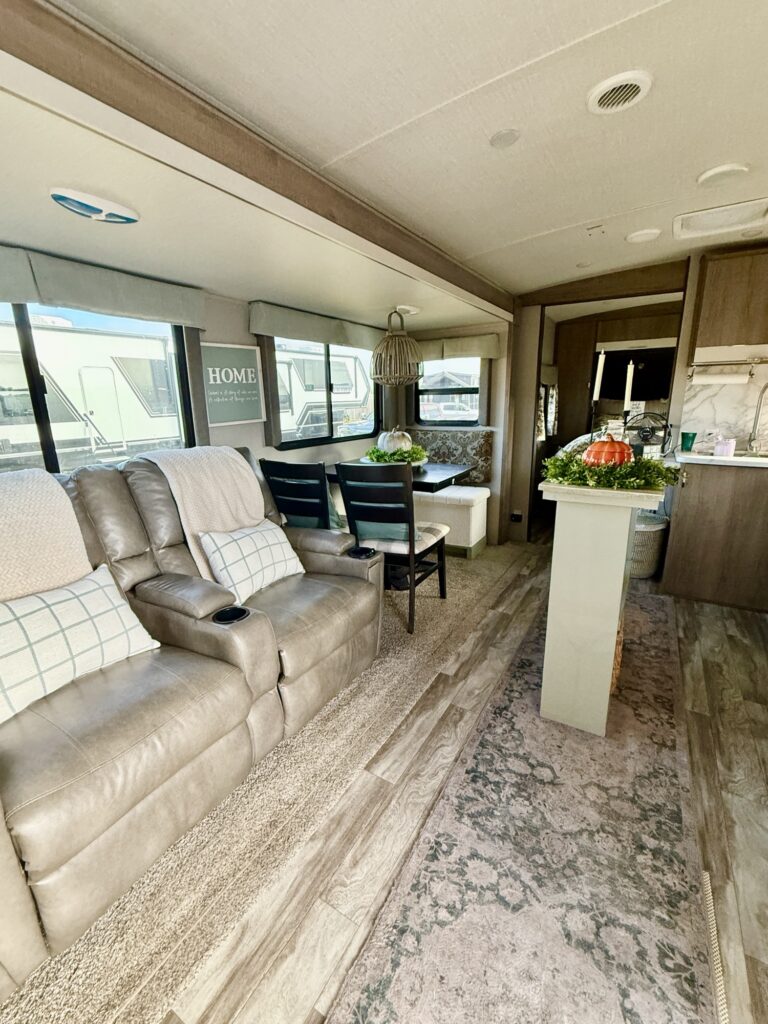
Here’s a look at our kitchen area. And if you’ve seen the inside of a Grand Design 2600RB you know that just to the left of the table are two recliners in our “family room”.
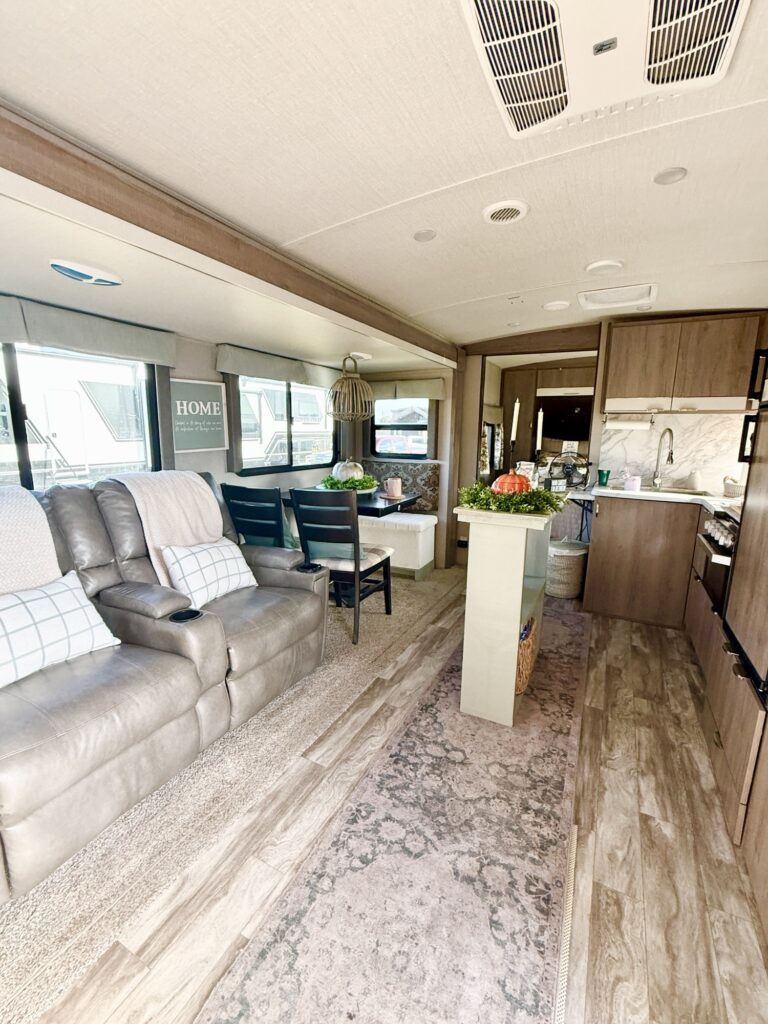

Here’s a better view with these two pictures.
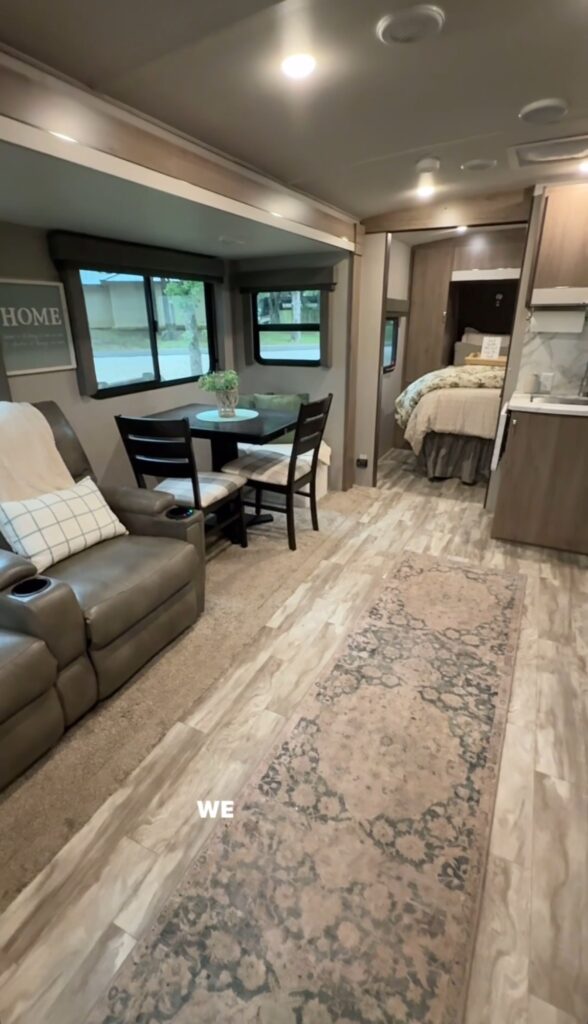
I’ll get to the added details here in a minute but these pictures below show you what it looked like when we bought it:
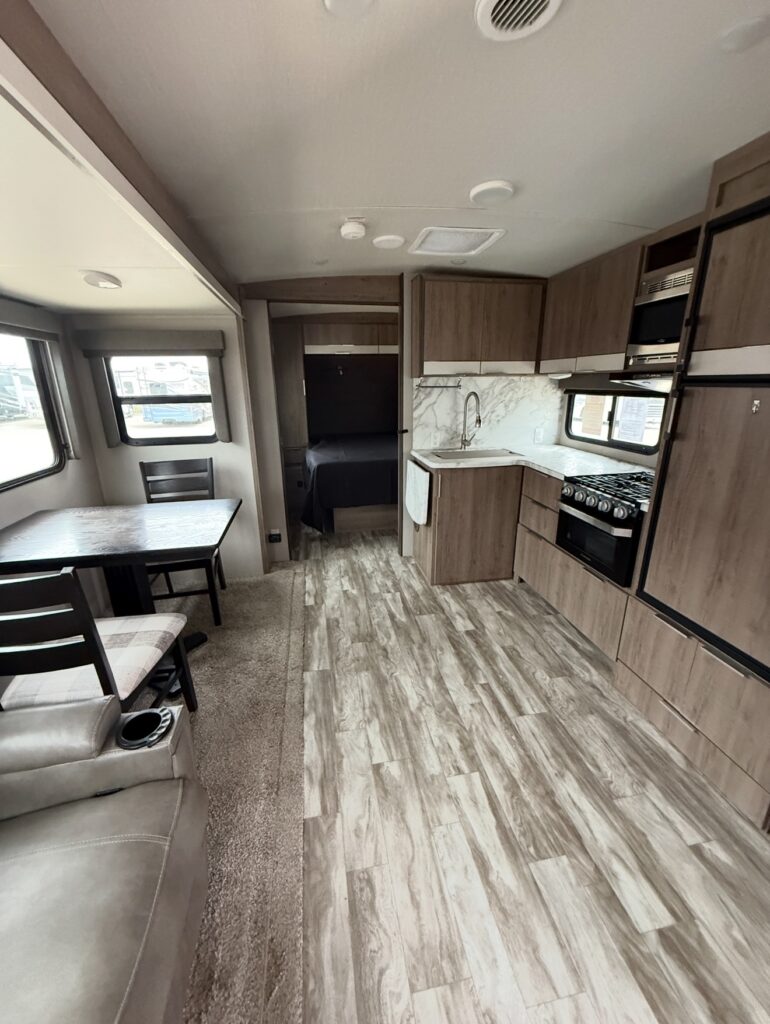

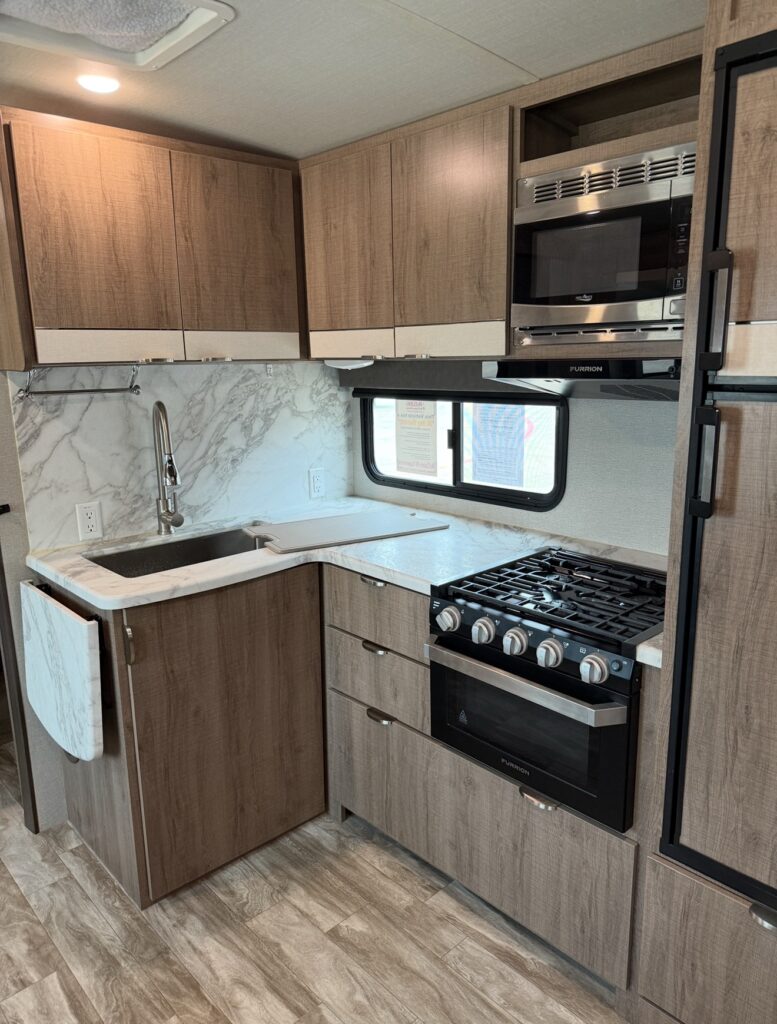
Still nice looking but without any of the personal details. My husband would have been fine keeping it this way, but I just couldn’t do it. I did try at first not to “girlie it up” as my hubby would say. But after a couple camping trips I just couldn’t help myself. It’s considered a “vacation home” and I had to make it feel that way. For my own sanity. All my fellow home decor girls out there get it. I know you do.
While I wanted to give it some personal details I didn’t want to mess with the actual footprint and lay out. I’m not ready to demo the furniture and replace the recliners, the dining chairs or the table yet. They are just fine. It just needed some general tweaking and some TLC…aka a woman’s touch.

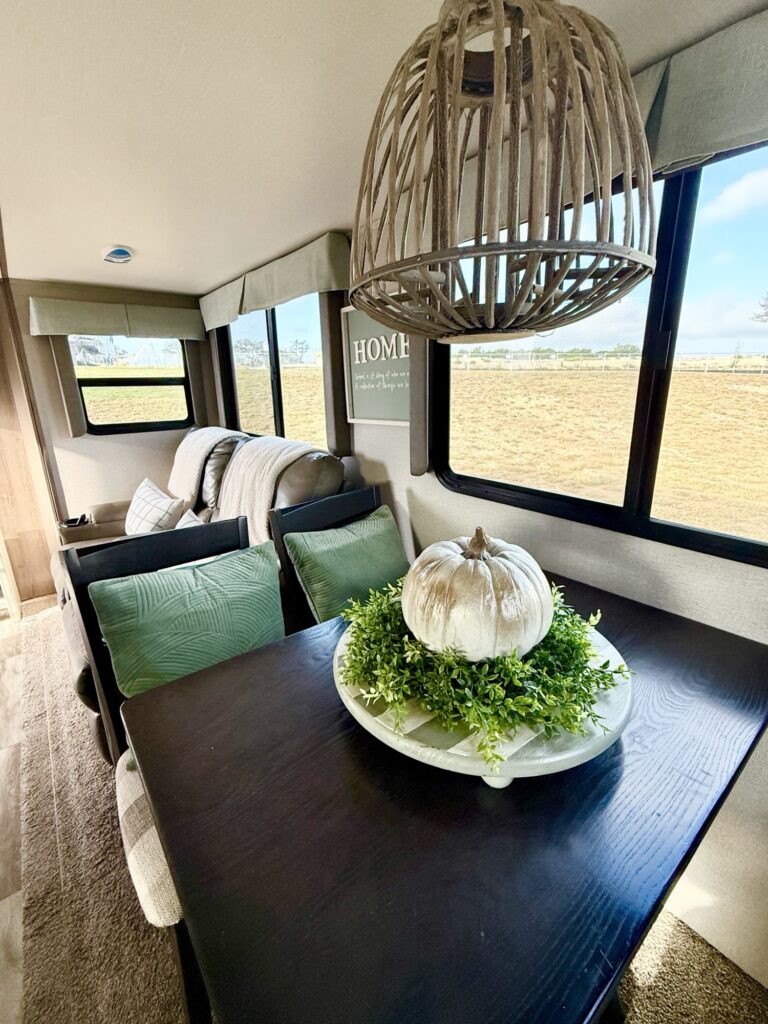
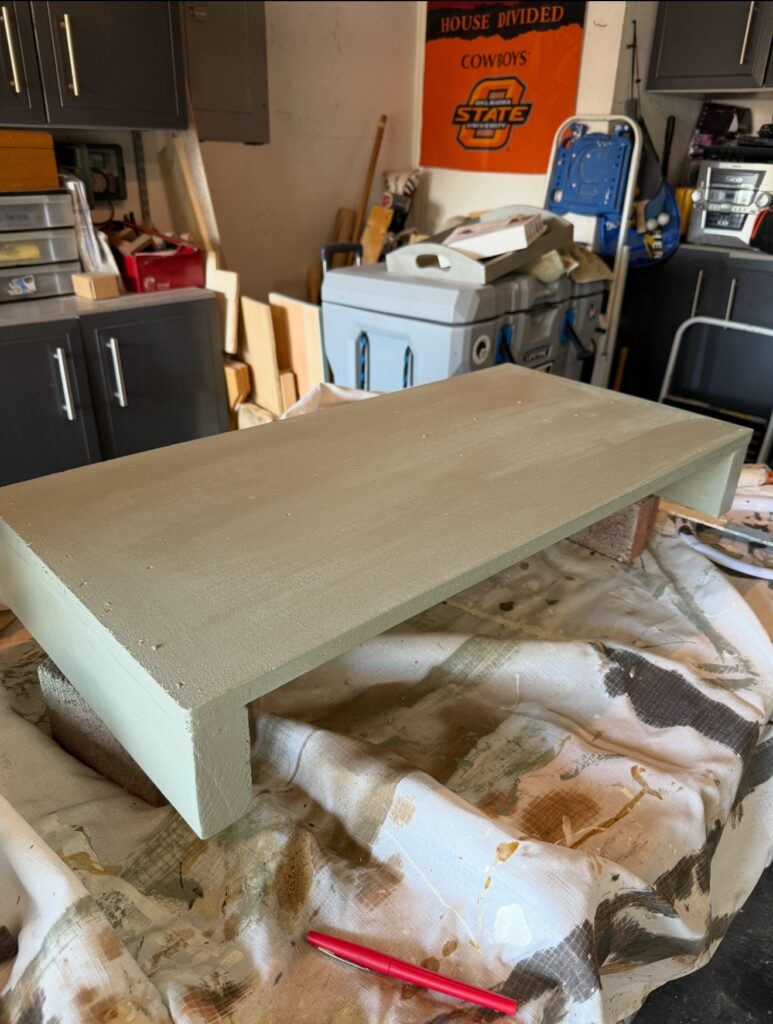
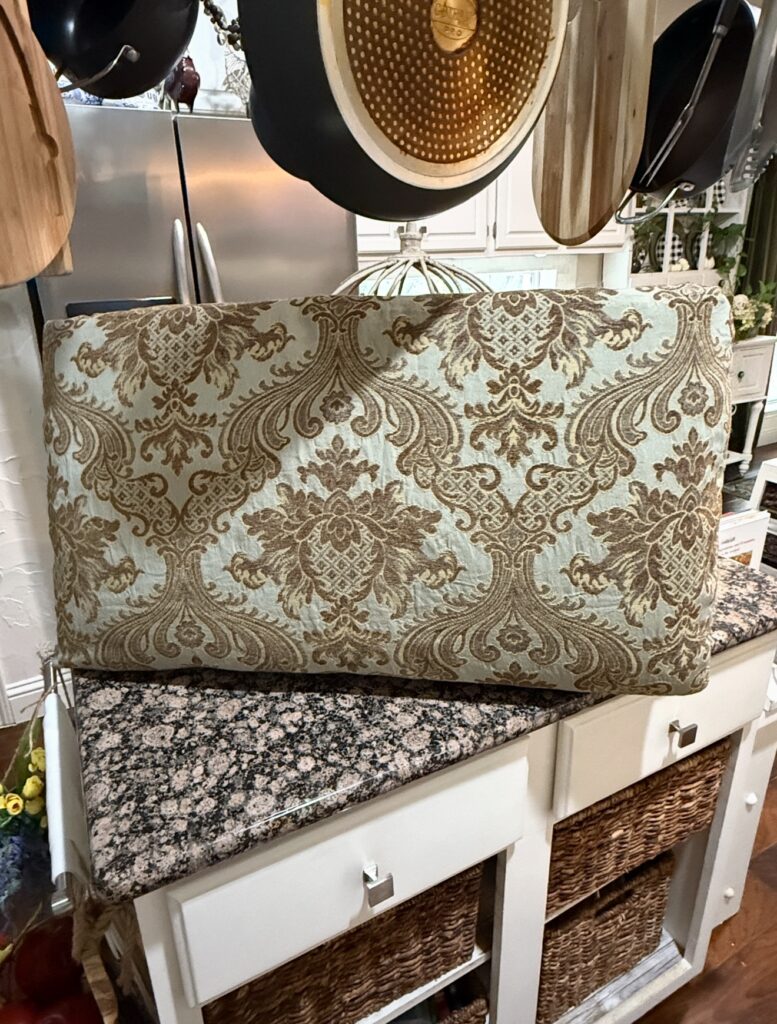
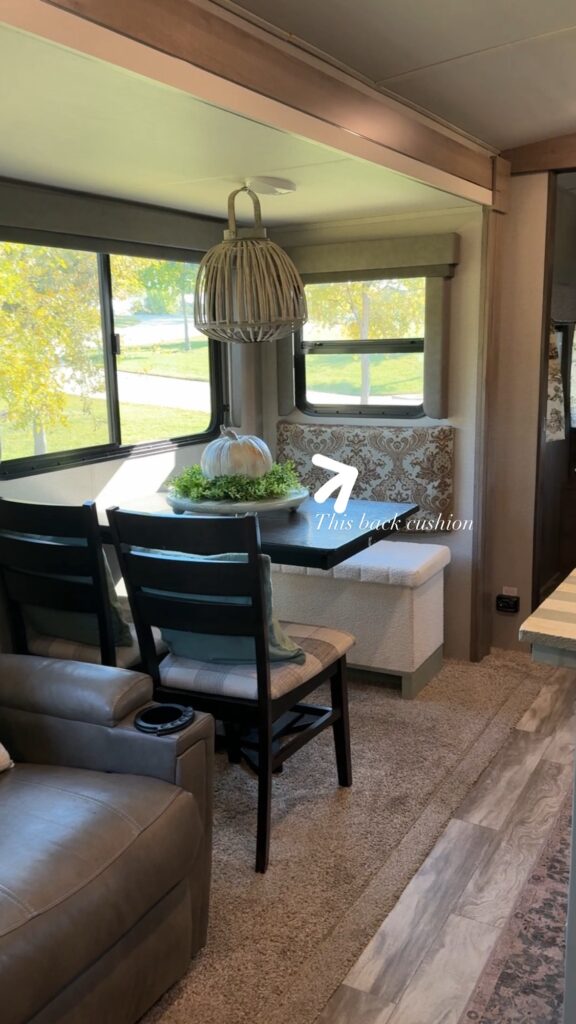
It only came with two dining chairs so I ordered a storage ottoman from Amazon to add more seating. The chairs got moved to one side and the ottoman was placed on the other side. I quickly found it was just a tad too short so I made a base for it that would lift it up a few inches. Then I found it needed a back cushion so I made one with some fabric I had on hand and the foam from an old pool chair cushion.
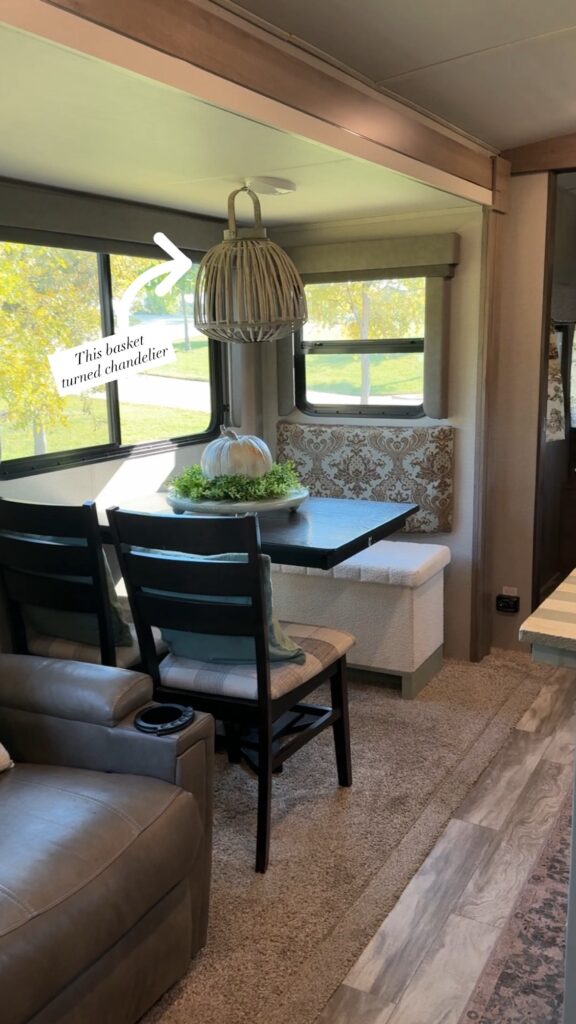
Yep, like said, I didn’t spend a lot of money snazzing it up. Then I decided I wanted a “semi-faux” hanging basket chandelier for some extra kitchen charm. I found this one at a thrift store for just a few dollars. It fits perfectly.
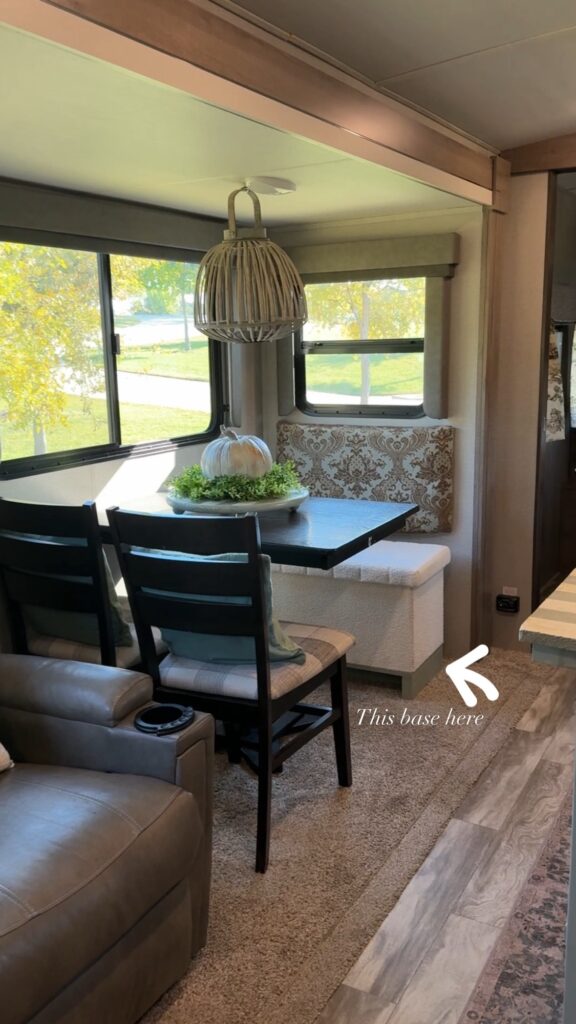
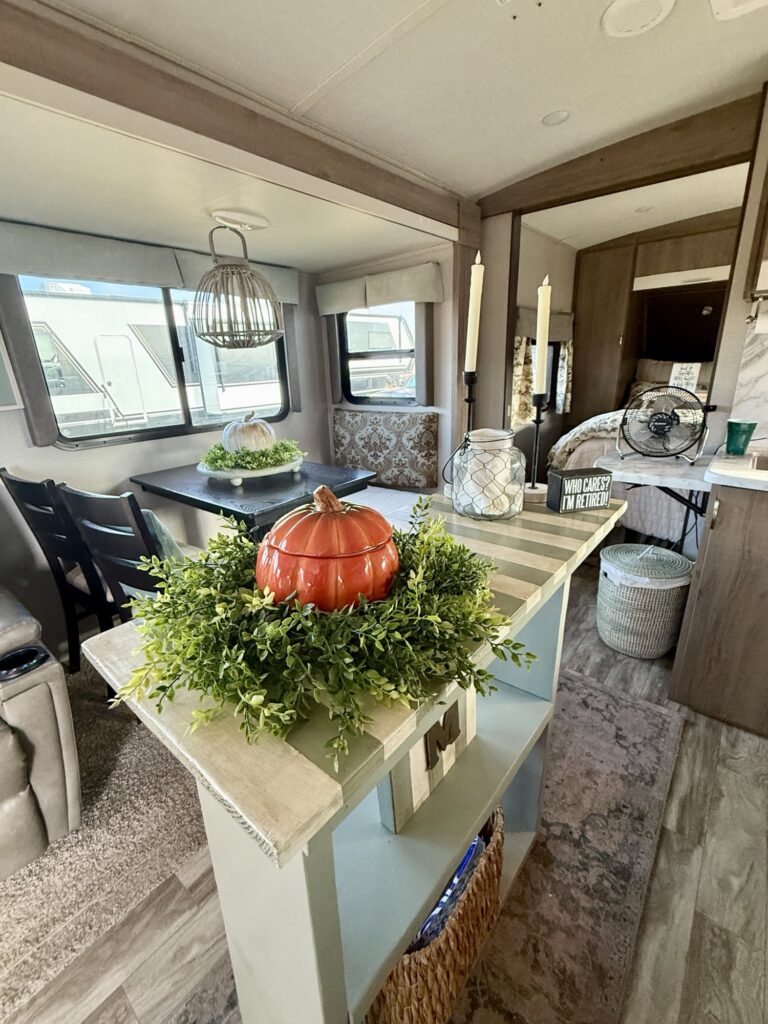
Here are some of the added details. (Of course since it’s November I added a pumpkin for fun.) I made the riser underneath it with a table round from Home Depot. I hope to share more specific details on how I made some these things like the cushion and the base on another blog post.
Of course just adding throws and pillows to the recliners and pillows to the dining chairs it helped bring in some warmth. All of this came from Walmart.
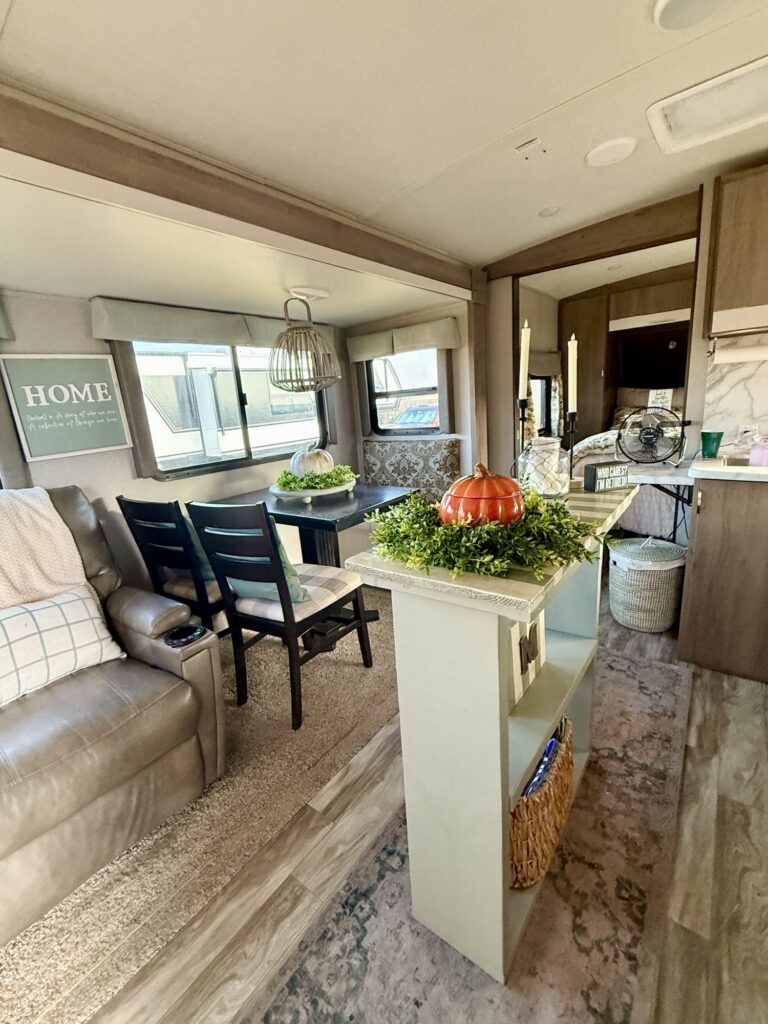
I’m sure at this point you’ve noticed the island. No it didn’t come with the RV. Although I don’t know why for the life of me they don’t include it. I made this one and it’s portable so it’s easily moved around. I wanted to have fun with it so I painted the base a mint green and the top in a fun wide stripe.
When we travel I park it here. It stores nicely right in between the wall and the slide wall when it slides in.
And if we want more space in the camper with people over we can easily place here against the wall as a shelf. I made the striped island top removable so this piece could serve a dual purpose.
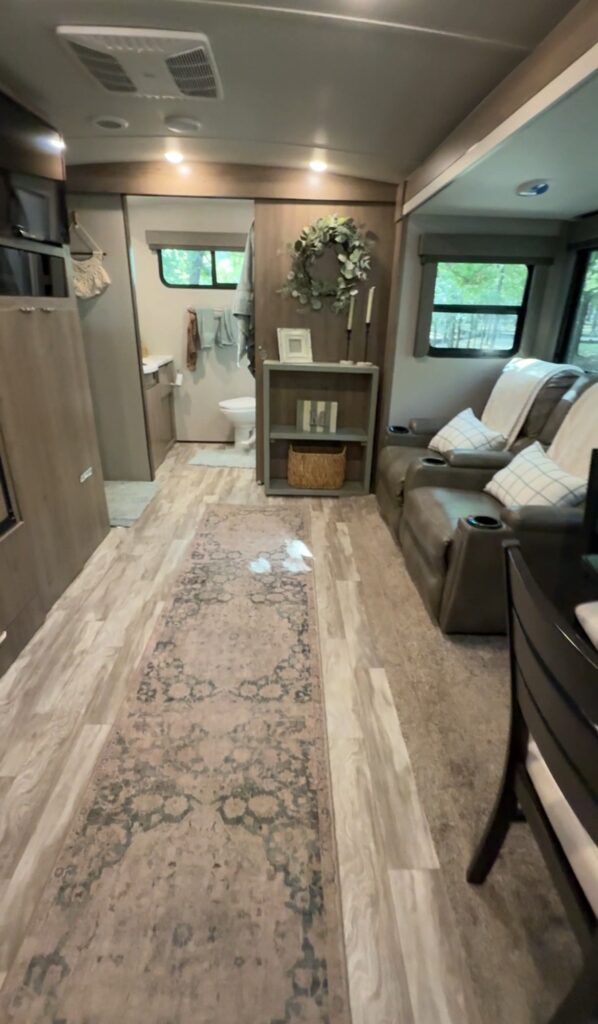
It creates quite a bit of extra space in the center of the camper if we need it. The rug you see here is a Laloi rug my sister gave me. The size is perfect and the color matches all my fabrics and colors exactly.
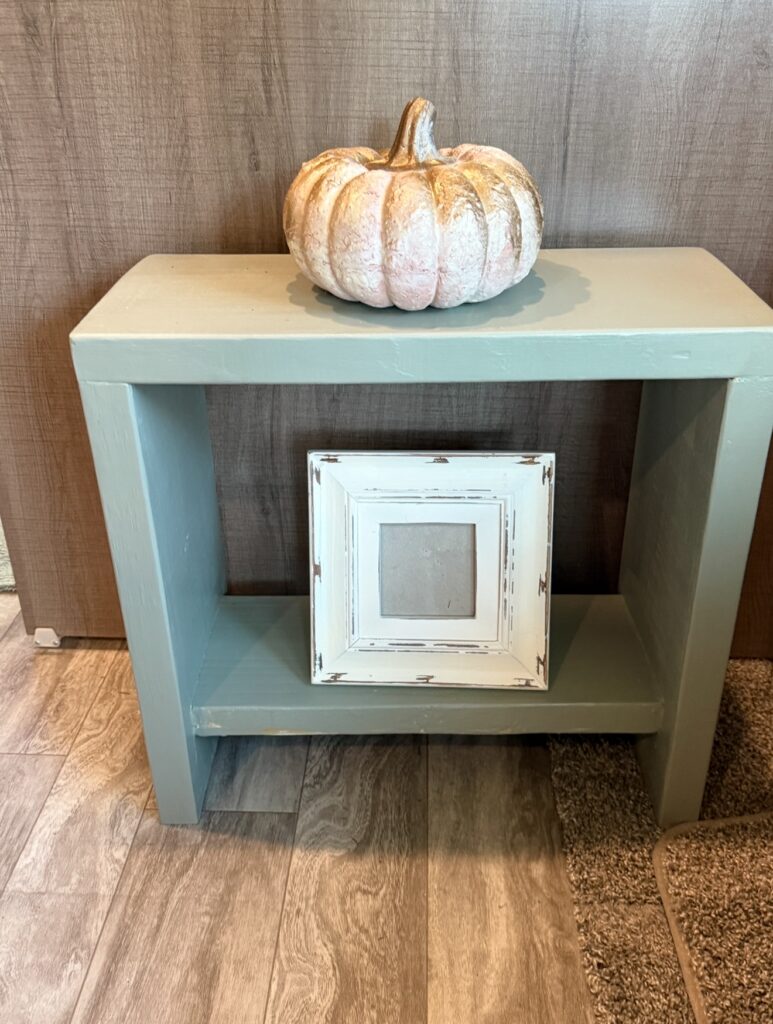
Since the larger shelf is used as an island the majority of the time I also made this little stool/side table. If we need extra seating it takes on the function of a seat. When we don’t use it as a seat it serves as a side table beside the recliner my husband sits in. It can also be pulled up to the kitchen table as an extra chair there.

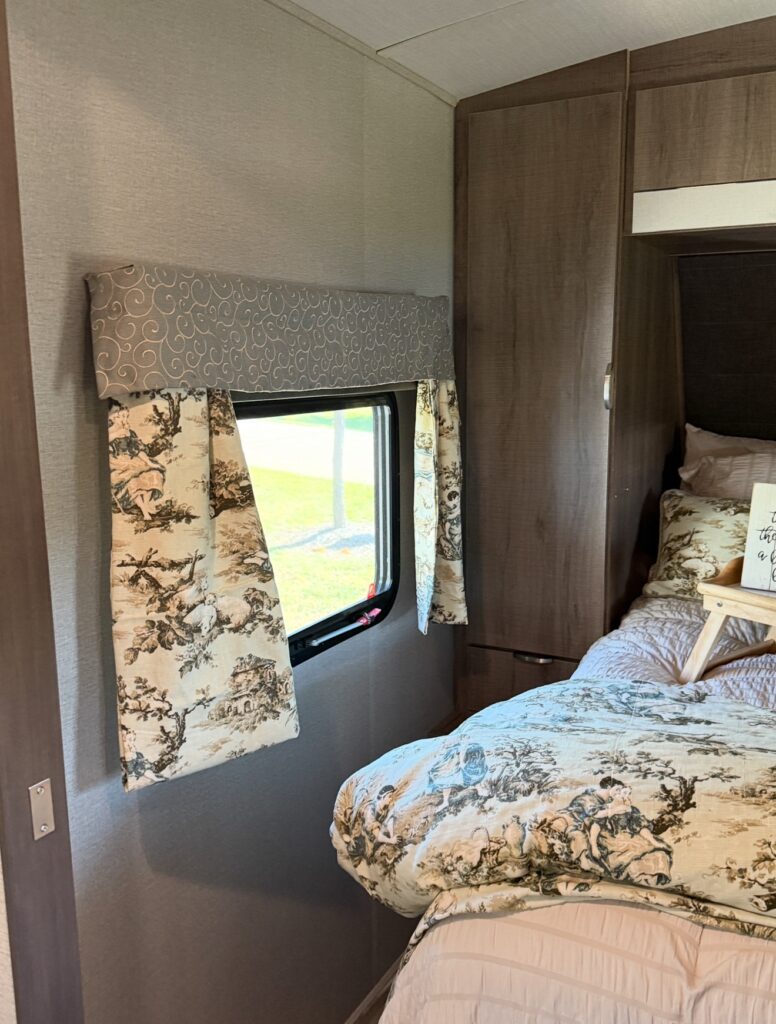
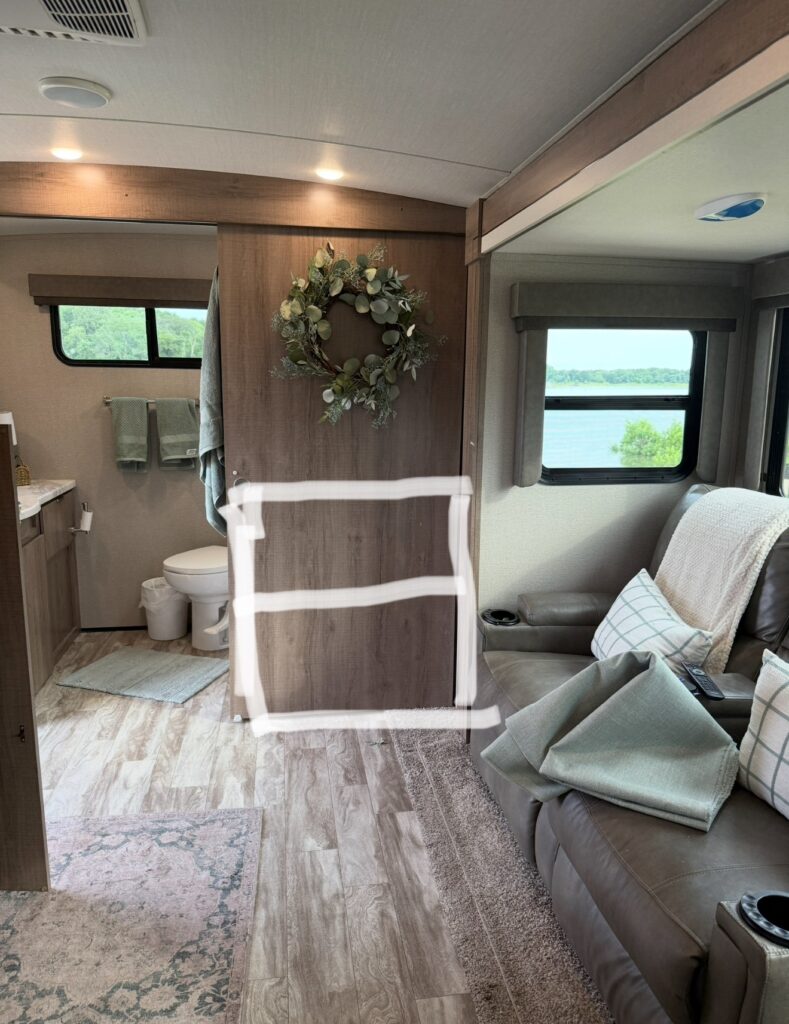
I used the old bedding from my master bedroom at home for our bedroom here. It was taking up a lot of closet space being stored so I thought….why not use it on the camper. I think it works perfect here. And it was actually the spring board for the colors I went with in the entire camper. It’s a minty green French toile pattern with coordinating fabric. I had tons of leftover coordinating fabrics from when I decorated my bedroom so I was able to use it to do all my window treatments and the seat back cushion in the kitchen. So it’s a nice continuous flow throughout. In the bedroom I created a flat valance with side panels that coordinated with the bedding.
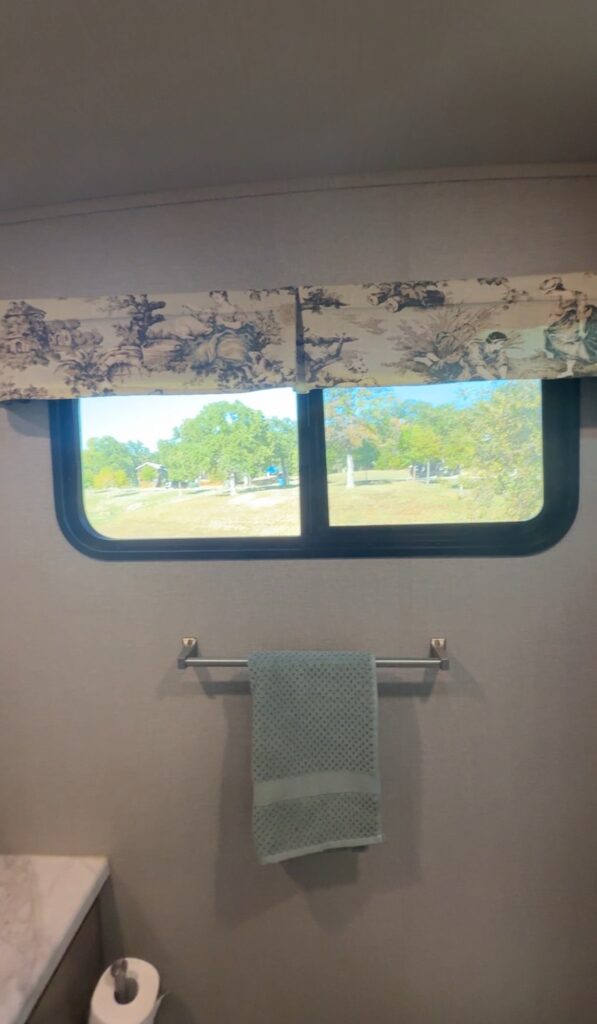
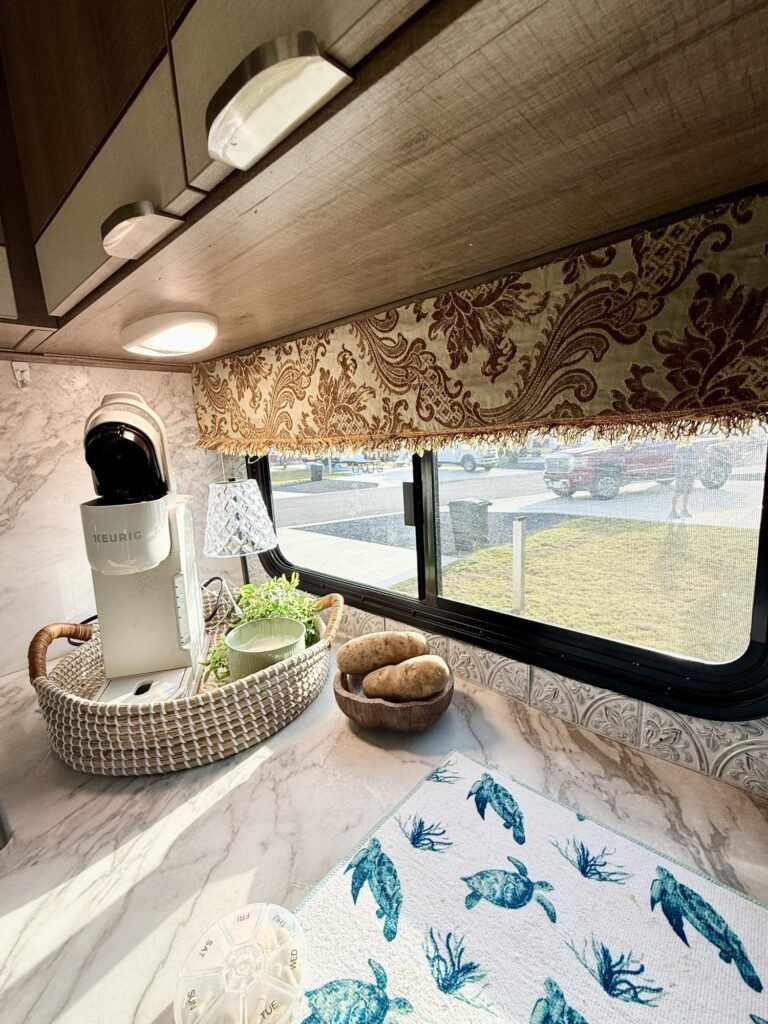

I need to do an actual tutorial on how I made and attached the window treatments. But a quick explanation is that I made tailored box pleats and attached them to a thin board at the top where they could lay on top of the original cornice boards. I Velcro’d them directly onto the original cornice boards so they are all secure when we are traveling. The one over the small kitchen window is just attached as a flat panel. That fabric coordinates with the back cushion over the ottoman. I used solid colored fabric over the main living area windows and I repeated the toile from the bedroom in the bathroom.
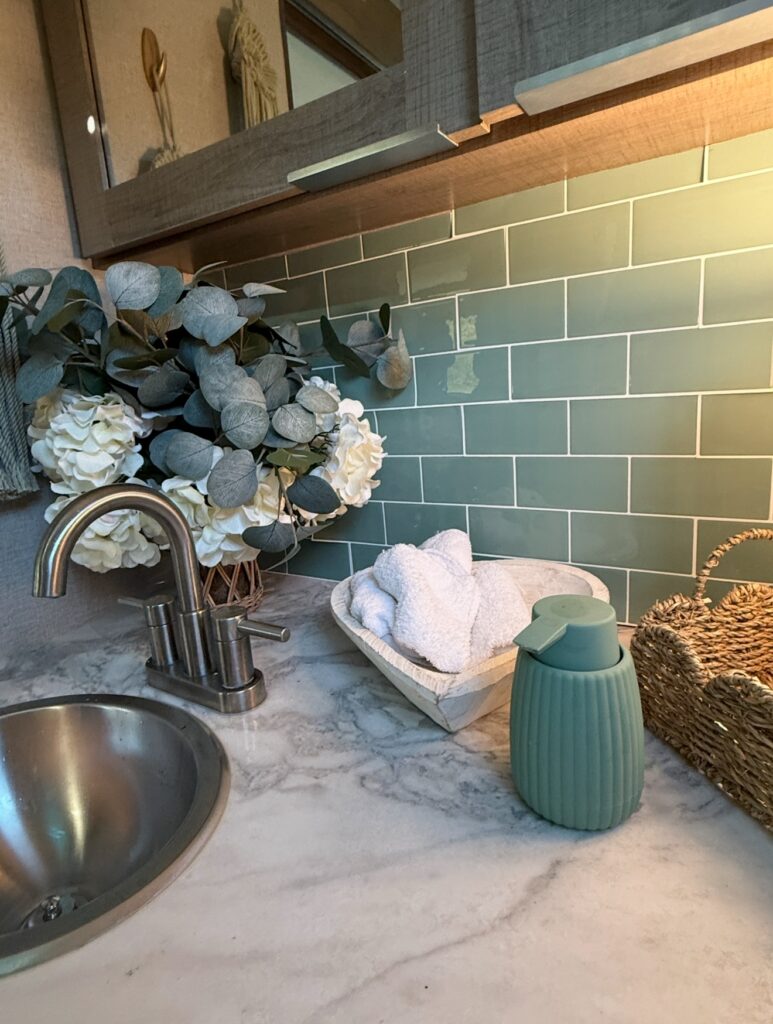
In the kitchen and in the bathroom I dressed up the backsplash with peel and stick tile from Walmart.
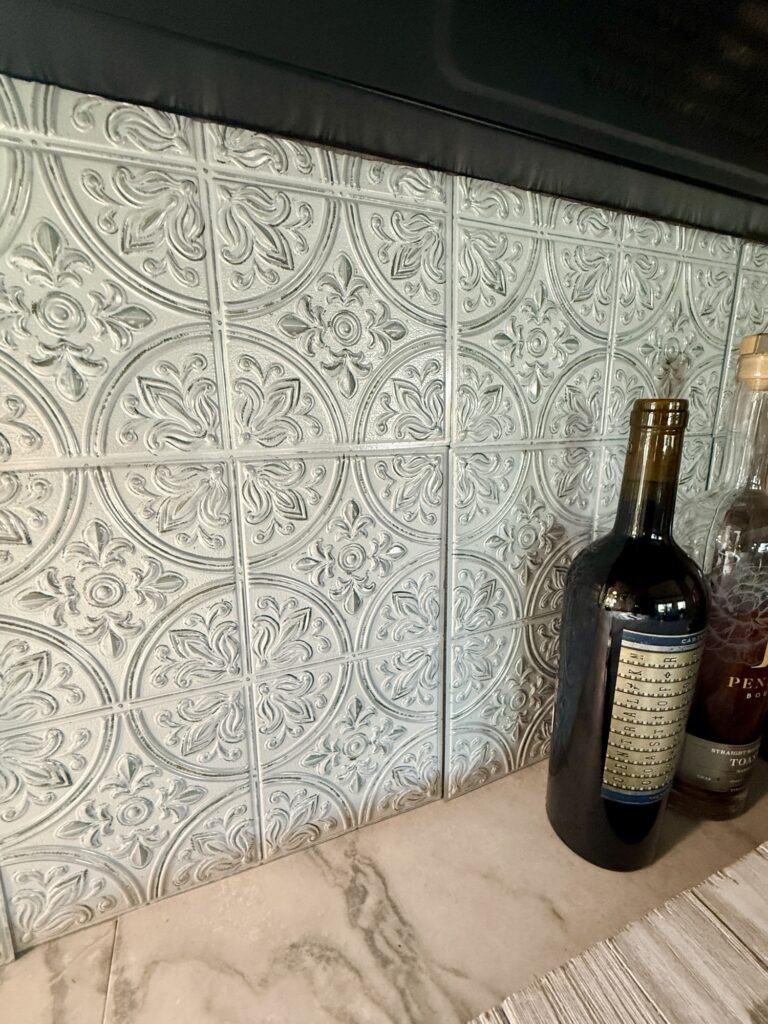


This wallpaper was inexpensive and easy to apply. And I love the added detail and charm it brings to the “glamper”.
Like I said I hope to do a DIY blog soon where I get more detailed on how each of these decorative additions were made. But for now this is a quick explanation of everything I’ve done so far to cozy up my “vacation home” and give it some warmth and its own distinct personality.
I hope I’ve given you some ideas to help snazz up your own. Please let me know if you do!
Happy Decorating!