My college daughter lives in a studio apartment and has been without a dining table for the last 6 months because of space. She’s since decided she can’t stand it anymore and had to figure out how to squeeze a dining table in so she could sit like a “real person” and have her meals. (Instead of in her bed!)
Small though it may be, it’s a really cute apartment – you can check it out here.
If you take a look at the previous post you’ll see she has a sweet little settee by the window (that she just purchased, repainted and reupholstered a few months ago). She decided to sell it so she could replace it with a table. There was no other way to cram one in there – being such a small space – without removing something. So she decided the settee had to go.
After looking at various sites and a local resale shop she found this table below and a couple of chairs for $30.00 on our local Facebook trading post.
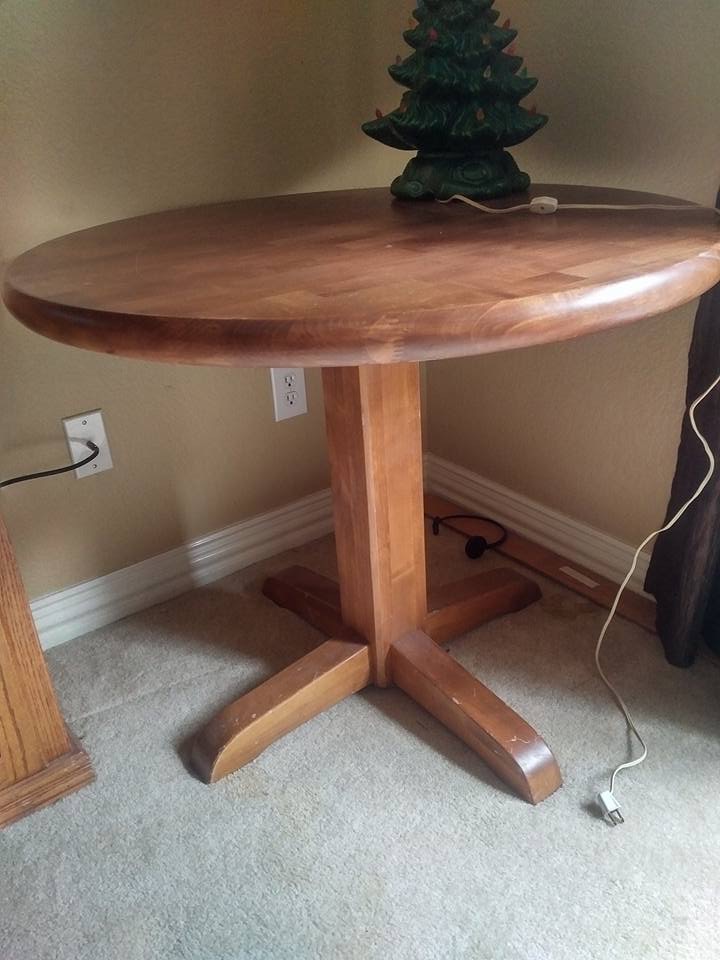
It’s actually a nice little table, but the top was way too big.
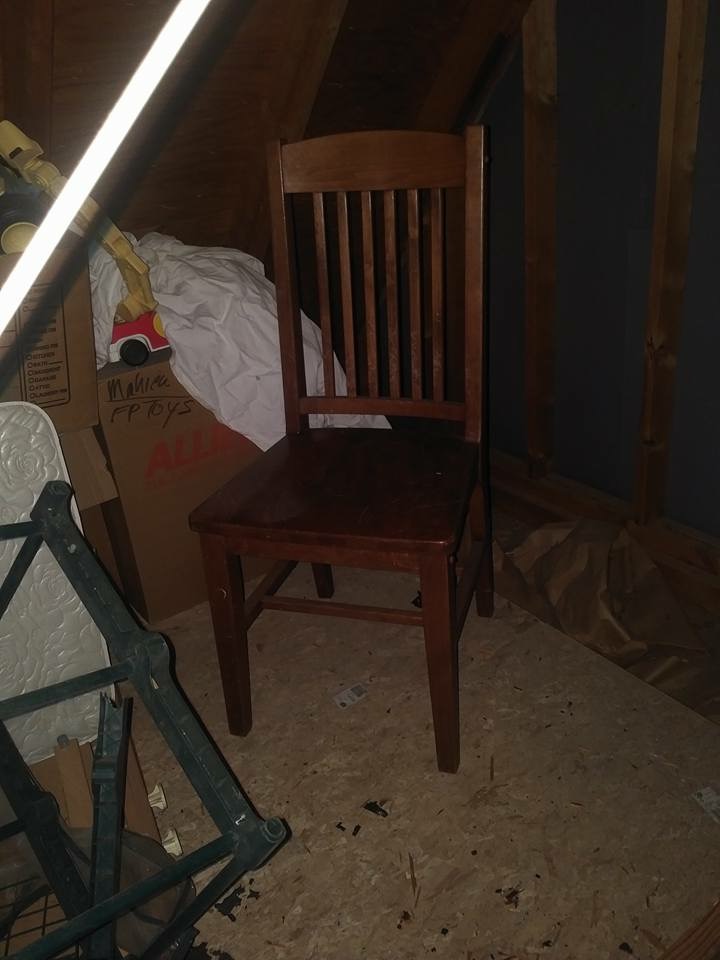
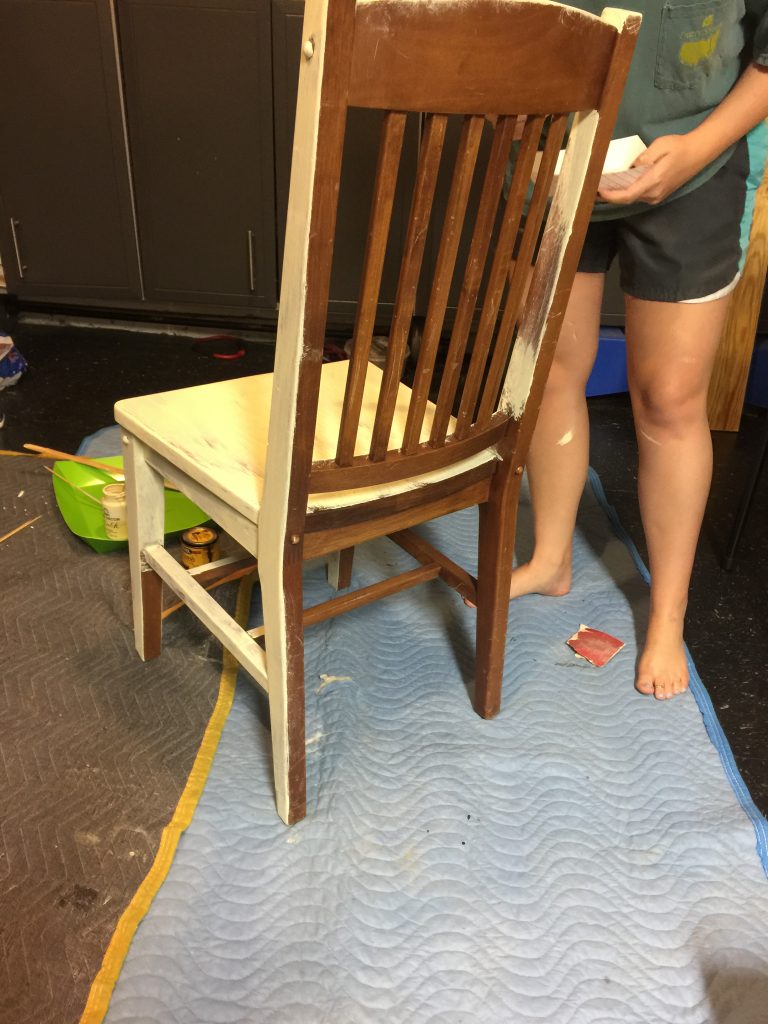
And, the chairs had been in the attic for awhile and were really scuffed up. Easy fix with chalk paint – no brainer there – but she needed to replace the table top because this one was just too big for her space.
She loves the farmhouse look and decided she wanted the table to look like a little bistro farm table
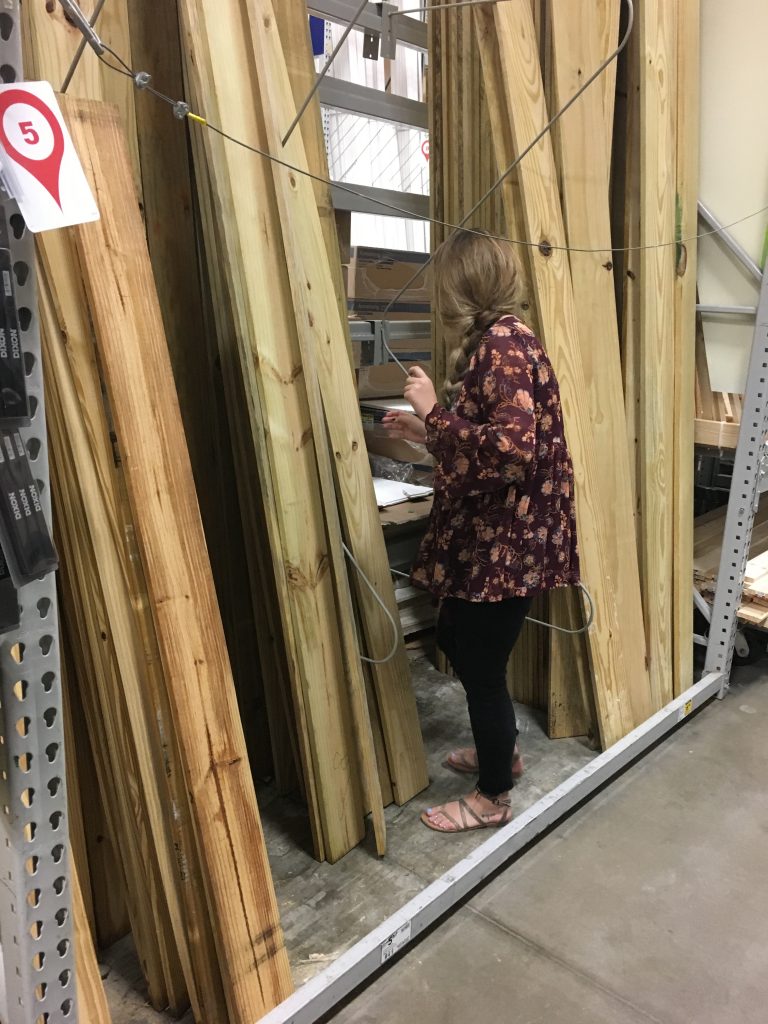
So I took her to Lowes and we perused the wood till she found the type and the price she was looking for.
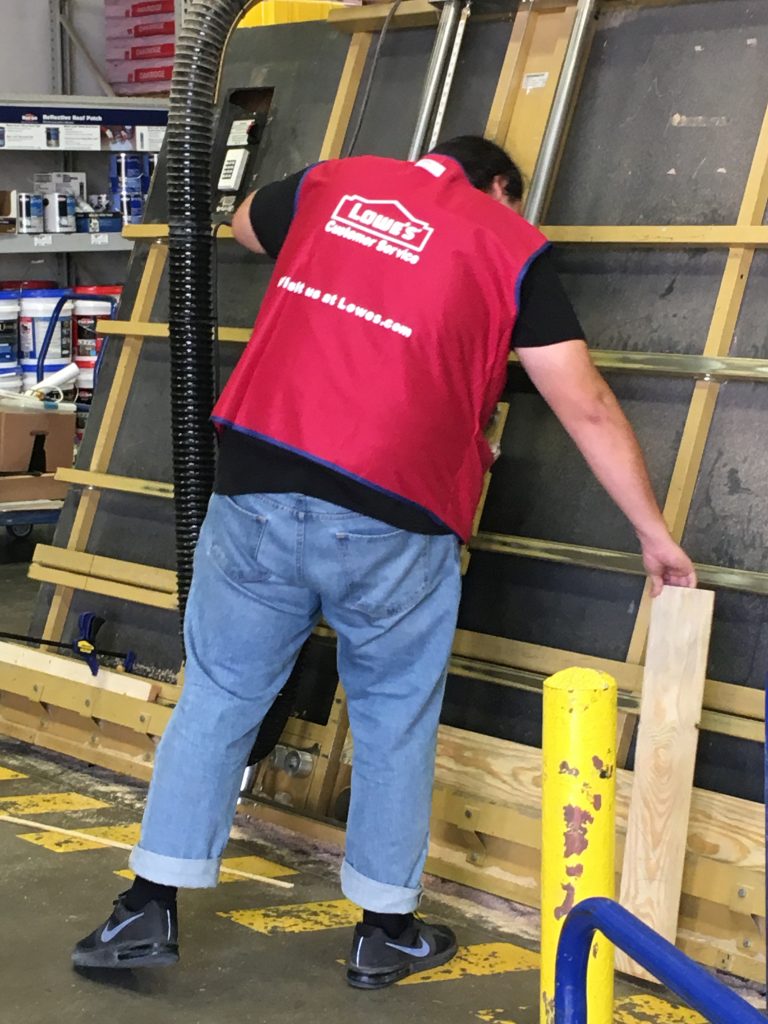
We had them cut each piece to 30″ which was the largest she figured she could go. That way five 2×6’s would make a 30″ square.
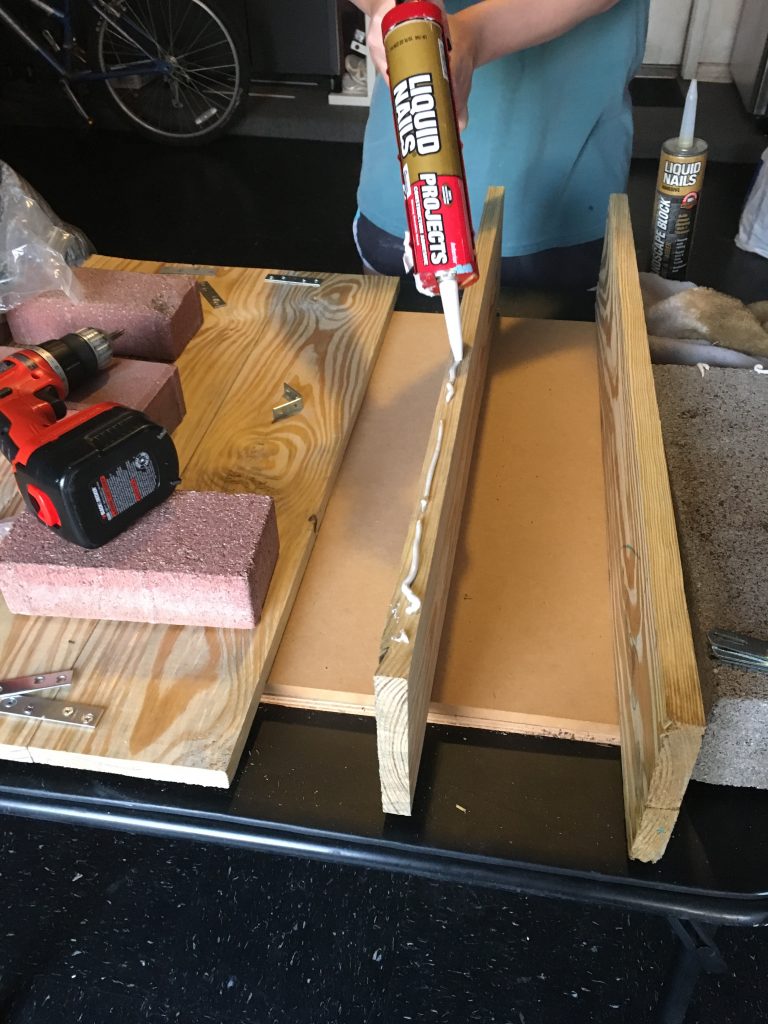
She glued the edges together with Liquid Nails.
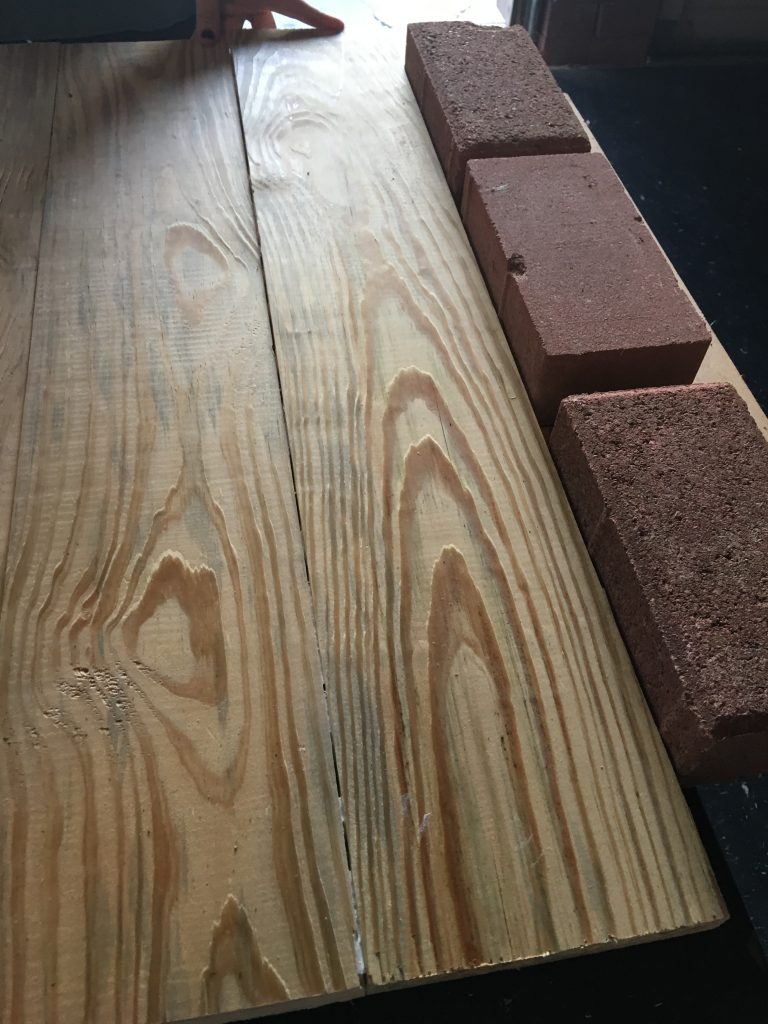
And we sort of braced it on each side with some bricks I have on hand.
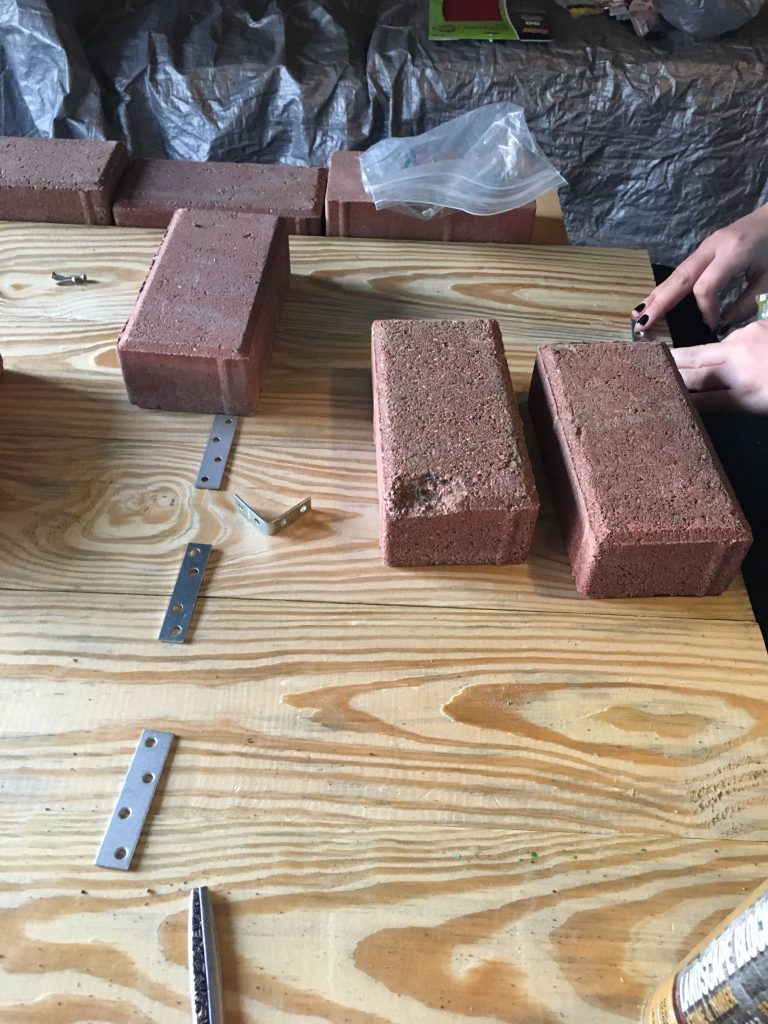
Then we braced each piece together again with these brackets for extra stability and insurance.
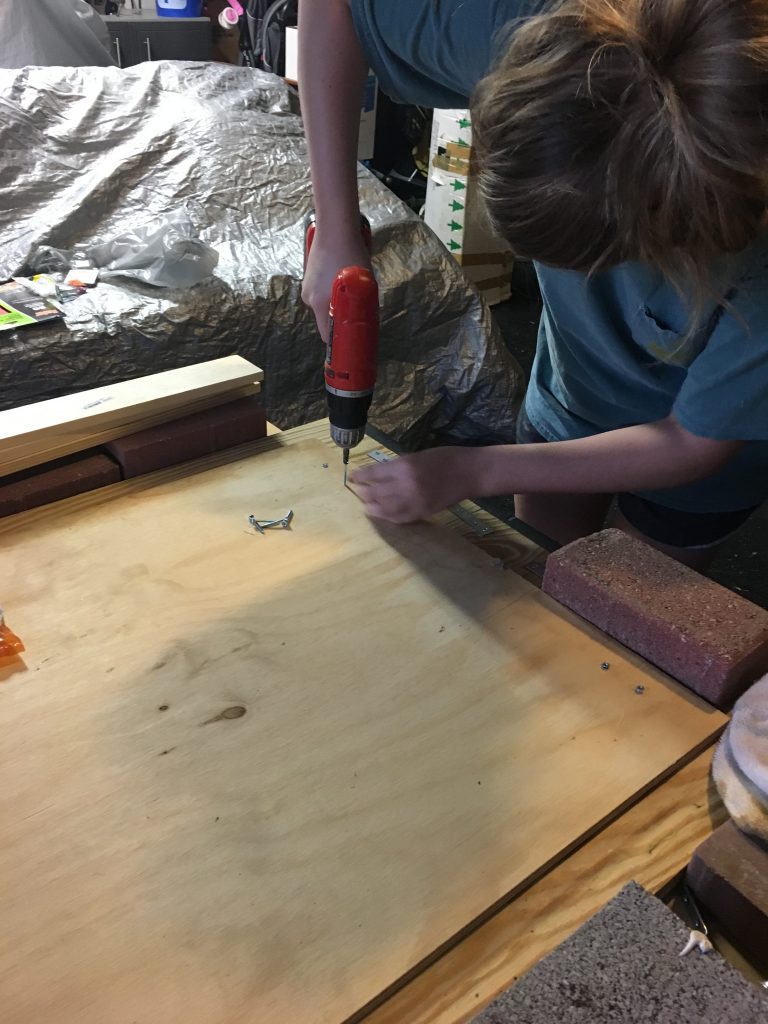
Next we screwed a 24×24″ backing onto the 2×6’s for extra support.
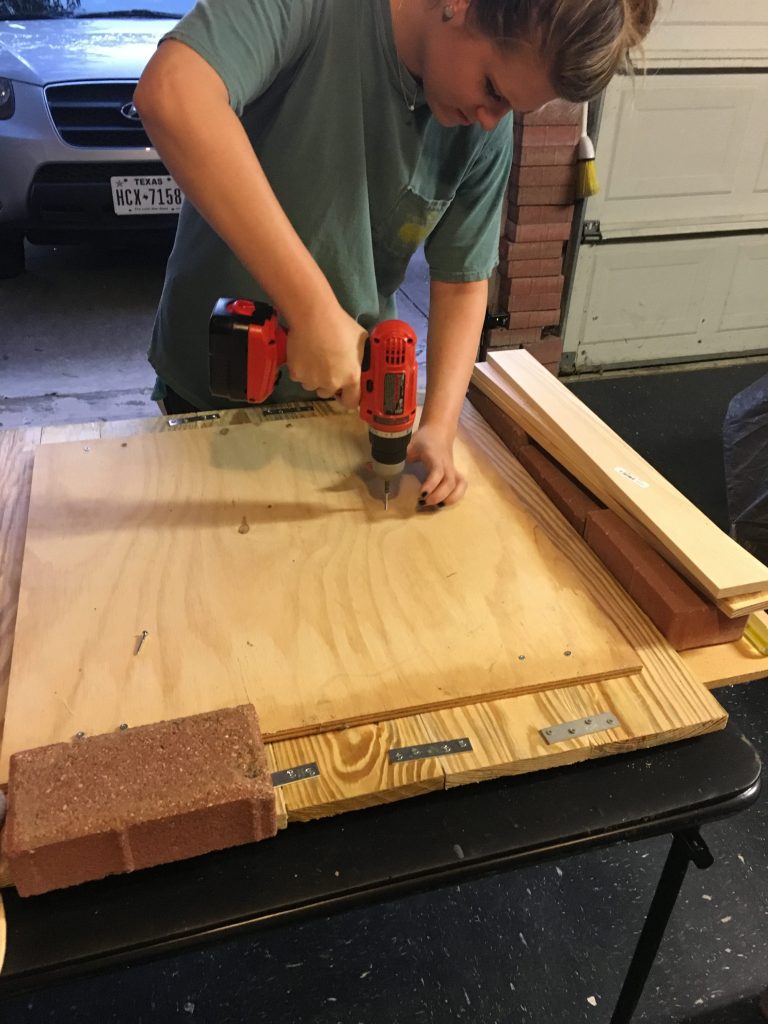
Careful to go around the perimeter of the board as well as in the center.
Then we added a decorative edge just a few inches in from the outside edge for a more finished look. You can see it below.
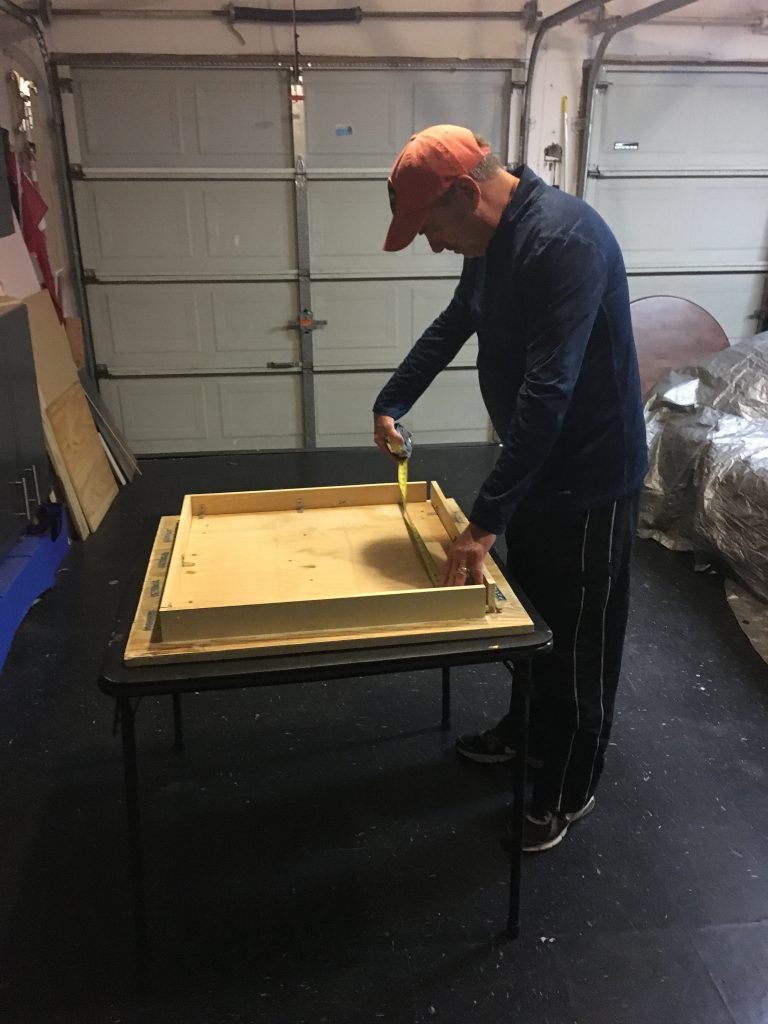
When it was completely dry (we let it dry overnight) her dad pre-drilled holes to coincide with the base.
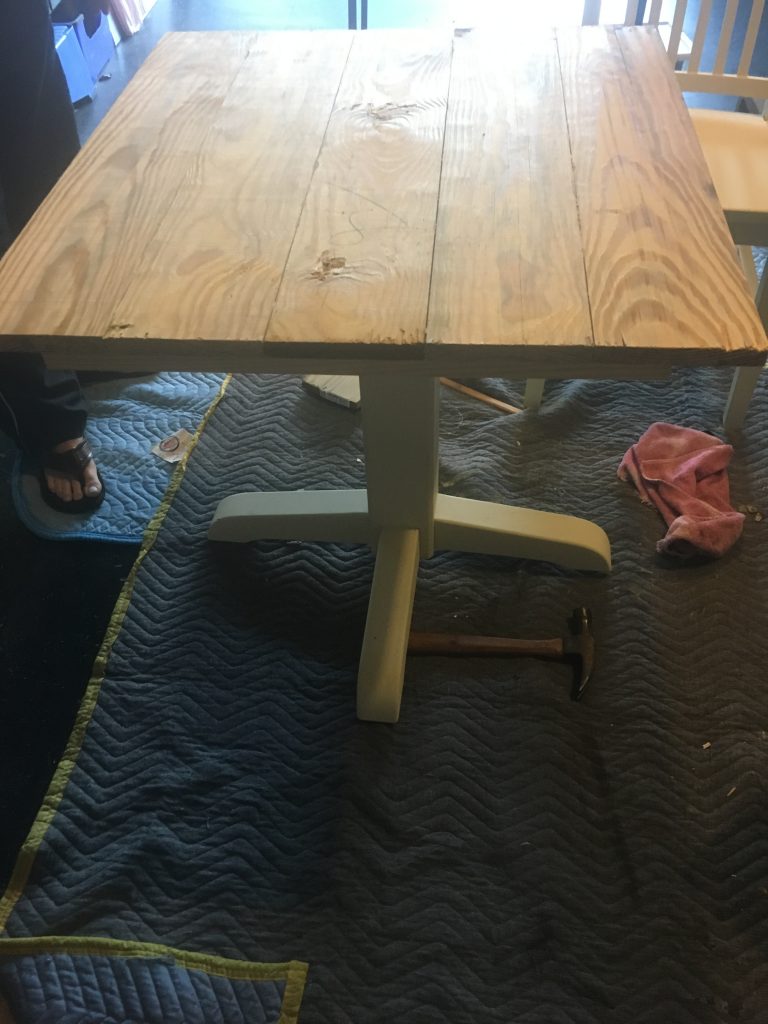
Then we flipped it around and adhered it to the table. And voila! Her little “farmhouse table” was born!
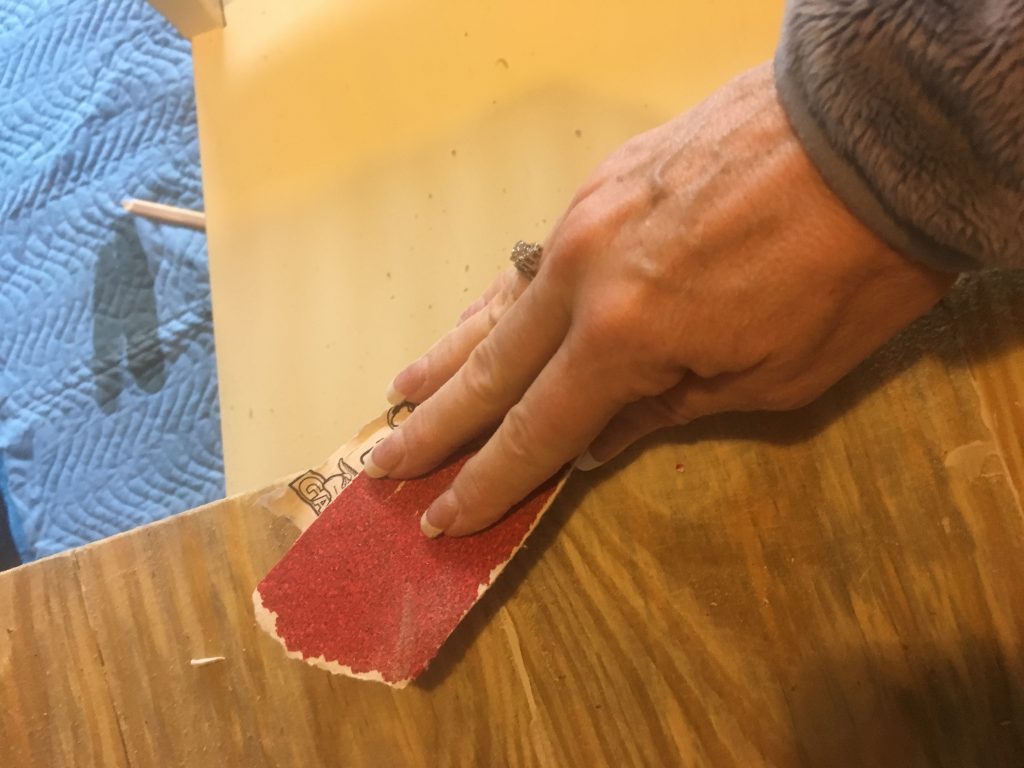
I sanded down the top to make sure it was nice and smooth.
She finished painting everything. (looks really yellow in this picture, but it’s actually more of a creamy color.)
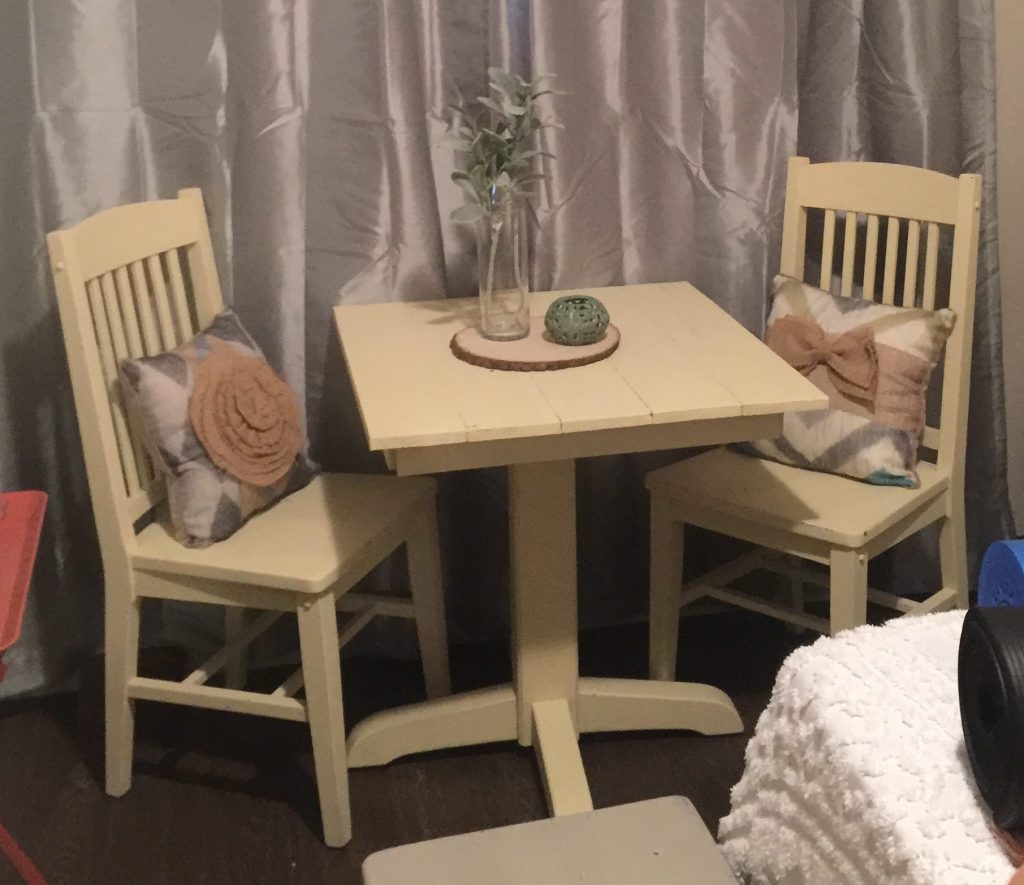
Of course, she did her “designer thang” to dress it up and now she has a sweet little bistro farm table for two for her cozy little apartment.
Table, chairs, paint and materials came to a total of around $75.00.
A little innovation and a little work can go a long way!
Proud of my designer girl!