One thing about designing and decorating a space on a shoe string budget – it does wonders for bringing out creativity. And on our latest Dwell With Dignity project we were on a limited budget to say the least. There was virtually no budget set aside for artwork, but of course, we had to have it to make the apartment complete. (Scroll down to my last blog post to read the story) So we put our heads together and came up with some easy solutions for some great looks.
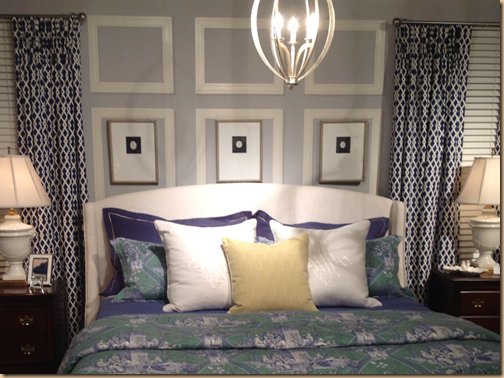
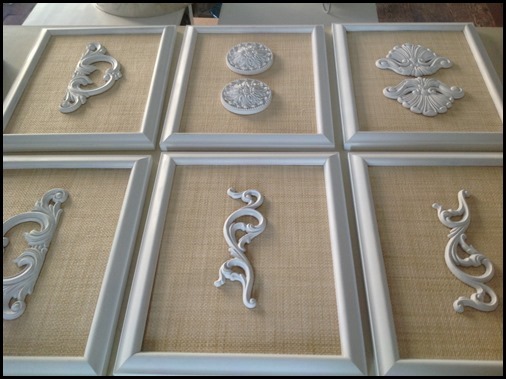
Taking a cue from the fresh white frames we saw at High Point – one of my art projects was to create some framed architectural pieces.
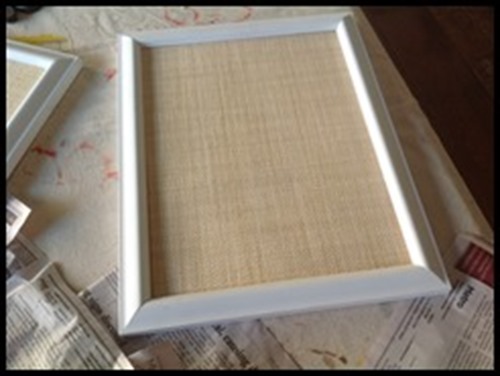
We decided instead of having them free float within the frame they needed to be adhered to the back so it would be easier for the family to remove them in one piece and take with them when they’re able to move on. So I purchased these frames below, originally in bright red and blue, from CCA (another charity near and dear to my heart, by the way) and spray painted them white.
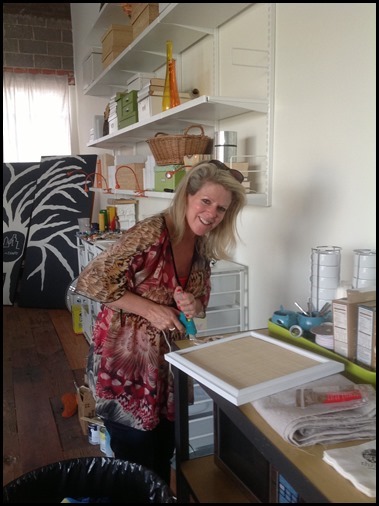
My co-chair on the project, Jody, and I adhered grass cloth to the back, discarded the glass…..
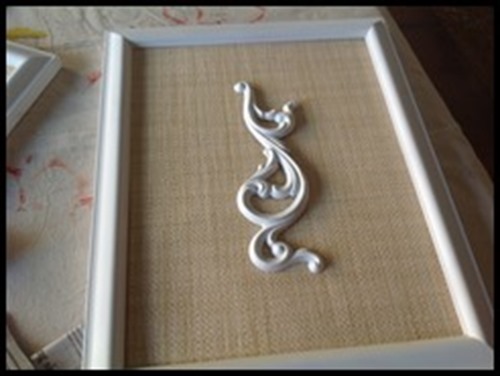
Then I spray painted some architectural embellishments white, whipped out the good ole’ hot glue gun…..
And hot glued them on.
The result was a clean, fresh, fun group of art in simple tan and white. Inexpensive and easy….(And, I think they look like “real art”!)
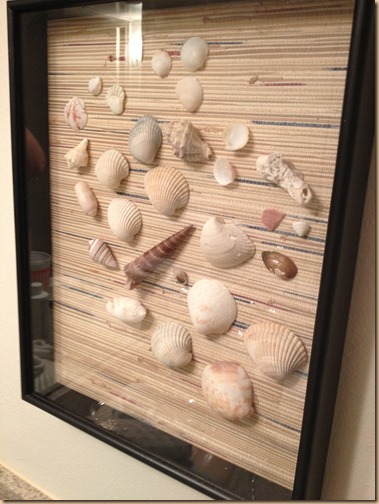
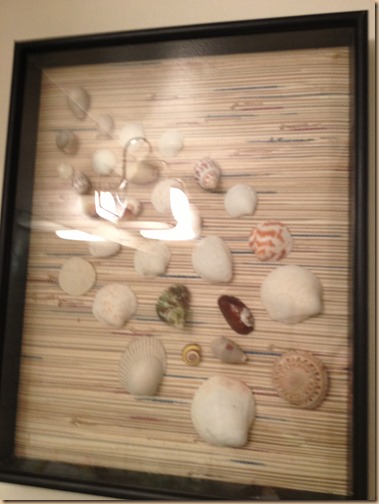
Dwell had shadow boxes and grass cloth on hand for us to use and Jody had an assortment of shells. So Kristy, our art chair, put them all together to create these pieces. The grass cloth is glued to the back once again and varying shells were hot glued on in a random pattern. Fun, cheap and easy!
I mean, how simple is that? And, don’t they look great?!
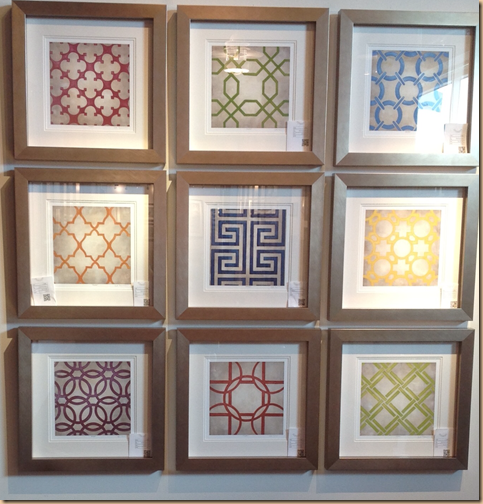
Another piece of inspiration I pointed out on my last blog was this framed paper art we saw at the High Point market.
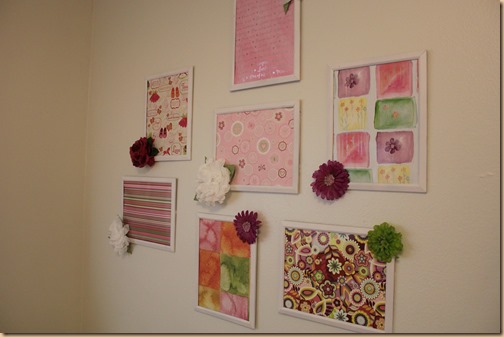
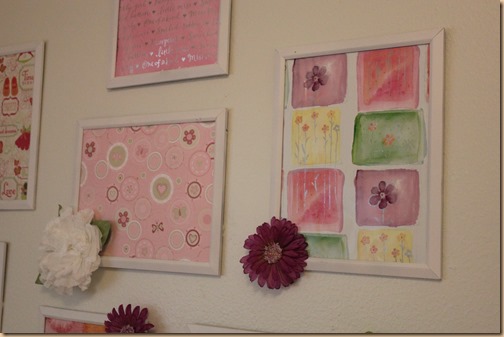
Though it was our inspiration – our take on it was a bit different. I bought these frames at the Dollar Tree, originally in black, and spray painted them white…..
Added girlie craft paper, then we hot glued flowers onto them for a bit of extra pizzazz. You can see the full room on my previous blog.
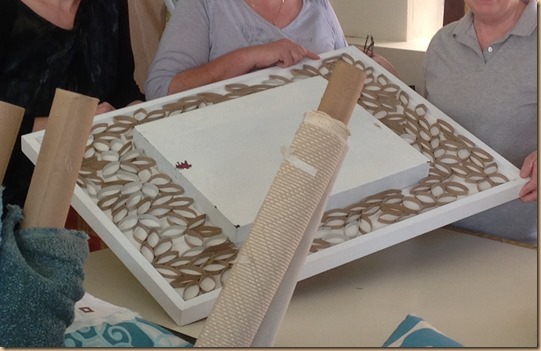
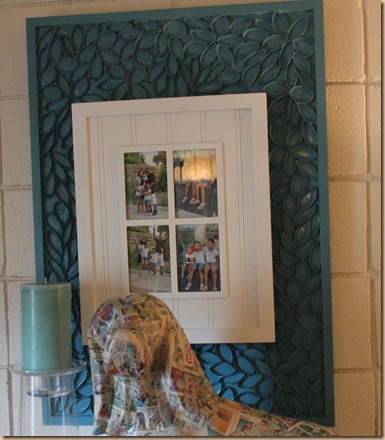
Using more supplies that Dwell had on hand Kristy and Melody took a large frame and adhered a canvas board in the center. Then taking simple toilet paper cardboard inserts that were pre-cut in 1/2 inch strips they placed them around the board and adhered them with mod podge. Once it was dry they spray painted the entire piece turquoise….
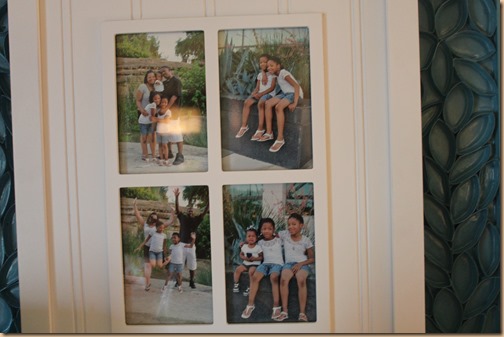
Then we adhered a photo frame to the center canvas board with Command Strips.
And, voila’! A piece of art as well as a mini photo gallery. Perfect for the space!
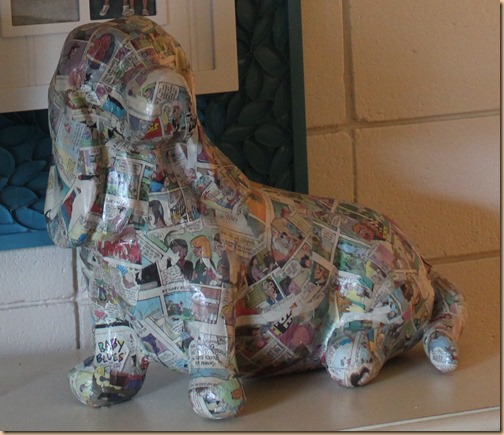
To give this doggie a new look we used our trusty mod podge and mod podged comic strips onto the surface. So fun and cute!
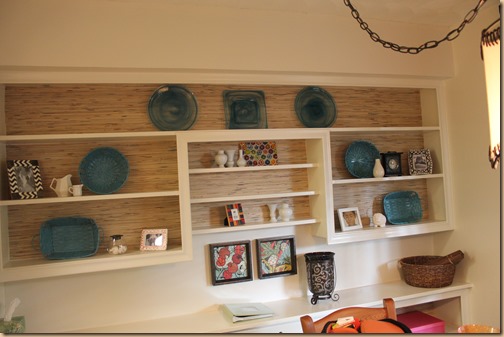
To breathe new life into these shelves we used what we had on hand once again, grass cloth, and cut and glued it to the back of the shelves. (We did this last year as well.) Makes such a nice, fresh change. I bought plain baskets at the dollar store and spray painted them turquoise for an inexpensive way to infuse the space with color.
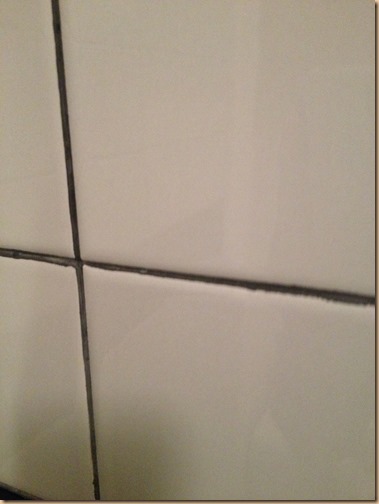
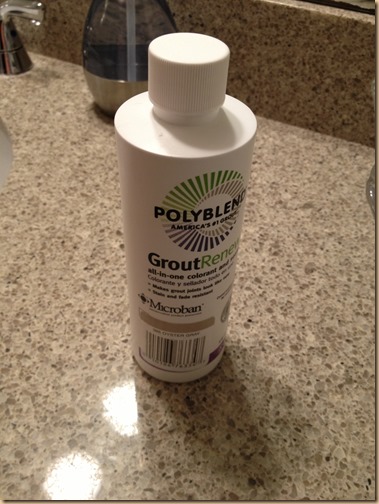
When we discovered that the grout in the shower looked dingy and just awful Christine, our fellow IDS member, designer and friend suggested we give it a new look with grout paint…….I know……what????
It’s called Grout Renew. And, yep, it works like a charm…
If you have the patience for it. ![]()
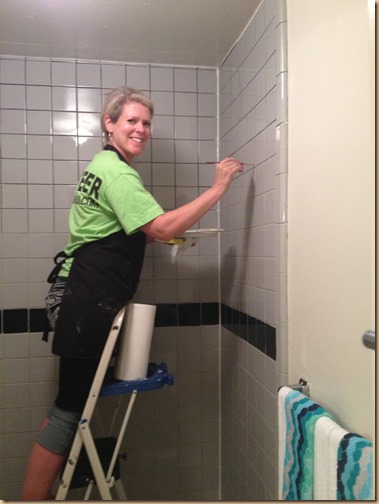
I’m not going to lie – it was quite an undertaking. And, as I pointed out on my last blog I was literally standing in the shower tediously painting for five or six hours.
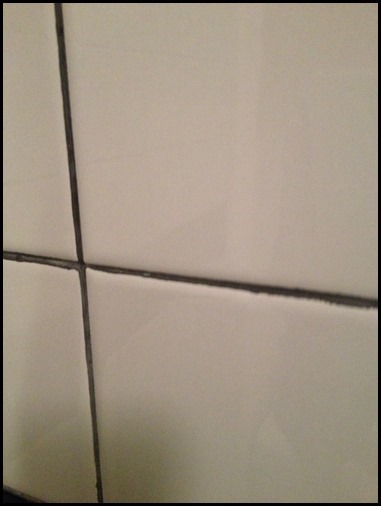
But, in the end it took the grout from this…..
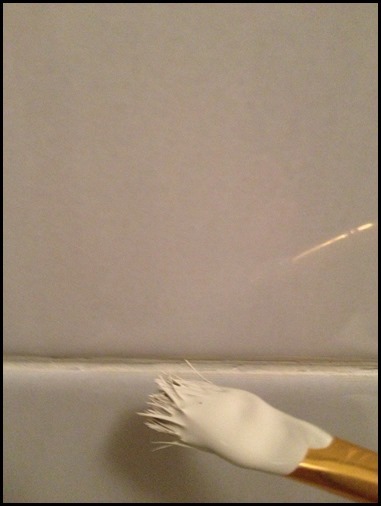
To this!!
So if you’ve got the time and patience – it’s well worth it!
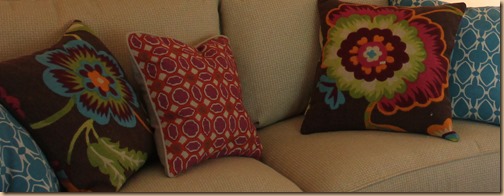
These two floral pillows with the brown background were originally actually a rug. The rug was cut in two and sewn into these creative, fun pillows.
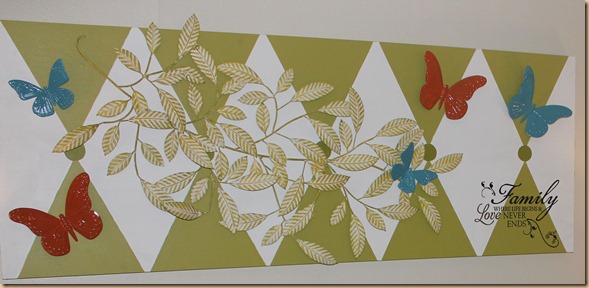
And, last but not least, this beautiful piece was done by fellow IDS member, friend and designer, Kristy. Dwell With Dignity donated the hollow core door that they use in every home. After the primer was applied the pattern was created by taping it off in a harlequin pattern and painted. This saying in the corner was purchased complete as a peel and stick transfer and easily applied. The leaves and the butterflies were originally an antique bronze color and were painted in the accent colors we used for the space then adhered with nails and hot glue. (The orange represents the mom and dad. The blue represents their three little girls. Sweet, huh.)
So there you have it…..easy, breezy design and craft ideas. Hope you found the tips helpful and can apply them to your own space!
Happy Decorating!
