Okay, so I admit that occasionally I tend to choose the most inopportune times to start a new project that I’ve been quietly scheming about. (A little quirk of mine that can prove challenging to the rest of my family!) The weekend before Thanksgiving was no exception. I decided it was high time I re-did my daughter’s bathroom. I’d replaced the lighting sometime ago which left holes in the wall – and, I decided, the color and decor were just too “Old World “ and frumpy for my stylish 16 year old.
And once I get the wild hair, well, there’s no stopping me. So, bad timing and all, I made it my mission to get it done.
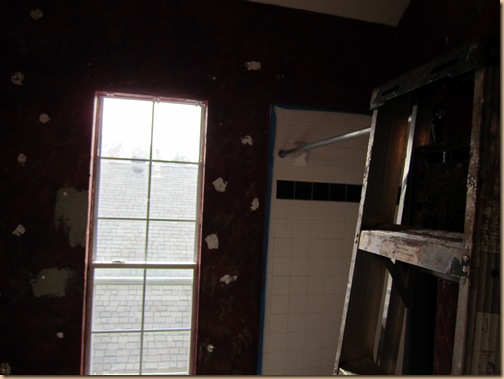
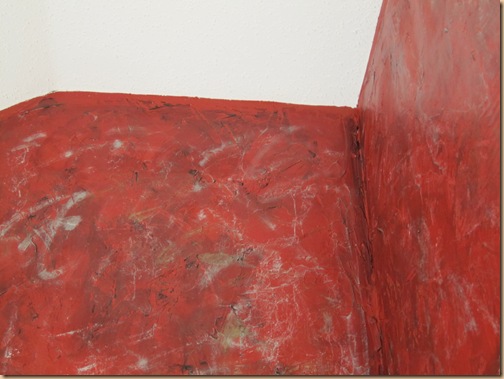 I got in such a hurry to start the project that I forgot to take “before” pictures of the whole bathroom, but, I did take some after I started. These were the red walls I started with. Textured and fauxed.
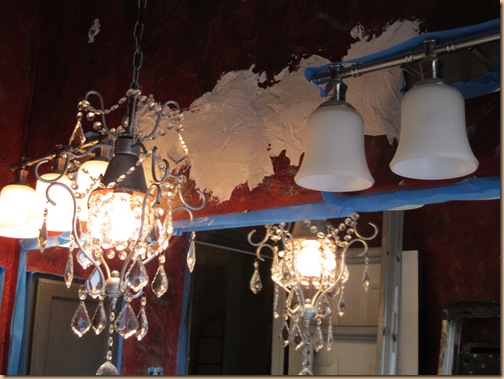
This is where the holes were. I had to patch and retexture them on Friday night so that it was good and dry by Saturday in order to paint.
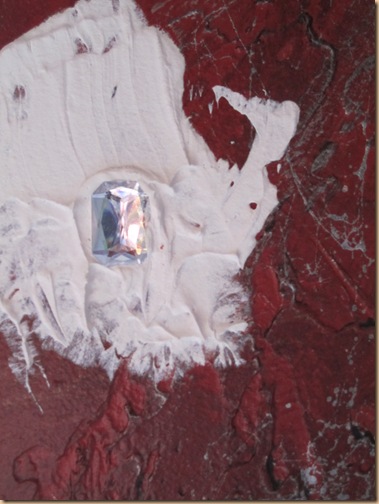
I decided it would be fun to add a little bling to the walls for my girlie girl so I placed these rhinestones randomly all over the walls. I adhered them with a little touch of the same joint compound I used to patch the holes.
Here is the wall with all the added bling, but before I painted. I covered the tops of each rhinestone with painters tape, then after I painted I went back with fingernail polish remover and cleaned off the excess paint. (Yes, it was tedious!)
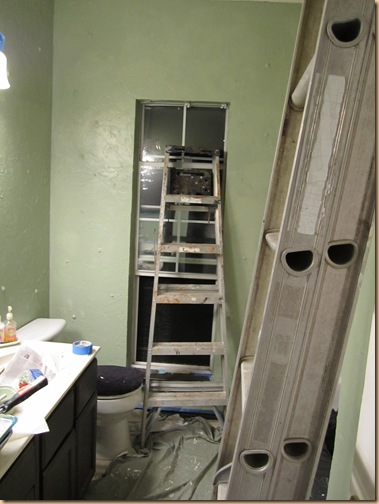
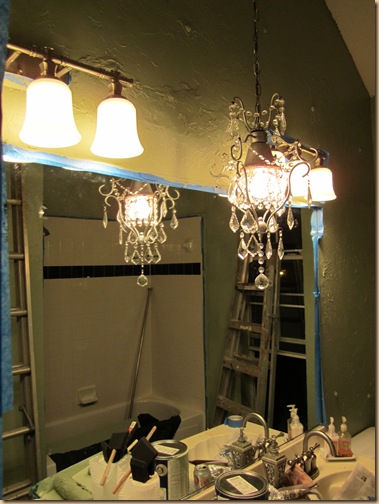
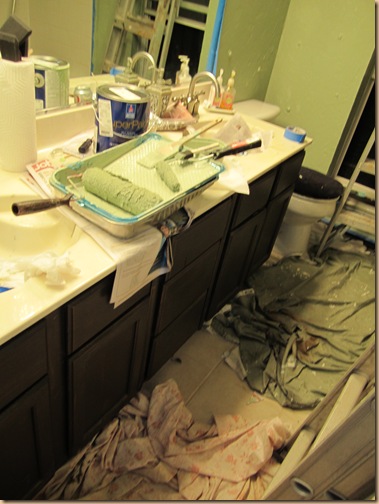
Because of the dark walls I had to prime it first. I had the primer tinted with the same green color as the paint for faster, better all over coverage. The paint color I used was Sherwin Williams color Clary Sage.
I can’t lie, this project reminded me of how much I hate painting! I was so glad when I was finished!
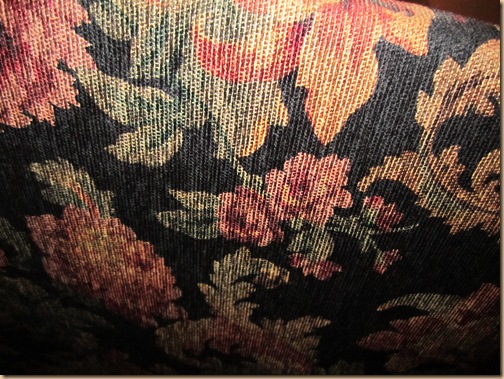 This was the original valance. Like I said – too “Old World” for an “almost 17” year old.
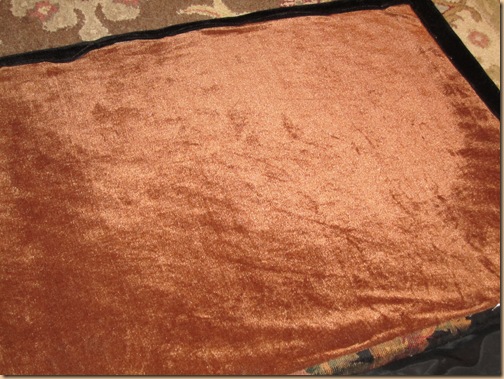
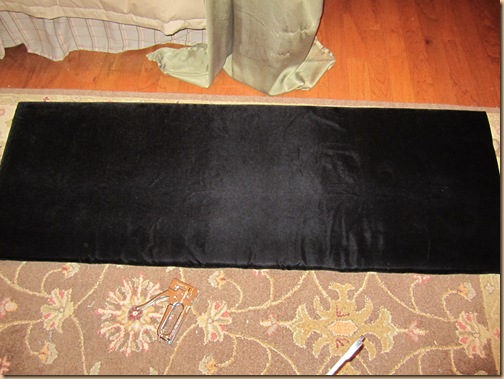
I kept this copper liner fabric on the back and changed the front to black velvet.
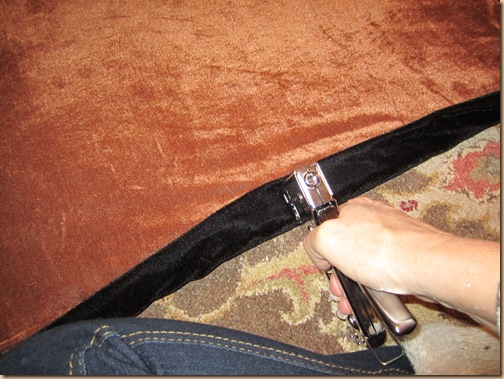
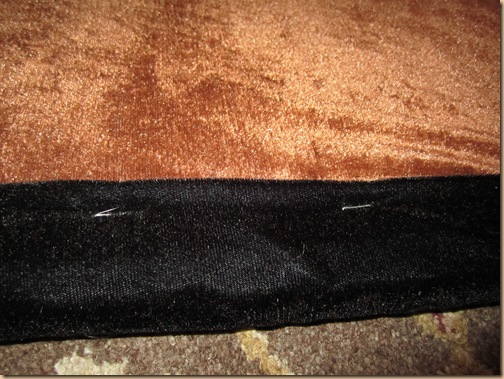
I covered the board with the velvet, then flipped it over and stapled down the edges.
If you’re super tidy you can go back in with some cording or gimp and trim off the edges to hide the staples. (I admit I haven’t done that yet!)
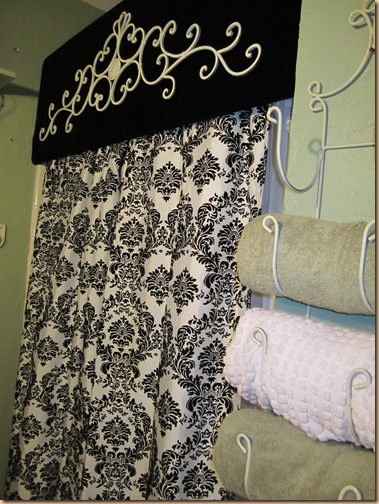
When it was finished it looked like this in the picture above, but I wanted to embellish it more to give it some oomph.
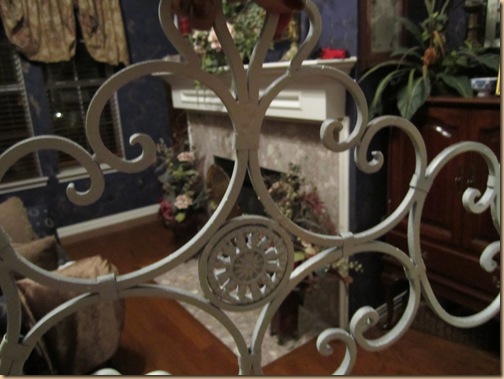
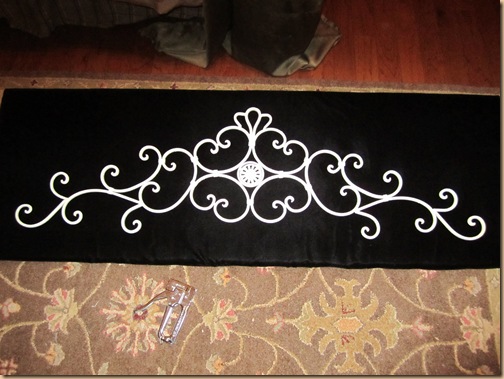
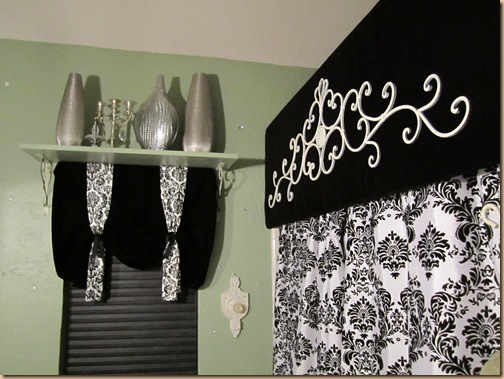
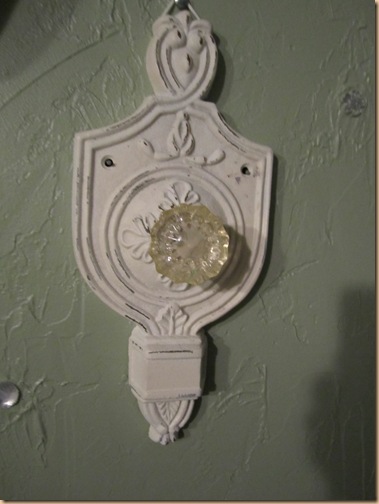
So I painted this black wrought iron ornamental piece an off white color.
And I adhered it onto the cornice board by hanging it on several tiny nails.
I made a new “no-sew” window treatment for the window to coordinate with the valance over the shower. (I’ll show you how to do this on another blog. It’s a “no-sew” that can be done in 30 to 45 minutes!)
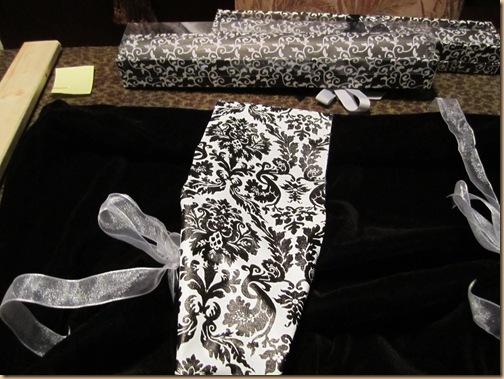
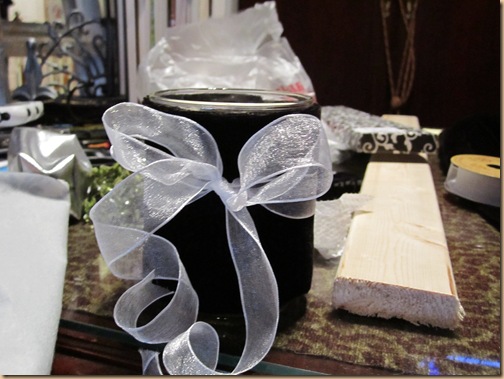
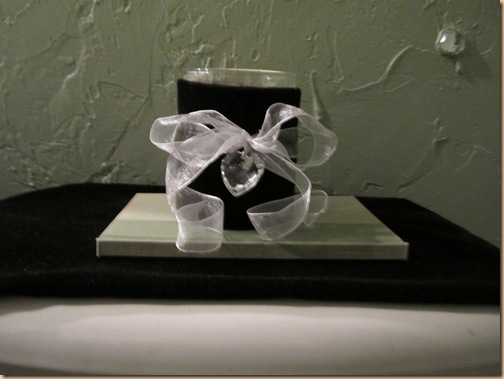
I recovered Alyssa’s old candle with fabric and ribbon to match the new color scheme. (I’ll show you what I did for this in another blog, too.)
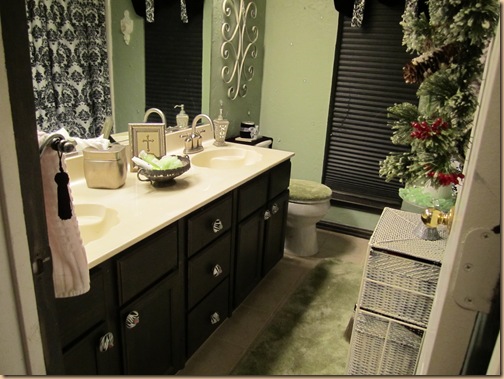
And here’s the finished project. A little less stuffy and and a little more “hip” for my hip daughter.
Notice the missing towel at the top? She keeps using the decorative guest towels. Grrrrrr!!! Why, I ask you? Hers are in the cabinet two feet away!
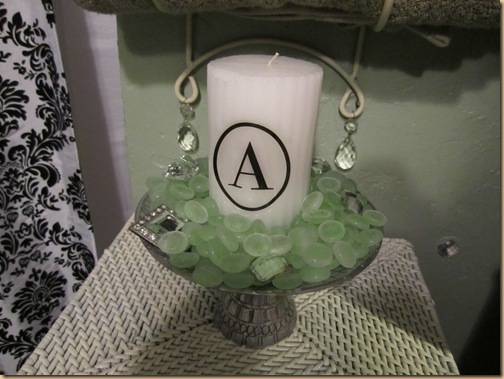 A monogrammed candle with green stones and bling.
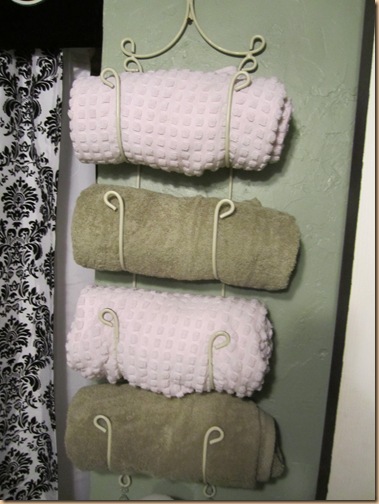
This is better – with all the towels. I painted the old bronze towel rack an off white to match the new look.
Maybe this towel rack will keep her towel off the floor?! What are the odds?
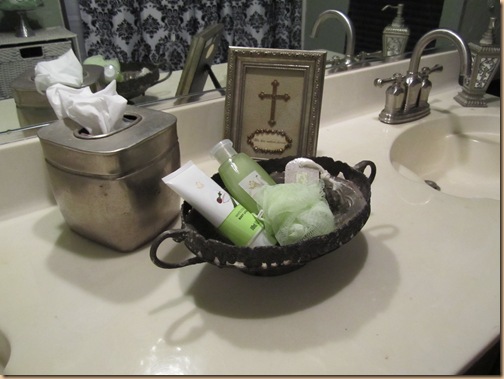
Pewter accessories for charm. A little bowl with extra bath gel, lotion and other goodies.
A fresh look for an old candle to snazz up the back of the toilet. (Notice the bling on the wall in the background?)
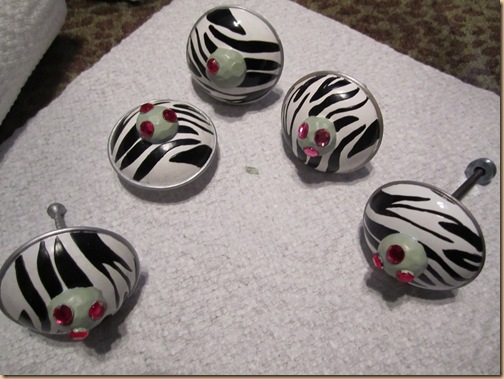
These knobs were in her old bedroom on her dresser. I painted the center of each one – changing it from the original turquoise color to her new minty green. With the black and white zebra they work just fine with her new black and white bathroom. This saved me money since I didn’t have to go buy new ones.
It was a challenge cramming this in my life the weekend before Thanksgiving, but now that it’s finished I’m happy with the outcome and glad I did it. (I’m also glad it’s over and done with, though, I’ll admit it!)
Now it’s on to the next project……..no……they never seem to end!. Life with a designer is never dull! Annoying maybe, but never dull!!!
Happy Decorating!!!!!
you amaze me!!!!
I love this, such a difference!
Becky, I’m grateful you are easily amazed, but thanks, for the kudo’s! And thanks for the kudo’s from you, too, Bab’s!
Sheri I would like for my daughter to receive your post did I do it rite
Jim
Hi, Jim! Yes, just have her click under email subscriptions (at the top right of the blog) with her email address and she will start receiving notifications everytime I post a blog on her email. Or she can sign up under the RSS feed.
If you scroll up to the top of this page you will see it. Let me know if you need more help with it.
And, thanks!