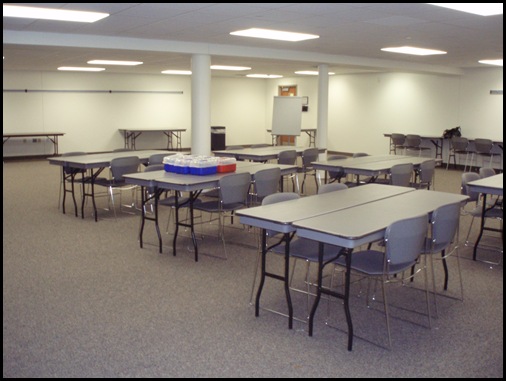
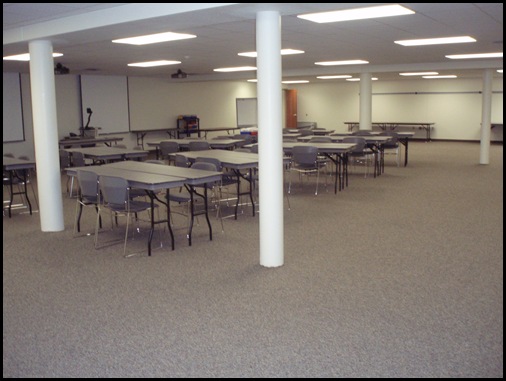
When I was asked last year to be in charge of the alumni banquet for our local drill team I was happy to help. Parties, showers, weddings…..that’s all right up my alley so how hard could a banquet be? It’s my “thing” I guess you could say. But when I saw the room I was to “wow” up – for a hundred people, including the high school principal and some school board members, to celebrate the ever important 10 year anniversary of our high school drill team – I was…..well….a bit overwhelmed shall we say. Below is the basic bones of what I had to start with. It had a very distinct “hospital” quality to it. Not exactly conducive for the glitzy event we were shooting for. My first thought was – Oh, dear what have I gotten myself into! And then I was told I had a whopping $500.00 budget to work with! Gulp! Was it even possible? But the room was donated for free and free was a good thing on such a limited budget. What to do with it was another story: My job to figure out!
What do you think? Can you say……challenge?
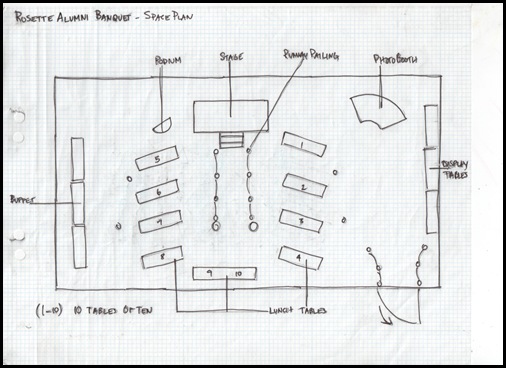
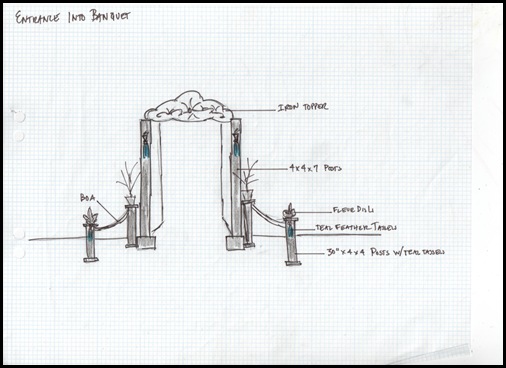
After my initial panic I did a little research on material costs, an inventory of what I could round up to use at no cost, and said a few nervous prayers, then I sat down and sketched out what I wanted to do. This was important to help get me focused and have an actual plan to work from.
First I figured out the basic lay out of the space so I knew how to accommodate the guests and allow enough room for the “models” and the model walk.
Next I determined that I absolutely had to snazz up the unbearably boring, stark white entrance into the banquet room. It needed to be fun and not so serious looking – as if the guests were visiting a patient at a hospital!
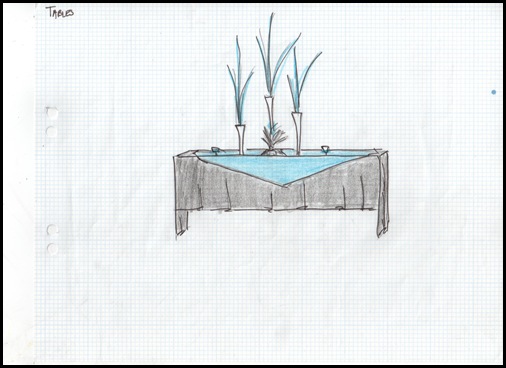 Dressing up the tables with beautiful cloths and centerpieces was extremely important.
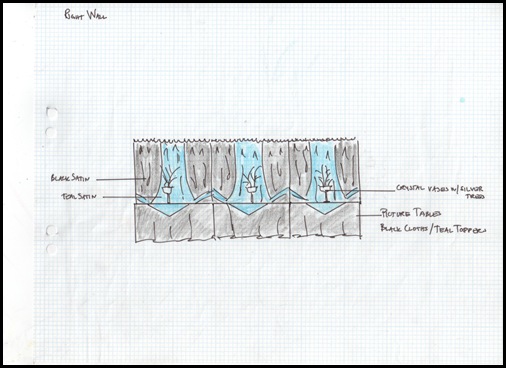 It was hugely important to me that those looming white walls be dressed up with color to personalize the space.
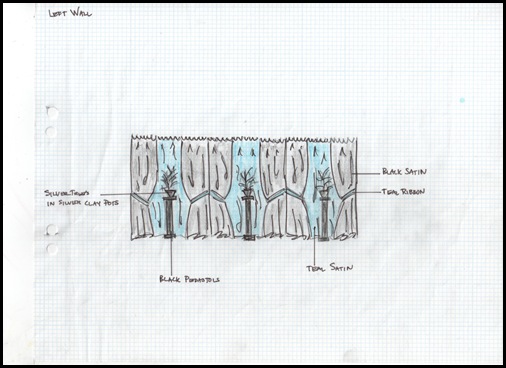 Another wall to cover and dress up.
Once I determined what needed to be done I set out to purchase the materials I needed – cheap! – and put it all together.
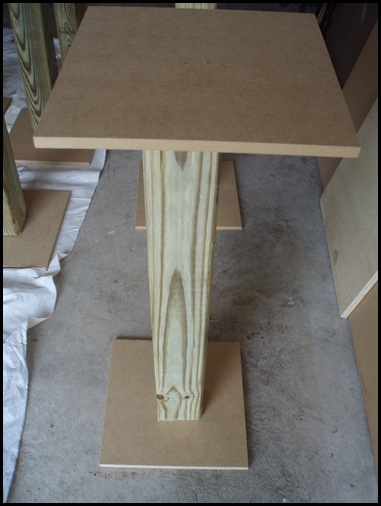
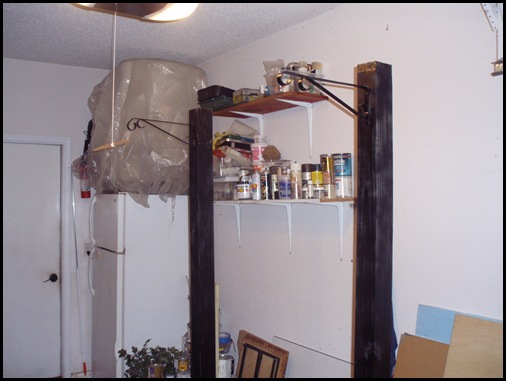
I went to Home Depot and bought their scrap wood (that sells for pennies), some cheap MDF squares, and some fence post that I had Home Depot cut to size. I managed to get several cuts from each post.
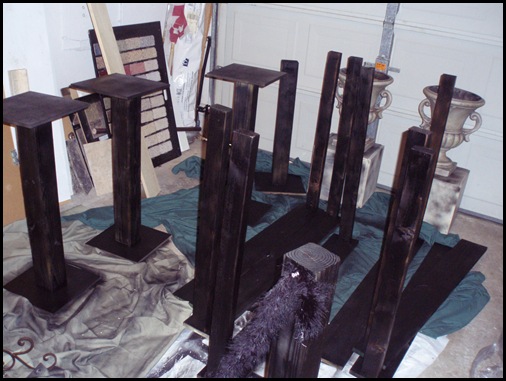
I nailed the squares to the top and bottom of some of the posts to create little pedestal tables. On the others I left the top of post uncovered, but mounted them to a narrow base to use for my “model walk” runway drape. Then I painted them black. (When time got down to the wire my sweet mom and dad came over to help nail and paint!)
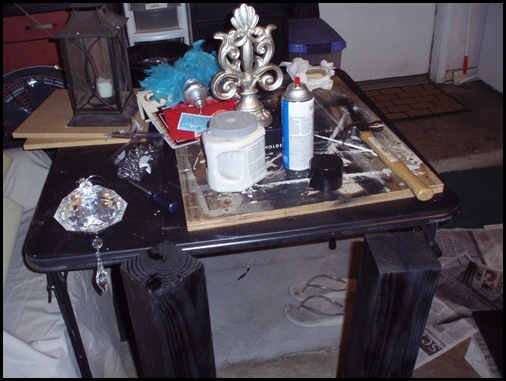
Fortunately is was in the fall so all the Christmas decorations were out and I was able to experiment with different ornaments for bling. That really helped my budget.
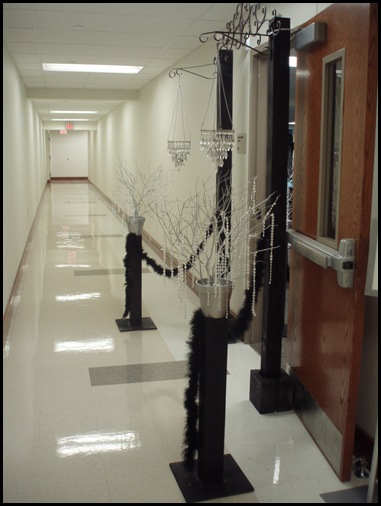
I needed something to create the entrance into the banquet room (of course, something cheap, cheap, cheap!) so I used fence post again and mounted some extra planter hangers I had here to the top to hang my bling from and help support the iron embellishment I had for the top. (The iron embellishment is a piece I will eventually be putting in my daughter’s bathroom room when I finish re-doing it.)
After much blood, sweat, tears (and prayers!) it was time to put it all together. I could only hope and pray it would come together the way I envisioned it. Several of the drill team moms came out to help me set it all up.
And this is what it ended up looking like. Hard to tell from the picture, but it made this boring hospital-like hallway sparkle and gave the dull doorway some serious pizzazz. It gave the guests a fun, glamorous, Hollywood entrance into the banquet room.
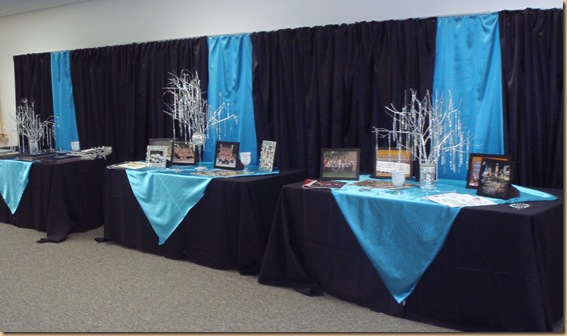
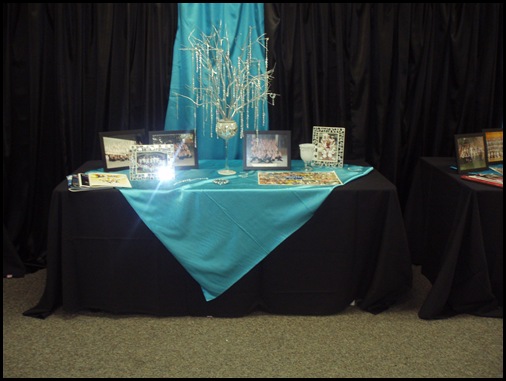
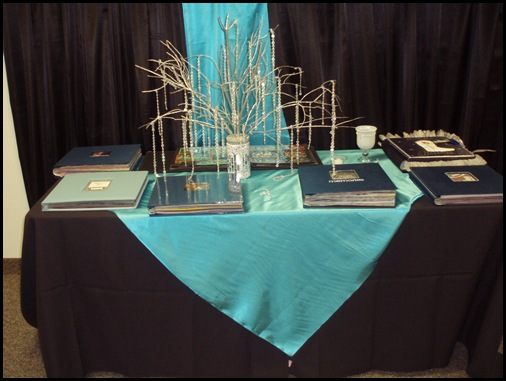
This wall was set up with three “memory” tables. All this fabric was bought with an online 40% off coupon to Hobby Lobby. This was crucial to my $500.o0 budget! These beautiful centerpieces were made by one of the drill team moms for a previous function and I was able to recycle them by putting them in some new containers (my own that I lent for “the cause”).
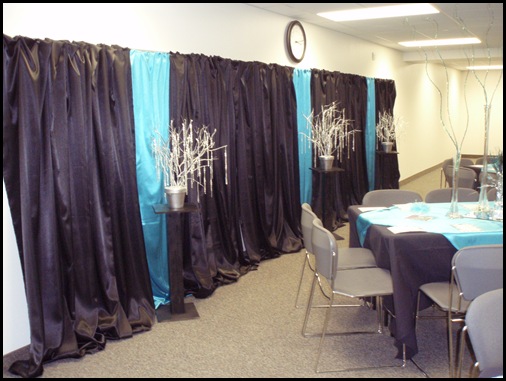
The back wall was dressed up with more fabric to cover up the white walls and bulletin strip that ran the length of these drapes; my homemade pedestals and more of the beautiful recycled blingy arrangements. added some snazz for the eye – really gave the space glam and fabulosity!
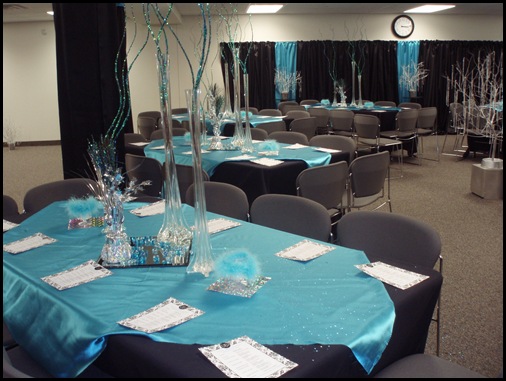
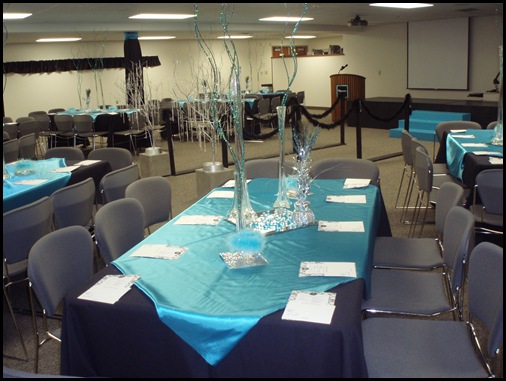
We covered the screaming white columns with more fabric to help camouflage (remember them from the before pictures?); used my own vases and mirrors for the table centerpieces, and borrowed the teal stems I’d used at a friend’s wedding for more bling (saving us money!). The small silver bouquets are balloon holders I got at the dollar store for – you guessed it – a dollar apiece. I cut teal feather boas (purchased at Hobby Lobby on sale 50% off) to circle the votives on each side of the table. Underneath each votive is glitzy, reflective craft paper cut into 6×6 squares.
I didn’t have enough fabric in the budget to cover the far wall so we just covered the ugly bulletin strip with a black satin valance.
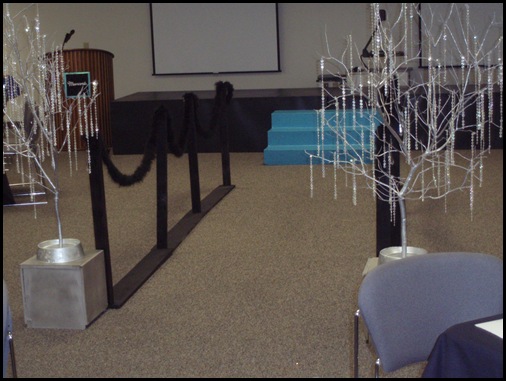 This is my “model runway” where the current drill team members modeled all the old drill team uniforms and dance costumes from the last ten years of drill team fun. I made the boxes that support the “bling trees” and painted them silver. (Again, I wasn’t the talented one who actually made these gorgeous arrangements. I just recycled them from an earlier function.) My inexpensive homemade runway drape made with discounted wood and black feather boas worked beautifully. Each post had a blingy crystal Christmas ornament hanging from it on the outside. I failed to get a picture of them, but they looked great.
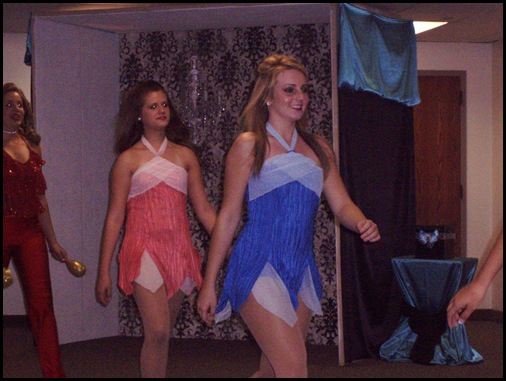 And here are some of the beautiful “models” modeling some of the dance costumes that have been worn over the years. (That’s my beautiful daughter in the middle!) Notice the “photo booth” behind them? Another talented drill team mom made that for the girls to have their pictures made in at the end of the year party the previous year so we recycled it again for the alumni banquet. Too cool! I just draped the exterior with our teal and black color scheme.
It was an enormous undertaking and an enormous challenge, but in the end I must say it turned out to be quite a beautiful banquet room after all. It served the purpose well and all the guests seemed genuinely pleased.
I’ve found that sometimes the biggest challenges push you to be more creative than you otherwise would. The pictures don’t really do it justice, but I think you can tell it was quite a transition from “before” to “after”. Especially on a $500.00 budget!
This project definitely pushed me to the limits of my creativity, but it sure was fun pulling it off! In the end my initial gulp turned to a satisfying sigh of relief.
Love the ‘before and after’ visions. You are great!
Thanks, Babs!
Wow!!..very creative and it is simple but elegant.
Thanks so much!!!
Very beautiful. How did you hang the fabric on the walls?